
Volver al blog
Artículo
How to Install Mobile Toilets in Handan
Admin 02 de octubre de 2026
The installation of mobile toilets in Handan should follow the steps below to ensure safety and functional integrity:
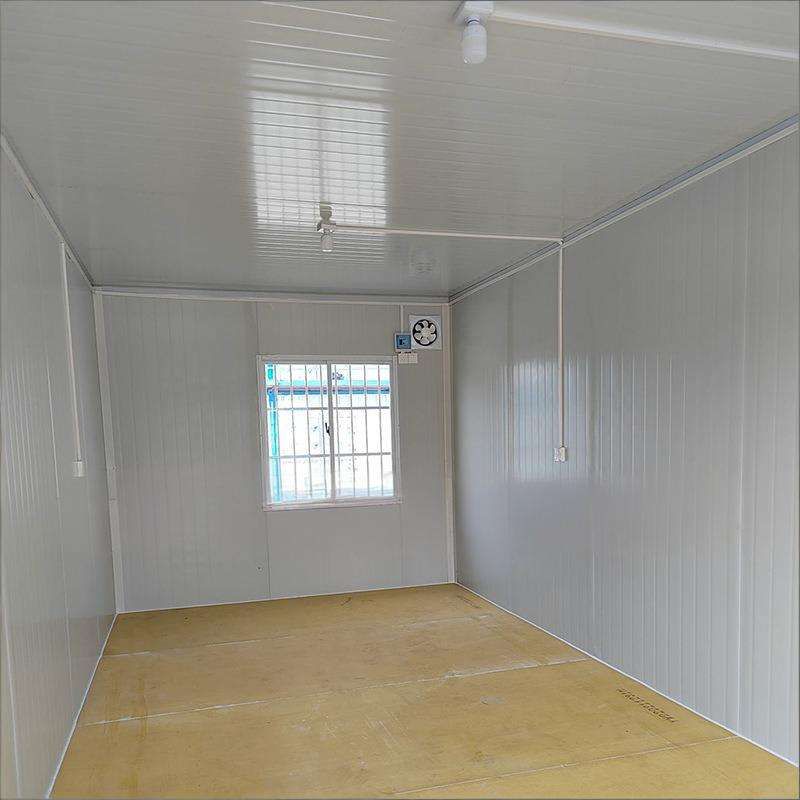
1. Preliminary Preparation
- Specification Confirmation: Select the toilet type (single-unit/modular) and functional configurations (such as barrier-free facilities, water-saving devices, etc.) based on the usage scenario.
- Equipment Debugging: The manufacturer should complete the overall assembly and test the sealing and operational status of the sewage system, ventilation device, and water and electricity interfaces to ensure no leaks or malfunctions.
- Transportation Planning: Survey the transportation route, assess road width, turning radius, and overhead obstacles. For special terrains (such as slopes, narrow roads), reserve space for lifting equipment operations. Oversized equipment should be reported to traffic authorities in advance for permitted travel times.
2. Loading, Unloading, and Fixing
- Lifting Operations: Use professional lifting equipment to handle the toilet through the top lifting rings or bottom forklift slots, ensuring even load distribution on the lifting straps to avoid bumps. Operators should wear safety helmets, gloves, and other protective gear, and warning signs should be set up in the work area.
- Transportation Fixing: After loading, secure the toilet bottom to the vehicle's fixing frame at multiple points using straps, with anti-slip pads added at contact points. For long-distance transportation, reinforce with windbreak ropes. The driver should regularly check the fixing status and confirm strap tightness after traveling on bumpy roads.
3. On-site Installation
- Site Preparation: Clear and level the site, and confirm the positions of the sewage pipes and septic tank according to the foundation drawings to ensure accurate alignment.
- Main Unit Positioning: Use lifting equipment to slowly place the toilet on the preset foundation, adjusting the levelness error to ≤5mm to prevent structural tilting.
- Pipe Connection: Use rubber rings + sealant for double sealing at the sewage and water supply pipe interfaces to prevent leaks. Conduct a water flow test after connection to confirm smooth drainage.
- Water and Electricity Connection: Pressurize the water supply pipe to 1.5 times the working pressure and maintain for 30 minutes without leaks; ensure the electrical system is reliably grounded and all interfaces are waterproofed.
4. System Debugging and Acceptance
- Functional Testing: Check the operational status of the flushing device, lighting, and ventilation equipment in sequence. For water-saving devices, test the flushing cycle multiple times (e.g., ≥3 times/minute).
- Barrier-Free Acceptance: Test the firmness of handrails and the wheelchair turning space (diameter ≥1.5m) to ensure compliance with barrier-free design standards.
- Cleaning Training: Disinfect the internal facilities after installation and train operators on daily cleaning and consumable replacement (such as filters, toilet paper) and other maintenance tasks.
5. Handling Special Situations
- Geological Adaptation: For soft foundations, pour a concrete foundation (thickness ≥20cm); for sloped sites, install leveling brackets to ensure the toilet is level.
- Winter Protection: Install heating tapes on water supply pipes and wrap exposed parts with insulation cotton to prevent freezing and cracking.
- High-Temperature Response: Avoid transporting during the high-temperature period of 10:00-15:00 in summer to prevent equipment failure due to sun exposure.
Relacionados



