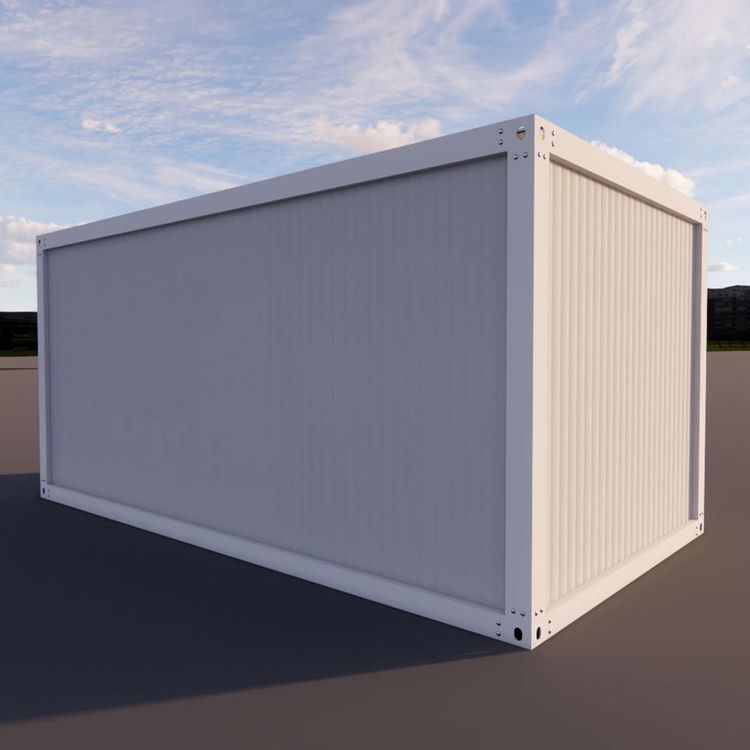
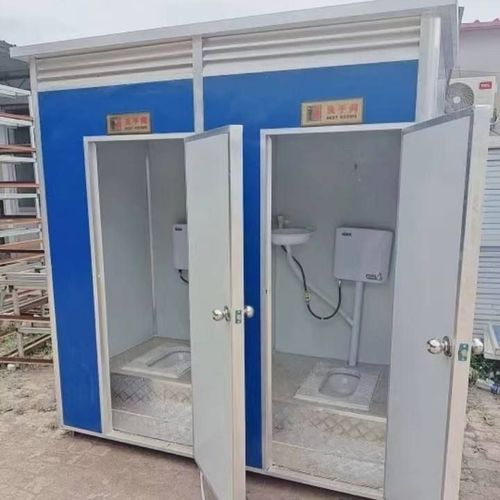
Workflow Diagram of Container House Construction
The workflow of container house construction can be divided into three stages: foundation construction, main body installation, and decoration. The specific steps are as follows:

Foundation Construction Stage
- Setting Out and Trench Excavation: Determine the house location according to the design drawings, use chalk lines for marking, and then excavate the trenches. The size and depth of the trenches must strictly comply with the design requirements to provide a stable space for subsequent foundation construction.
- Foundation Beam and Floor Construction: Pour C15 concrete foundation beams to ensure their strength and stability. At the same time, complete the construction of the concrete floor slab to provide a flat and solid bearing surface for the main body of the house.
- Beam Installation: Accurately fix the prefabricated beams on the foundation and form a supporting framework through reasonable connection methods. The installation accuracy of the beams directly affects the overall stability of the house, so it is necessary to ensure that their levelness and perpendicularity meet the standards.
Main Body Installation Stage
- Column and Floor Beam Installation: Erect the frame columns and connect them with horizontal beams to form the skeleton structure of the house. This step is crucial for the installation of the main body of the house, and it is necessary to ensure the perpendicularity of the columns and the firm connection of the beams.
- Walkway System Installation: Lay the floor I-beam system to ensure that its bearing capacity meets the design requirements. The installation quality of the walkway system is related to the safety and comfort of personnel walking.
- Exterior Wall Panel and Door and Window Installation: Install the exterior wall panels, cut the door and window openings according to the design requirements, and install plastic-steel windows and doors. The installation of doors and windows must ensure flexible opening and good sealing to provide good ventilation and lighting conditions.
- Roof System Installation: Install the roof trusses and roof panels to complete the roof enclosure. During the installation of the roof system, attention should be paid to waterproofing treatment to ensure that the house maintains good waterproof performance under various weather conditions.
Decoration Stage
- Interior Partition Wall Panel Installation: Install interior partition wall panels according to the functional zoning of the house, and use I-shaped aluminum to connect the gaps to ensure the flatness and stability of the partitions.
- PVC Ceiling Installation: Install PVC ceilings below the floor to enhance the aesthetics and cleanliness of the interior of the house.
- Cleaning and Acceptance: Clean the construction site, check the installation quality, ensure that all components are installed in accordance with the design requirements, the welding parts are accurate, and the fasteners are tightened. Complete the final acceptance and hand over the house for use.
Key Precautions: Component installation must comply with the design requirements. The primer that has peeled off during on-site welding and transportation must be touched up with anti-rust paint, and the exposed parts should be painted with two coats of finish paint. Before floor construction, mortar bedding treatment is required, and floor slabs with cracks are prohibited from being used. The joints of the gutters must be firm and coated with waterproof glue, and the downspouts must be installed vertically. The installation of doors and windows must ensure flexible opening and good sealing.