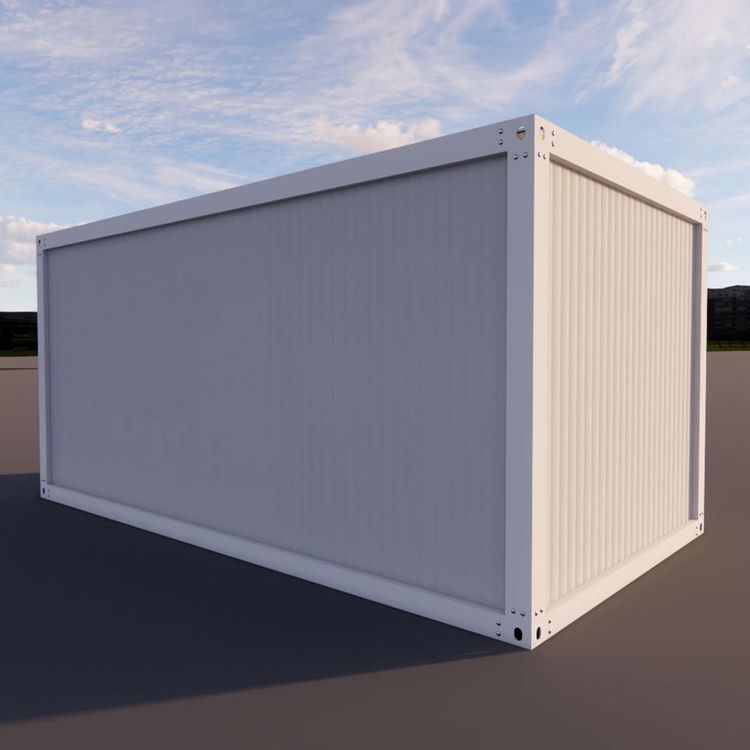
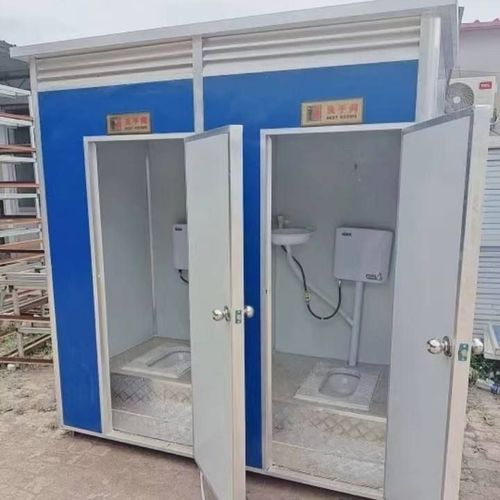
Container House Bathroom Renovation
When renovating the bathroom in a container house, it is essential to focus on five core aspects: structural reinforcement, drainage design, waterproof sealing, pipeline separation, and ventilation and dehumidification. Here are the specific operational points:

1. Floor Reinforcement and Anti-Corrosion Treatment
The bottom of a container is made of steel, which is prone to rust and perforation when exposed to moisture for extended periods, leading to a decrease in load-bearing capacity. Before renovation, thoroughly remove rust from the floor and apply two coats of anti-rust paint to form a protective layer. Then, lay a 20mm thick cement mortar leveling layer to ensure a flat surface. Finally, cover it with a polymer waterproof membrane, with edges turned up to the wall by at least 10cm. If the budget allows, weld a 304 stainless steel drainage trough to replace traditional floor drains, which offers stronger corrosion resistance and a service life of over 15 years.
2. Pre-Embedded Slope Design for Drainage Systems
Due to the limited internal height of containers (usually 2.4-2.8 meters), the drainage slope must be strictly controlled within the range of 2%-3% to prevent water accumulation. It is recommended to use PVC pipes with a diameter of 75mm and a wall thickness of no less than 3.2mm for drainage to reduce water flow noise. During construction, pre-drill holes in the side walls of the container, with a diameter 20mm larger than the pipe diameter, and secure the pipes with rubber sealing rings to prevent damage to the container structure from later cutting. The drainage outlet can be connected to a sump outside the container or the municipal drainage network.
3. Sealing of Joints Between Wall Panels and the Floor
Use neutral silicone structural adhesive to seal the corners and baseboards, with an adhesive width of at least 15mm, and press in water-swellable waterstop strips. Pour a 5-10cm high concrete waterstop sill at the corners, with an arc-shaped water diversion design on the surface to effectively block water penetration. If tiles are to be laid, roughen the waterproof layer to enhance adhesion and prevent hollowing and detachment.
4. Separate Layout of Electrical Circuits and Water Supply and Drainage Pipes
Electrical circuits must be laid through PVC flame-retardant pipes and fixed to the top joists of the container, maintaining a minimum distance of 30cm from water supply and drainage pipes. Outlets and switches should be of the IP54 waterproof type, installed at a height of no less than 1.5 meters. It is recommended to use PPR pipes for water supply, connected by hot melting, and spiral silencer pipes for drainage to reduce water flow noise. All pipelines should be marked with their directions for easy maintenance later.
5. Configuration of Ventilation and Dehumidification Systems
Install a forced exhaust fan with a power of no less than 30W, with an air exchange rate of 6-8 times per hour. The exhaust outlet should be equipped with an insect screen. The active dehumidifier should be selected according to the bathroom area, typically one unit with a daily dehumidification capacity of 20L per 10㎡. Reserve louvered vents on the walls, with a hole diameter of 5mm and a spacing of 10cm, which can be linked with the air conditioning fresh air system to maintain air circulation. High-end homestay-style container houses can also reserve positions for smart toilets, electric towel racks, and other equipment to enhance the user experience.