
Container House Drainage Installation Diagram
Currently, there is no direct drainage installation diagram for container houses, but the installation points can be understood through the textual description of its drainage system layout:
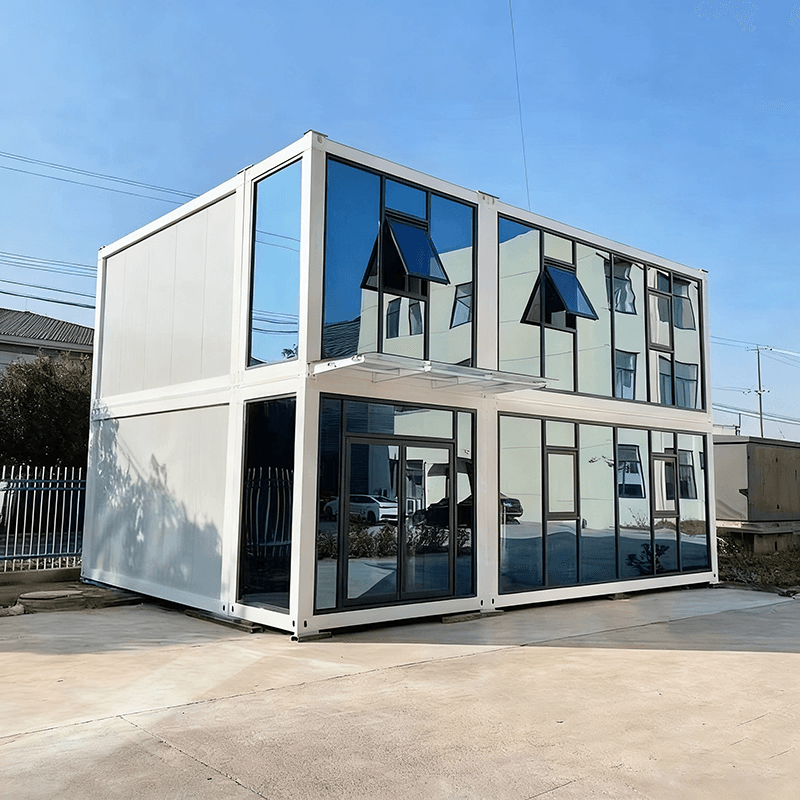
Ground-Floor Drainage Installation Points
The ground-floor drainage adopts a same-floor drainage method. All the drainage branch pipes of the ground-floor sanitary fixtures converge into the horizontal main drainage pipe under the finished surface. The main drainage pipe must maintain a certain slope, usually a slope of ≥2%, to ensure that sewage can flow smoothly along the pipe and avoid problems such as water accumulation and blockage. Ultimately, the horizontal main drainage pipe should be connected to the main drainage riser located at the bottom of the container or directly discharged to the preset outdoor septic tank or municipal pipeline interface. During the installation process, ensure that the pipes are tightly connected to prevent water leakage and pay attention to the fixation of the pipes to avoid displacement caused by water flow impact or external forces.
Second-Floor Drainage Installation Points
The second-floor drainage also uses the same-floor drainage method. The drainage branch pipes of the second-floor sanitary fixtures converge under the floor of this floor. The main drainage pipes (both horizontal and vertical) on the second floor are usually arranged in the ceiling space of the corresponding positions on the ground floor, which does not affect the indoor aesthetics and facilitates maintenance. The drainage risers finally converge on the ground floor or are led out separately. During installation, plan the pipe routes reasonably to avoid conflicts with other pipelines and ensure that the pipe slopes meet the requirements for smooth drainage.
Drainage Pipe Material and Ventilation Requirements
Drainage pipes mainly use PVC-U pipes, which have advantages such as corrosion resistance, light weight, and easy installation. The top end of each main drainage riser must extend above the roof or high on the side wall and be equipped with a vent cap. The function of the vent cap is to ensure air circulation within the drainage system, prevent the destruction of the water seal, and avoid the entry of foul odors into the room.
Setting of Water Traps for Drainage Fixtures
A water trap (P-type or S-type) must be installed below each drainage fixture. The function of the water trap is to store a certain amount of water in the pipe to form a water seal, preventing foul odors and pests from the sewer from entering the room and ensuring indoor hygiene and comfort. When installing the water trap, ensure that it is well-sealed to prevent the failure of the water seal.



