
Concrete Mobile Toilet Assembly
The assembly of concrete mobile toilets involves several steps, including foundation treatment, container positioning, system connection, and functional testing. The detailed steps are as follows:
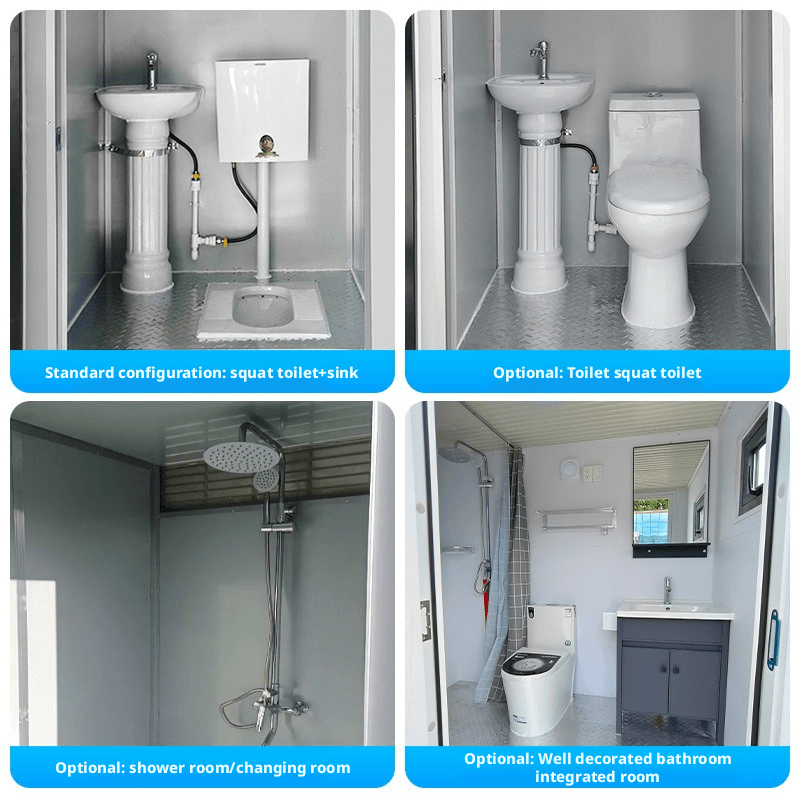
1. Foundation Treatment and Load-Bearing Requirements
Before assembly, clear debris from the ground according to the toilet type (single or connected) to ensure a flat installation area. For a concrete foundation, pour it to the design elevation and cure it until the strength meets the standard. For temporary sites, a gravel layer (with a recommended thickness of ≥10 cm) can be laid to enhance load-bearing capacity. The load-bearing requirement for a single toilet is usually ≥200 kg/㎡. Use a level to check the foundation flatness to prevent container deformation or poor drainage due to ground settlement.
2. Container Positioning and Hoisting
Use a crane or forklift to smoothly hoist the prefabricated container above the foundation and slowly lower it to the designated position. For connected toilets, adjust the relative positions of multiple containers simultaneously to ensure uniform joint gaps (with an error of ≤5 mm) and fix the connecting parts between containers with bolts or welding. After positioning, use a level to recheck the container's verticality and levelness to prevent safety issues caused by tilting.
3. Drainage System Connection
Connect the sewage pipes to the septic tank (or municipal sewer network) according to the design drawings, ensuring a pipe slope of ≥2% (to prevent sewage backflow). If gravity drainage is used, reserve a drainage outlet at the bottom of the container and install an anti-odor floor drain. If pressure drainage is used, equip it with a water pump and control box. Seal all pipe connections using waterproof tape or hot-melt welding technology to prevent leakage.
4. Functional Module Testing
After fixing the container and connecting the pipes, conduct a comprehensive test of the toilet functions:
- Water and electricity systems: Check the circuit connections of lighting and ventilation equipment (such as exhaust fans) and test the sensitivity of sensor faucets and flush valves.
- Ventilation system: Ensure that the exhaust and air intake ports are unobstructed and that the ventilation rate meets the design standard (usually ≥8 times per hour).
- Sealing test: Fill the water tank or septic tank with water and observe the water level change within 24 hours. After confirming no leakage, close the inspection port.
5. Acceptance and Maintenance Recommendations
After assembly, have a professional conduct an acceptance inspection, focusing on structural stability, drainage smoothness, and equipment operation status. For daily maintenance, it is recommended to check the looseness of container connecting parts every quarter, regularly clean the septic tank (with the frequency adjusted according to the usage amount), and replace aging seals to extend the service life.
Note: The specific assembly steps may vary depending on the product model or manufacturer's requirements. Before operation, carefully read the product manual and follow safety regulations.



