
Volver al blog
Artículo
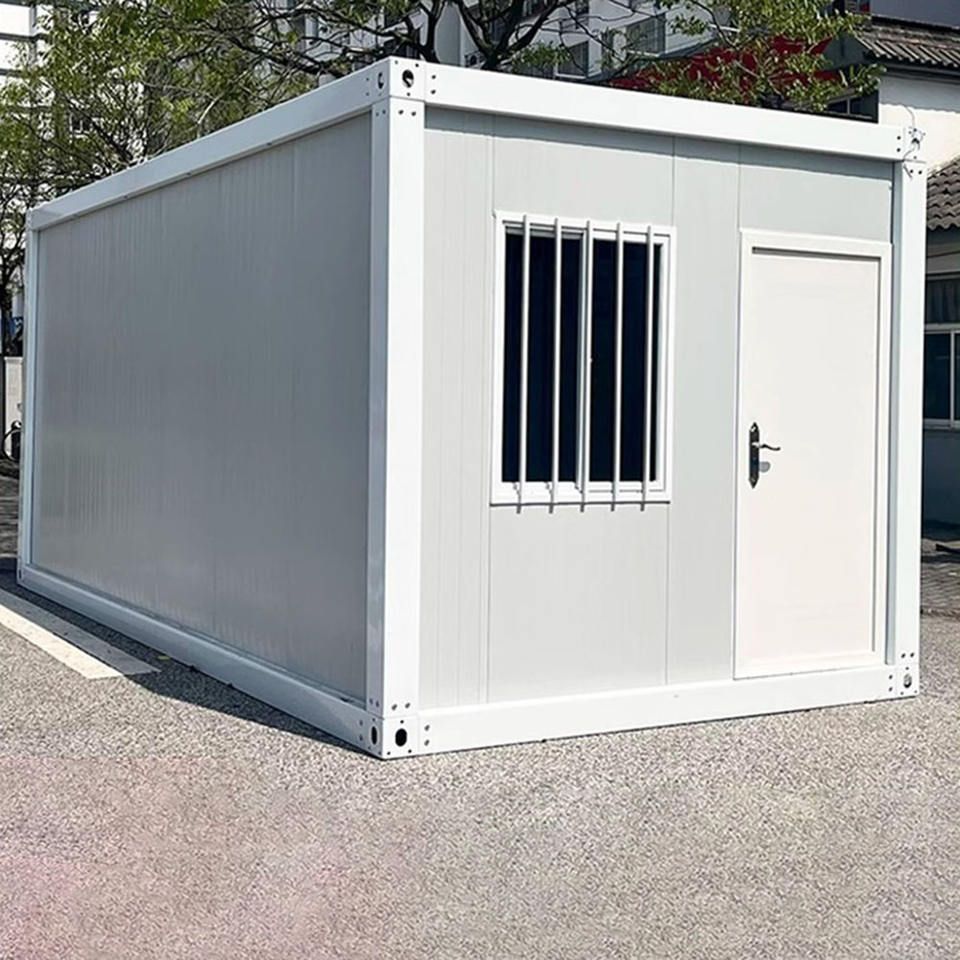
Cement Board Mobile Toilet Installation
Admin 12 de octubre de 2026
The installation of a cement board mobile toilet requires combining the general methods for mobile toilet installation with the key points for cement board installation. The specific steps are as follows:
I. Pre-installation Preparation
- Site Inspection
- The ground must be flat and solid, with recommendations for cement, asphalt, or compacted gravel surfaces, avoiding soft soil or slopes.
- Reserve maintenance access and assess the impact of surrounding obstacles (such as trees and power lines) on lifting operations.
- Confirm water and electricity access points and sewage discharge paths, recording data for reference in scheme design.
- Equipment and Tools
- Lifting equipment: Select a forklift or crane based on the toilet's weight, ensuring sufficient lifting capacity.
- Tools: Spirit level, tape measure, wrench, screwdriver, sealant (such as silicone sealant), etc.
- Auxiliary materials: Pipes, fittings, anchor bolts or straps, and a cement-sand mixture (for leveling cement boards).
- Product Inspection
- Verify that all components (main body, roof, doors and windows, sanitary ware, etc.) are complete and check for any transportation damage to the body structure.
- Carefully read the installation instructions to understand the specific installation requirements for the model.
II. Main Body Installation and Leveling
- Foundation Treatment
- If cement boards are used directly at the bottom of the toilet, lay them according to the dimensions of the sewage trench (the width of the sewage trench should be 20 cm shorter than the cement board, and the depth should be no less than 50 cm).
- Spread a cement-sand mixture on the ground, place the cement board, and check with a spirit level. Adjust low areas with concrete to achieve levelness.
- Lifting and Placement
- Secure lifting straps to the steel beam structure at the bottom of the body. Do not place them on the roof or non-load-bearing parts.
- Slowly lower the body to avoid impacting the ground.
- Level Adjustment
- Use a spirit level to measure at multiple positions (at least four corners) on the bottom frame of the body. If uneven, use a jack or crowbar to lift the low side and insert hard spacers (such as steel plates) for leveling.
III. Pipeline System Connection
- Water Supply Pipeline
- Direct water supply mode: Connect the municipal water supply pipe to the toilet's water inlet using a flexible hose or PPR pipe, using Teflon tape or a sealing gasket at the interface to prevent leaks.
- Water tank mode: Connect the water tank to water facilities (such as toilets and washbasins) according to the instructions.
- Drainage and Sewage Pipeline
- Lay sewage pipelines to the municipal sewer network or septic tank, ensuring a reasonable slope to avoid blockages.
- Connect the toilet's sewage outlet to the pipeline, ensuring a tight seal and testing for no leaks.
IV. Fixation and Acceptance
- Body Fixation
- Use anchor bolts or high-strength steel fasteners to connect the bottom of the body to the foundation, preventing displacement.
- If the bottom is a cement board, ensure it is firmly fixed to the edge of the sewage trench to prevent sliding.
- Function Debugging
- Check that doors and windows open and close properly, sanitary ware flushes correctly, and lighting and ventilation equipment operates normally.
- Conduct a water pressure test to confirm that water flows normally from all water points and there are no leaks.
Precautions: During installation, set up a safety warning area where non-operators are not allowed to enter; strictly level the cement board according to dimensions to prevent tripping; refer to the product instructions for detail adjustments, as different toilet models may have special requirements.
Relacionados



