
Volver al blog
Artículo
Assembly Method of Mobile Toilets
Admin 07 de octubre de 2026
The assembly methods for mobile toilets vary depending on the type, with common assembly methods as follows:
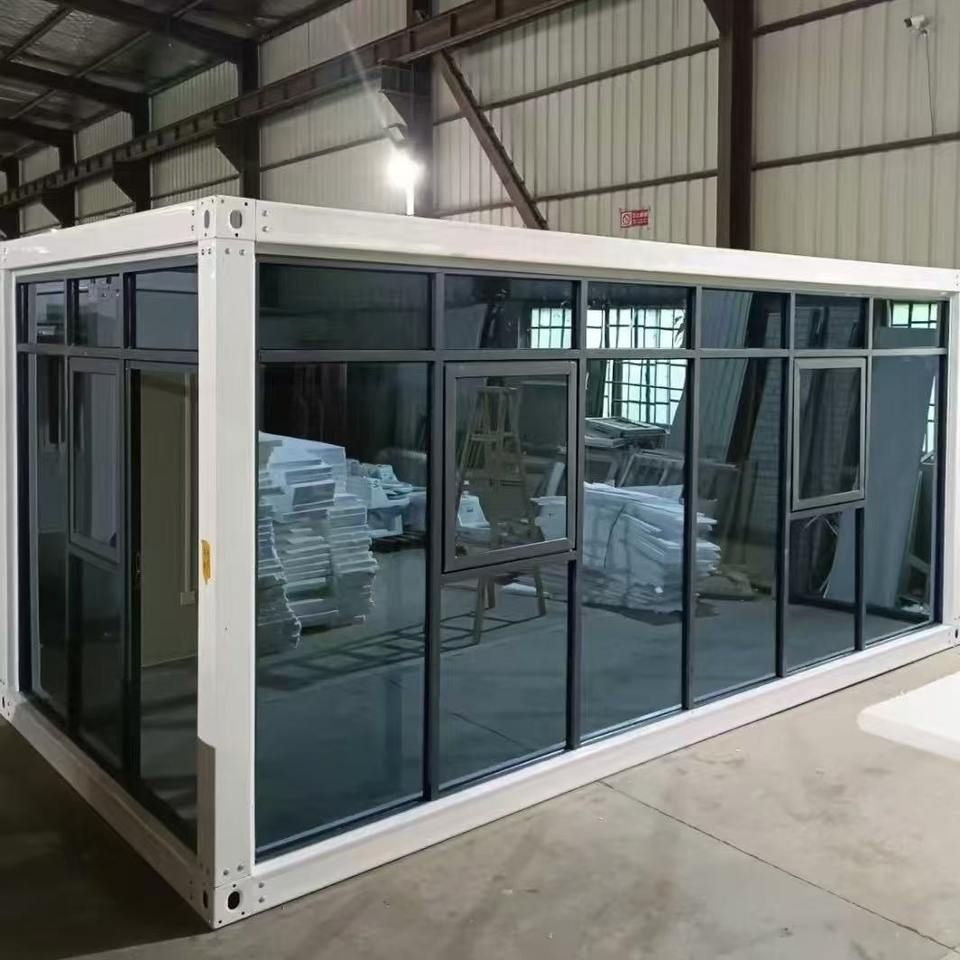
I. Assembly Process for General Mobile Toilets
The installation of general-purpose mobile toilets typically follows a simple six-step process:
- Unpacking and Inspection: Upon receiving the goods, first open the package and check the list of accessories to confirm that all components (such as wall panels, roof panels, base, connectors, screws, etc.) are complete, avoiding installation interruptions due to missing parts.
- Foundation Setup: Place the base steadily at the predetermined location, ensuring the ground is level. If fixation is required, use expansion screws or ground nails to connect the base to the ground, enhancing stability.
- Wall Installation: According to the instructions or tutorials provided by customer service, assemble the wall panels sequentially. Some models need to be aligned through slots or grooves to ensure tight connections without gaps.
- Roof Panel Fixation: Place the roof panel on top of the walls and secure it with screws or special connectors. Ensure that the joints between the roof panel and the walls are sealed to prevent rainwater leakage.
- Functional Component Installation: Install附属 components (accessories) such as doors, ventilation openings, and lighting fixtures, ensuring smooth operation and good ventilation.
- Final Inspection: Check that all connection points are secure, the mobile toilet is stable overall, and the functional components are operating correctly.
II. Assembly of Mobile Toilets Requiring Tools
Some mobile toilets require tools such as electric drills, 4.2mm drill bits, and rivet guns for assembly, with the following steps:
- Corner Installation: Use an electric drill to make holes at the inner corners of the wall panels, insert special connectors or rivets, and fix the corner structures to enhance overall stability.
- Panel Assembly: Insert the wall panels into the slots, align the upper and lower edges, and ensure there is no misalignment between the panels. Drill holes at the joints, insert rivets, and secure them with a rivet gun to form a strong connection.
- Detail Handling: Check that all joints are smooth and the rivets are fully embedded to avoid sharp edges that could scratch users.
III. Assembly of the Behao BH132(PP) Mobile Toilet
This model features a snap-fit design, with the following assembly steps:
- Upper and Lower Body Connection: Align the upper body of the toilet (including the toilet lid and seat) with the lower body, snap it together directly using the snaps, and gently pat it down until fully engaged, ensuring a secure connection.
- Accessory Installation: Install accessories such as the tissue holder and waste bin at the designated locations and check for firmness.
- Anti-Slip Treatment: The toilet is equipped with four arc-shaped anti-slip strips at the bottom, suitable for wet environments such as bathrooms. If the anti-slip strips are lost, contact the manufacturer for replacements and reinstall them.
Precautions: Read the instructions carefully before assembly and choose the appropriate method according to the model; exercise caution when using tools to avoid damaging components or yourself; conduct a functional test after assembly to ensure safe use.
Relacionados



