
Volver al blog
Artículo
Assembly Guide for Portable Toilets
Admin 21 de septiembre de 2026
The tutorial for assembling portable toilets requires selecting the appropriate method based on the type. Common types include finished portable toilets, homemade portable toilets, and basic portable commodes. The specific steps are as follows:
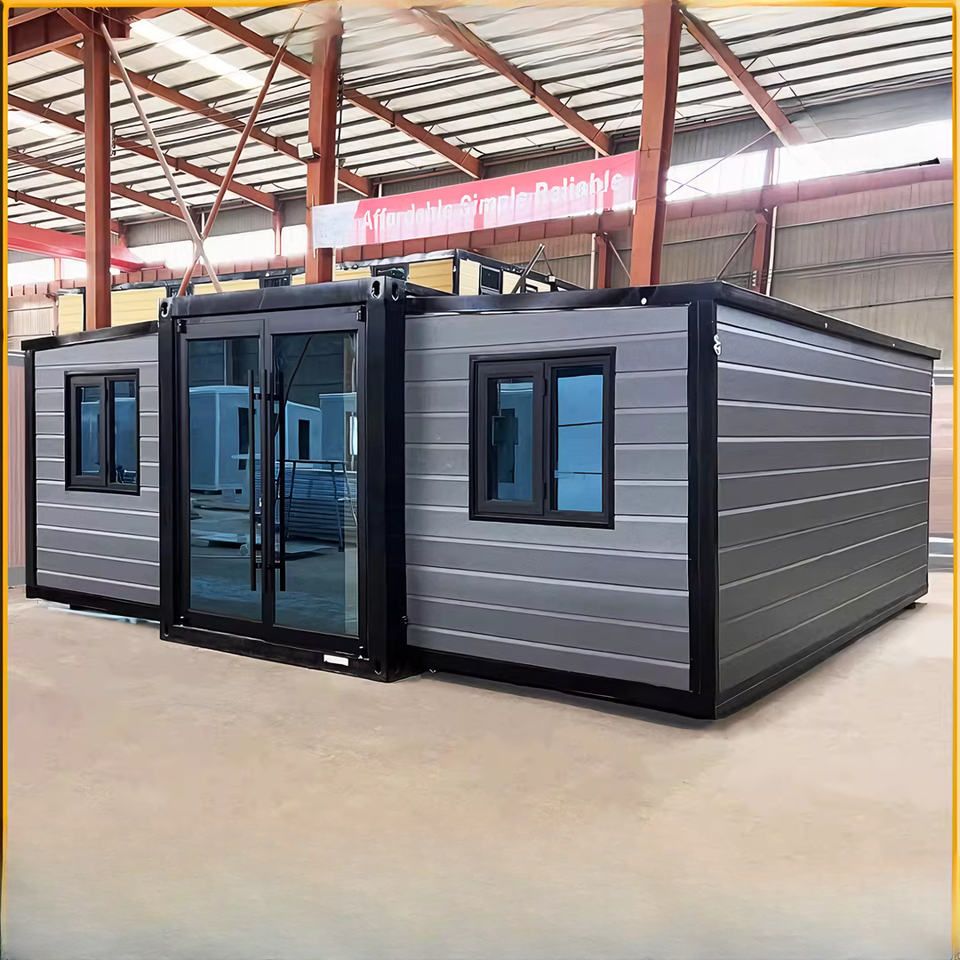
I. Installation of Finished Portable Toilets (Factory-Customized Models)
These toilets have undergone major assembly before leaving the factory, and users need to focus on checking the completeness of accessories.
- Unboxing Inspection: Verify that the instruction manual, screws, seals, and other accessories are complete, and confirm that the main structure is undamaged.
- Base Fixing: Choose expansion bolts or cement piers to fix the base according to the ground conditions to ensure stability.
- Function Connection: Connect the water and electricity lines according to the instruction manual (if equipped with lighting and ventilation systems), and test whether the toilet flushing, sink drainage, and other functions are normal.
- Detail Adjustment: Adjust components such as door hinges and locks to ensure smooth opening and closing, and that the seals fit tightly.
Tip: If you encounter problems during installation, prioritize contacting the manufacturer's customer service for video guidance to avoid voiding the warranty due to self-disassembly.
II. Assembly of Homemade Portable Toilets (Modified from Water Storage Tanks)
Taking a dual-water-storage-tank structure as an example, tools such as an electric drill, angle grinder, and sealant are required.
- Basic Frame Construction:
- Fix universal wheels on a wooden or metal pallet to form a movable base.
- Stack two top-opening water storage tanks and fix them by screwing through the tank bodies to ensure a stable connection.
- Opening and Drainage Treatment:
- Cut a door opening (180 cm high and 50 cm wide) on the side and a 10 cm diameter drainage hole on the internal floor.
- Install a PVC elbow to connect the drainage hole to the external pipe, and apply waterproof sealant to the gaps.
- Toilet and Handwashing Device Installation:
- Place the toilet aligned with the drainage hole, fix it with sealant at the bottom, and connect the water inlet pipe of the water tank.
- Fix the water pipe with wall clips, install a faucet, stainless steel basin, and pipe cap to form a simple handwashing sink.
- Accessory Completion:
- Connect the shower hose to the water tank (if a shower function is required), and install the toilet seat and sprayer.
- Fix a wooden board as a door, and install door handles and locks to ensure privacy.
Note: Wear safety goggles when cutting the water storage tanks to avoid splashing of plastic debris; the drainage system should be deodorized (e.g., by installing a trap).
III. Installation of Basic Portable Commodes (Simple Models)
Suitable for temporary use scenarios, no complex tools are required.
- Anti-Slip Treatment: Embed silicone anti-slip pads into the four corners at the bottom to enhance stability.
- Commode Assembly: Align the buckle positions of the upper and lower commode bodies and press down until a "click" sound is heard to confirm fixation.
- Function Testing: Pour a small amount of clean water to test the sensitivity of the flush button and check whether the joints of the commode body leak.
Advantages: Small in size and light in weight, it can be quickly disassembled and transported, suitable for outdoor activities or emergency scenarios.
Relacionados



