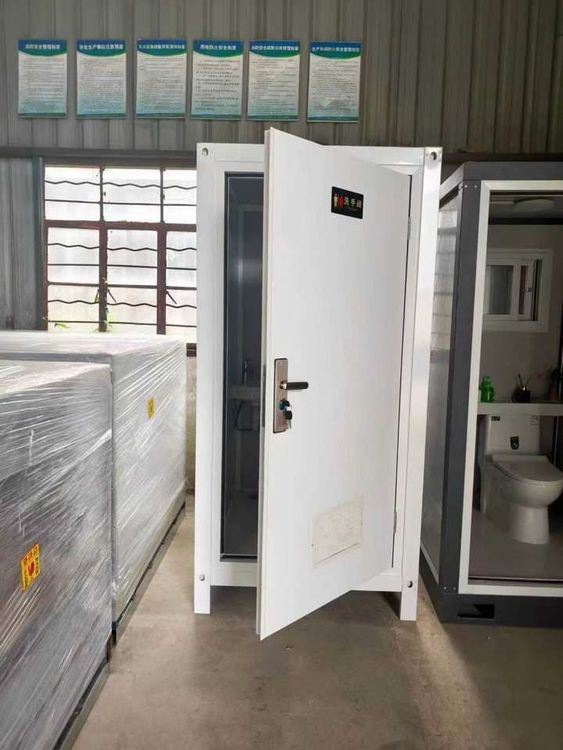
Installation Steps for Mobile Toilets in Zhejiang
The installation steps for mobile toilets in Zhejiang can be divided into four stages: pre-installation preparation, main body installation and leveling, detail handling and finishing, and pre-use confirmation. Details are as follows:

1. Pre-installation Preparation
- Site Assessment
Choose a solid and flat ground surface (such as cement-hardened or asphalt ground). For muddy ground, conduct foundation treatment in advance (such as laying crushed stones and compacting them or pouring a concrete base). Confirm that there is an accessible municipal sewage network or a preset septic tank interface near the installation point. The connection of the sewage hose should be smooth without bends. Reserve sufficient space for personnel use and maintenance vehicle operations. At the same time, avoid low-lying areas prone to water accumulation and place the toilet downwind according to the wind direction. - Infrastructure Preparation
Lead the underground sewage pipe interface to the ground surface in advance. Install an odor-proof floor drain or a docking flange with a diameter that matches the toilet's sewage outlet. Reserve waterproof power interfaces (for lighting and exhaust fans) and water supply pipe interfaces (for hand washing or toilet flushing). In outdoor windy areas, prepare ground fixing rings, expansion bolts, or windproof cables. - Equipment Inspection
Check whether the main structure of the toilet, doors and windows, and internal accessories (such as toilet bowls and handrails) are intact. Confirm that the bottom sewage valve opens and closes flexibly and that the sealing rubber ring is not damaged.
2. Main Body Installation and Leveling
- Transportation and Hoisting
Use a forklift or crane to move the toilet. The hoisting straps or forklift tines should act on the dedicated load-bearing structure at the bottom. Avoid hooking non-load-bearing parts. Move slowly during operation to prevent violent shaking or collisions. - Precise Positioning
Align the bottom sewage outlet of the toilet directly above the pre-set sewage pipe interface on the ground and make fine adjustments until they are completely aligned. - Level Adjustment
Use a level to check whether the toilet is level. If the deviation exceeds 3mm, use cement mortar for leveling to ensure a stable base.
3. Detail Handling and Finishing
- Sewage Pipe Connection and Sealing
Fully insert the toilet's sewage outlet into the drainage connector. Install a dedicated sealing ring or apply glass glue around the sewage pipe (the cement mortar ratio is 1:3). Avoid using offset connectors (which are prone to clogging). - Fixing and Reinforcement
Fix the toilet with expansion bolts, windproof cables, etc. according to the environment to prevent tipping or displacement. - Cleaning and Inspection
Clean the inside and outside of the toilet. Check whether all bolts and nuts are tightened. Close the main water valve and test whether the water and electricity functions (such as lighting and flushing) are normal.
4. Pre-use Confirmation
Confirm that the sewage pipe is unobstructed, there is no water accumulation on the ground, and there are no leaks in the seals before opening it for use. Regular maintenance is required daily (such as cleaning the sewage tank and checking the seals). For direct-discharge toilets, pay special attention to the sealing of the sewage pipe. For packaged or microbial-degradation toilets, handle the waste storage or degradation modules according to the instructions. For smart toilets, additionally verify the water pressure, circuit load, and pit distance parameters.