Back to blog
Article
How to Install Mobile Toilets in Yunlin
Admin October 08, 2026
The installation of mobile toilets in Yunlin should follow these steps to ensure safety and functionality standards are met:

1. Pre-installation Preparation
- Site Confirmation: Choose a flat and solid ground that can bear the overall weight of the toilet to prevent tilting or damage due to unstable foundations. Check if the sewage pipes are unobstructed, and for flush-type toilets, confirm that the sewer pipes meet environmental emission standards.
- Model Selection: Choose the sewage disposal method based on usage needs (e.g., packaged type, microbial degradation type, or flush type). Packaged and microbial degradation types do not require complex piping and can be moved directly; flush types require prior planning for sewage disposal paths.
- Tools and Materials: Prepare tools such as screwdrivers, impact drills, expansion screws, sealing rings, glass glue (or cement mortar), cranes (for large toilets), etc., to ensure a smooth assembly process.
2. Confirm Sewage Disposal Method and Transport
- Sewage Type Handling:
- Packaged/Microbial Degradation Types: Move directly to the installation location without additional piping connections.
- Flush Type: Connect to the sewer pipes, ensuring sewage disposal complies with regulations to avoid environmental pollution.
- Transport and Load Points:
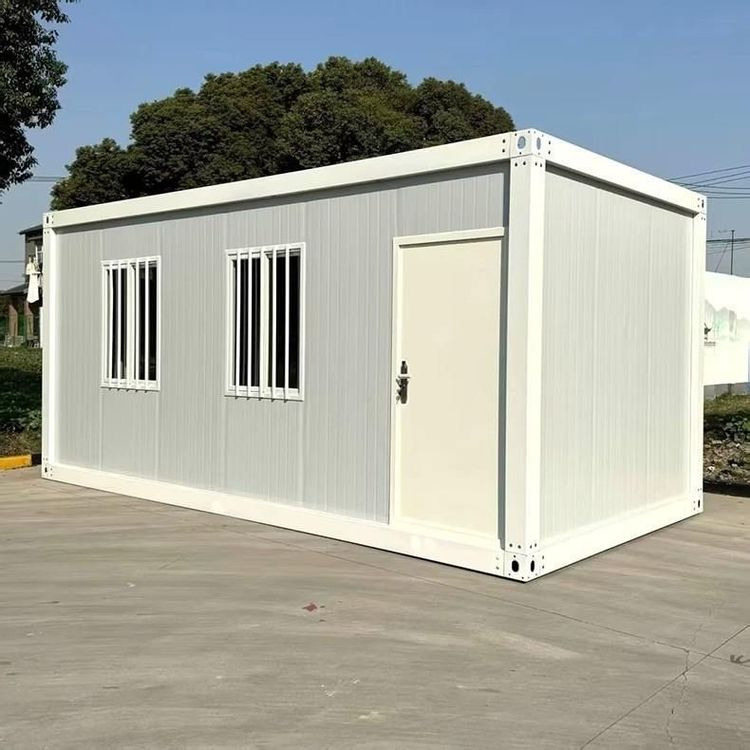
- Pointed-roof Design Toilets: The balance point is near the top, so maintain top stability during transport.
- Flat-roof Design Toilets: Manufacturers preset lifting hooks as lifting points, requiring crane assistance for hoisting.
- Small Simple Toilets: Equipped with wheels at the bottom, they can be manually pushed; large toilets must use cranes to avoid manual handling risks.
3. Frame Assembly and Detail Handling
- Frame Assembly:
- Secure the base to the ground, ensuring it is level.
- Install the right, left, and front wall panels in sequence, tightening the screws.
- Install the upper slots to support the roof cover, and install ventilation louvers to ensure air circulation.
- Cover the roof and check the sealing at the joints of various components to prevent rain leakage or odor diffusion.
- Toilet Installation:
- Flip the toilet, mark a cross-center line at the sewage outlet and extend it to the bottom feet.
- Determine the positions of the bottom screws, drill holes with an impact drill, and embed expansion screw sleeves.
- Install a dedicated sealing ring or apply glass glue (or mix cement mortar in a 1:3 ratio) around the sewage pipe to ensure sealing.
4. On-site Placement and Commissioning Inspection
- Overall Inspection: Check if the screws of various components are tightened, there are no gaps between the walls and the roof cover, and internal facilities (such as toilets and sinks) are not damaged.
- Cleaning and Disinfection: Thoroughly clean the inside and outside of the toilet, and use environmentally friendly disinfectants to treat surfaces to ensure no sanitary dead spots.
- Function Testing: Test the flushing system (for flush types), sewage sealing, ventilation effects, etc., one by one to confirm normal operation without water leakage or odor problems.
Precautions: During installation, strictly follow the instructions to avoid structural damage or safety hazards caused by non-compliant operations. If encountering complex terrain or sewage disposal issues, it is recommended to contact a professional team for assistance.
Related