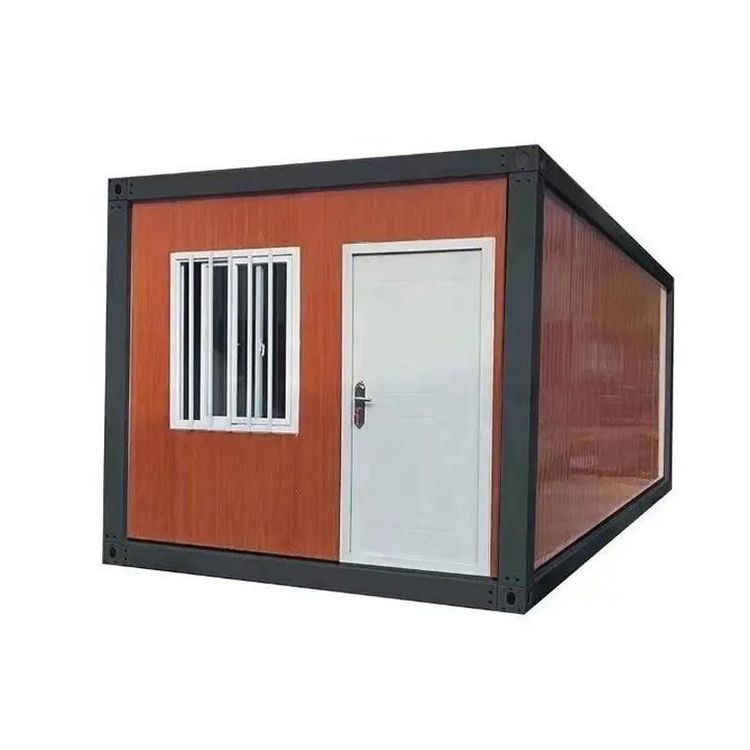
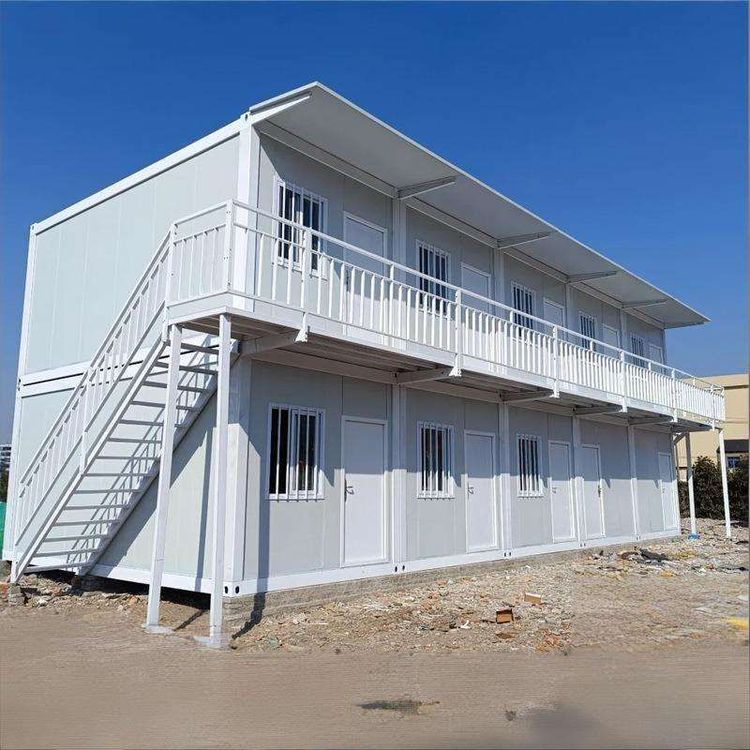
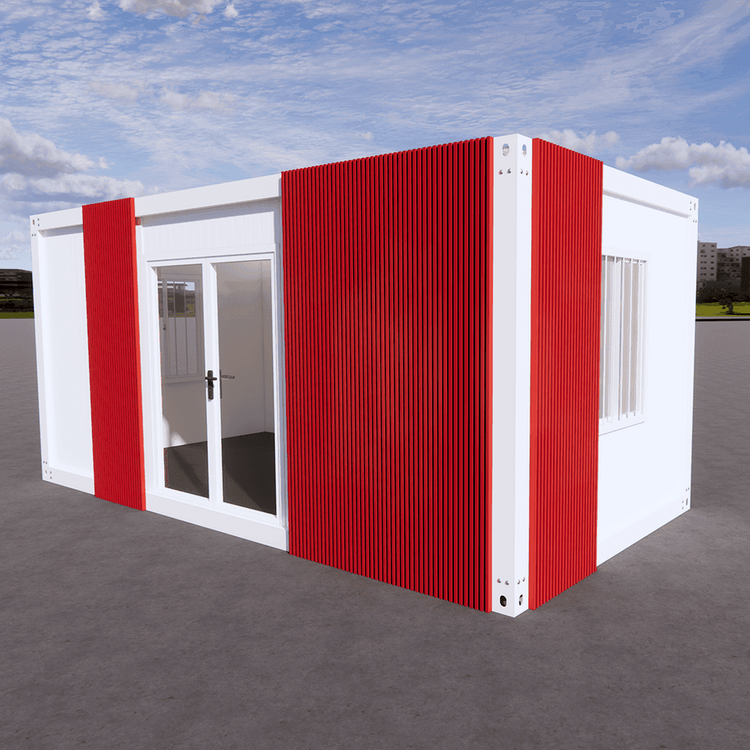
Yunfu Easy Mobile Toilet Installation
The installation process of easy mobile toilets in Yunfu generally follows the core steps of 'positioning - assembly - connection', which can be divided into the following stages:

I. Site Preparation and Positioning
Before installation, determine the toilet location according to the site plan, focusing on checking the ground conditions:
- Ground firmness: Ensure that the installation area is free of soft soil layers or potholes to prevent structural deformation due to foundation settlement.
- Drainage smoothness: If the toilet is equipped with a septic tank or sewage pipeline, plan the drainage path in advance to prevent water accumulation or sewage backflow.
- Space reservation: Reserve operating space according to the toilet size (e.g., approximately 1.2-1.5 meters wide for a single toilet) for easy maintenance later.
II. Chassis and Frame Installation
- Chassis placement: Use a forklift or manual labor to place the prefabricated steel structure chassis steadily at the predetermined position, and adjust it to a horizontal state with a level gauge, with an error controlled within ±5mm.
- Frame fixation: If it is a split-type toilet, connect the wall frame to the chassis with bolts to ensure structural stability. For integrated box-type toilets, proceed directly to the lifting stage.
III. Wall and Roof Panel Assembly
- Wall panel installation: Insert the sandwich panel wall panels into the chassis slots one by one, and fix them with special bolts or buckles. Fill the gaps with sealing strips to prevent air and water leakage.
- Roof panel sealing: After installing the roof panels, perform waterproof treatment on the joints, such as applying waterproof coatings or laying waterproof membranes, to ensure no leakage in rainy days.
Note: This stage usually takes 1-2 hours, and modular design can shorten the assembly time.
IV. Internal Facility Connection
- Water and electricity pipeline connection:
- Connect the water inlet pipes of the flushing system and the handwashing sink (if any), and use quick connectors to reduce installation time.
- The electrical part should be operated by a professional electrician to ensure good grounding and compliance with the electrical safety requirements of the 'Hygiene Specifications for Mobile Toilets' (GB/T 21239-2023).
- Sewage pipeline layout: For direct-discharge toilets, connect the sewage pipes to the municipal sewer network or septic tanks; for self-circulating toilets, connect the fecal storage tanks to the treatment equipment.
V. Functional Debugging and Acceptance
- Flushing test: Check the flushing force of the toilet and the sealing of the water tank to ensure no blockage or leakage.
- Circuit check: Test the power-on status of lighting, ventilation equipment, and sockets to eliminate short-circuit risks.
- Sealing acceptance: Spray water on the doors, windows, and wall panel joints to simulate rainfall and observe whether there is water seepage inside.
Simplified process for integrated mobile toilets:
If you choose a factory-prefabricated box-type toilet, you only need to lift it into place and connect the water and electricity and sewage pipelines on site. The overall installation time can be shortened to 2-4 hours, but ensure that the lifting equipment's load-bearing capacity matches the toilet weight (usually 1-3 tons).
Safety tips: Wear safety helmets, gloves, and other protective equipment during installation to avoid high-altitude operation risks; if underground pipeline construction is involved, detect in advance to avoid damaging the existing pipelines.