Back to blog
Article
How to Install Mobile Toilets in Yichun
Admin September 29, 2026
The installation of mobile toilets in Yichun should be adjusted according to the product model and manufacturer's instructions. The general steps are as follows:

1. Confirm Sewage Disposal Method and Installation Conditions
- Sewage Disposal Mode Selection: Choose from packaged (no sewage pipes required), microbial degradation (using bacteria to decompose waste), or water-flush (requiring connection to sewer pipes) based on needs. If using the water-flush type, plan the sewage discharge path in advance to ensure compliance with local environmental requirements and check that the sewage pipes are unobstructed.
- Ground Condition Inspection: The installation location should be flat and solid, with a ground levelness error not exceeding ±5mm to avoid structural instability or sewage backflow due to inclination. If the ground is soft, pour a concrete foundation for reinforcement.
2. Handling and Positioning
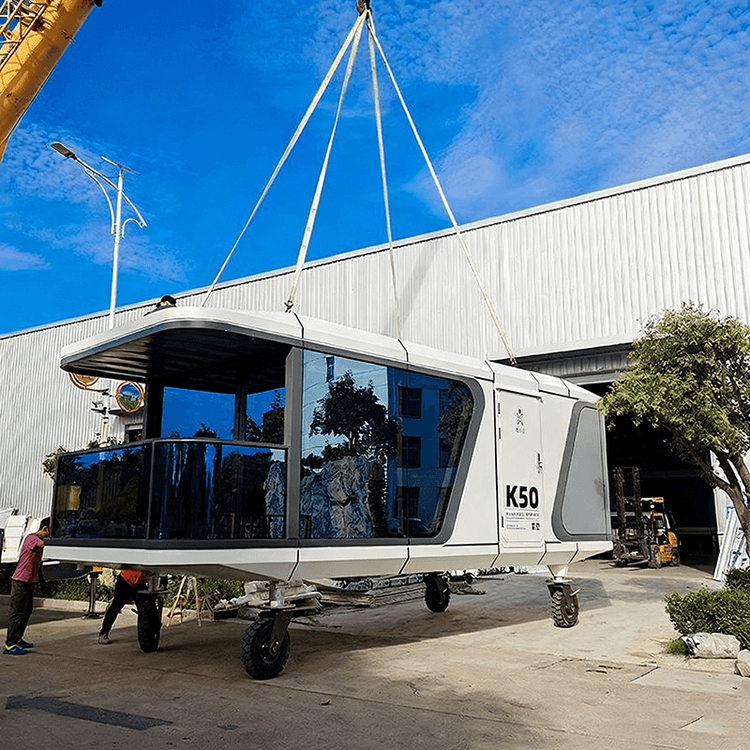
- Handling Method: For toilets with a pointed roof design, the balance point is close to the top, so they should be kept vertical during handling; for flat-roof designs, use the manufacturer's preset hooks or pulleys for assistance to avoid tipping. Small toilets (≤2 tons) can be manually pushed, while large toilets (>2 tons) require crane operations. Protect the outer shell during lifting.
- Positioning Adjustment: Use a forklift or manual labor to place the chassis steadily at the predetermined location and adjust it to a level state with a level gauge to ensure subsequent assembly is stable.
3. Assembling the Frame and Main Structure
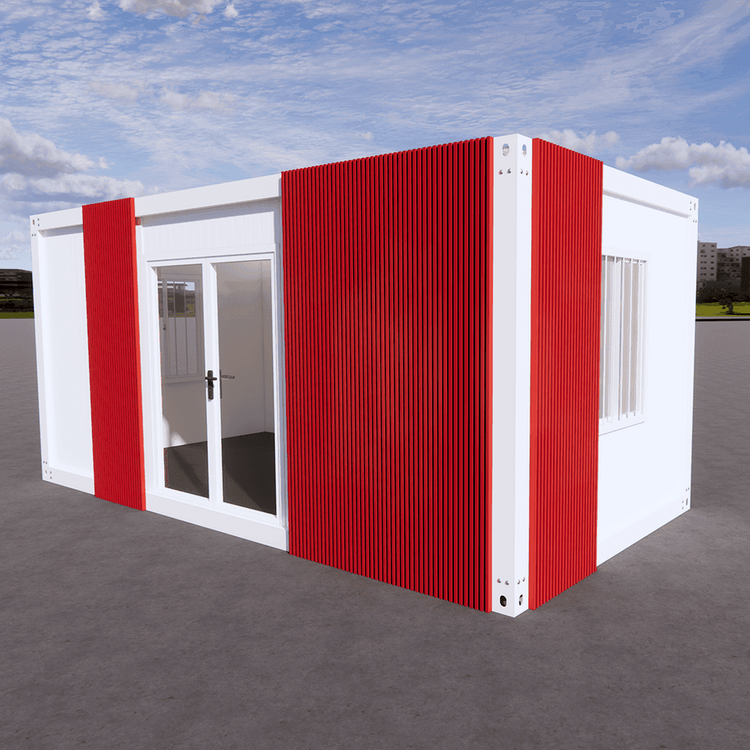
- Integrated Toilets: Fix the base in sequence, connect the left, right, and front wall panels, tighten with screws, and check the perpendicularity; install the upper card slots, ventilation louvers, and finally cover with the roof, ensuring the sealing strips are intact and undamaged.
- Modular Toilets: Insert the wall panels into the chassis card slots and fix them with bolts or buckles; after installing the roof panels, apply waterproof glue or use sealing strips at the joints to prevent rainwater leakage.
4. Connecting Internal Facilities and Utilities
- Facility Installation: Fix the toilet, sink, lighting, and ventilation equipment. For water-flush types, ensure accurate alignment between the sewage pipe and the sewer pipe, with a deviation not exceeding ±2mm.
- Sealing Treatment: The toilet sewage pipe joint can be sealed with rubber rings, glass glue, or cement mortar (ratio 1:3) to prevent odor leakage. For water and electricity pipe connections, prioritize the use of modular quick connectors to shorten installation time and reduce the risk of electric leakage.
5. Testing and Acceptance
- Function Testing: Check the firmness of each component, test the flushing pressure, circuit continuity, and ventilation effect to ensure there is no looseness, water leakage, or odor.
- Hygiene Acceptance: Clean and disinfect the interior, and confirm compliance with the requirements of the "Mobile Toilet Hygiene Standard" (GB/T 21239-2023), such as toilet cleanliness and air quality indicators, before putting it into use.
Precautions:
- Follow the manufacturer's specific instructions first, as installation steps may vary for different models (e.g., integrated and modular).
- Protect the surrounding environment before installation, such as laying dust sheets, to avoid damage to the ground or vegetation during construction.