Back to blog
Article
How to Install a Wooden Mobile Toilet
Admin September 28, 2026
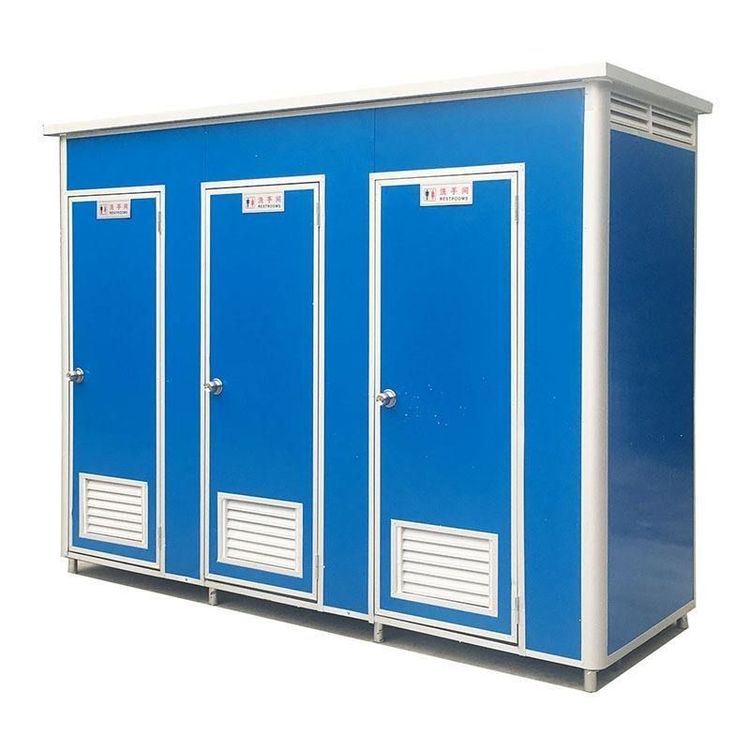
The installation of a wooden mobile toilet should be carried out in stages according to different indoor and outdoor scenarios to ensure stability, airtightness, and safety during use.

General Installation Process (Applicable to Outdoor or Basic Wooden Mobile Toilets)
Preparation Stage
- Site Confirmation: Choose a flat area with strong load-bearing capacity. Check if the sewage pipes are unobstructed (for flush toilets, ensure the sewer pipes meet emission standards). The ground level error should not exceed ±5mm.
- Model Selection: Determine the sewage disposal method (packing type, microbial degradation type, or flush type) based on needs. For flush toilets, plan the sewage discharge path in advance to avoid environmental pollution.
- Tools and Materials: Prepare tools such as screwdrivers, wrenches, and spirit levels. Wear safety protective gear, mark the construction area, and set up warning signs.
Frame Assembly
- Base Fixation: Place the base at the predetermined position and fix it to the ground with expansion bolts or chemical anchors to ensure no shaking.
- Wall Installation: Connect the right, left, and front wall panels in sequence and lock them with matching screws. Pay special attention to checking the airtightness of the joints between the walls and the base to prevent leakage.
- Top Structure: Install the upper slots to support the roof cover, embed ventilation louvers (if included in the design), and finally cover the roof cover. Check if the connections between all components are firm. Two people should cooperate to avoid tipping.
Detail Handling and Finalization
- Cleaning and Tightening: Clean up debris inside and outside the toilet, check each bolt and nut one by one to ensure they are tightened, and focus on inspecting the connection points between the walls and the base, and between the roof cover and the slots.
- Maintenance Instructions: Provide users with a daily maintenance guide (such as regularly cleaning the sewage disposal system and checking the ventilation effect). The toilet can be put into use after acceptance.
Special Requirements for Indoor Wooden Mobile Toilets
Pre-installation Planning
- Type Selection: Choose a dry composting toilet (requiring covering material), a packing toilet (requiring regular cleaning of fecal bags), or a micro-biological treatment toilet (requiring power support for the exhaust fan) according to the usage frequency and space size.
- Location and Size Selection: Choose a well-ventilated and private location. Accurately measure the net space size to ensure that there is an operating gap of at least 30cm between the toilet and the walls and furniture.
- Supporting Facilities: For dry composting toilets, prepare covering materials such as sawdust or rice husks; for models requiring power supply, confirm that there is a power outlet near the installation location; for exhaust fans, plan the exhaust duct to lead to the outdoors in advance.
Installation Implementation Steps
- Unpacking Inspection: Check all components against the instruction manual to see if there is any damage during transportation (such as wall cracks or deformed screws). Contact the supplier for replacement of missing components in a timely manner.
- Main Body Assembly: Connect the frame step by step according to the instruction manual. Use a torque wrench to ensure that the screw tightening force meets the standard (usually 5-8N·m) to avoid structural noise or leakage caused by looseness.
- Leveling Test: Place the assembled toilet at the selected location and adjust the height of the four corners of the base with a spirit level to ensure overall levelness and prevent door frame deformation or sewage discharge problems due to long-term use.