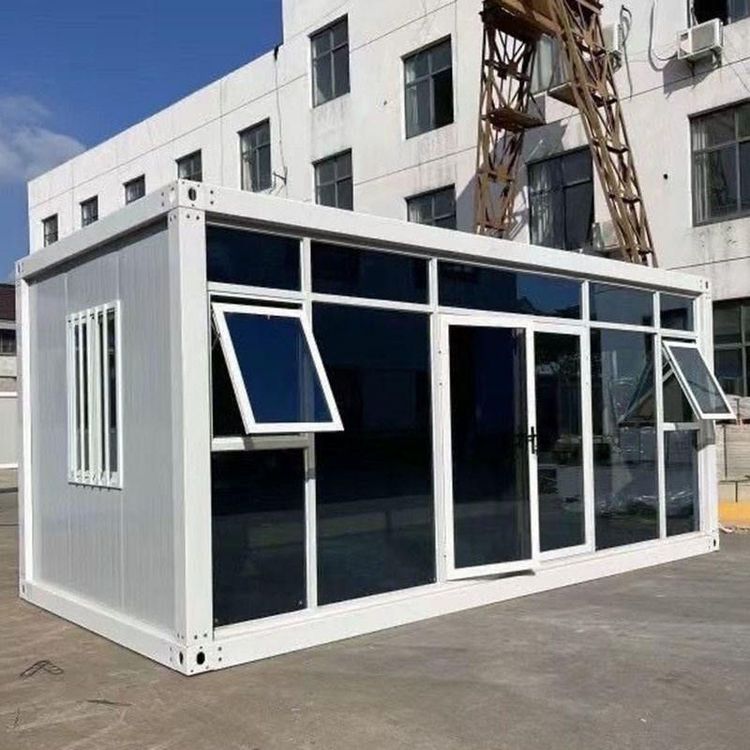
Waterproofing Treatment for Container Houses
Waterproofing treatment for container houses requires targeted measures for different parts such as the roof, walls, and base, and enhances overall waterproofing performance through the selection of sealants and dynamic maintenance.

I. Roof Waterproofing Treatment
The roof is the core area for waterproofing in container houses and requires a four-step process: "substrate treatment - coating application - membrane laying - node reinforcement." First, clean the roof of debris and rust, and apply anti-rust primer to severely corroded areas after grinding. Next, apply polyurethane or acrylic waterproof coatings 2-3 times, with a total thickness of 1.5-2.0 millimeters, ensuring each layer is applied perpendicular to the previous one for enhanced coverage. Then, lay SBS modified asphalt or PVC waterproof membranes from low to high points, with an overlap width of ≥100 millimeters, sealing the overlaps with special adhesive or hot air welding guns. Finally, lay a 300-millimeter-wide waterproof membrane reinforcement layer at weak points such as the connection between the roof and walls, and exhaust vents to prevent rainwater penetration.
II. Wall Waterproofing Treatment
Wall waterproofing focuses on addressing gaps and holes. Use silicone sealant or polyurethane foam filler to fill panel joints and bolt holes, embedding foam rods in large gaps before applying sealant. Apply a layer of waterproof coating overall, with special attention to applying 2-3 coats at joints to enhance sealing. Seal the gaps between window and door frames and wall panels with special sealant strips, applying weather-resistant sealant all around. Set up drainage slopes (slope ≥5%) on window sills to prevent water accumulation and backflow.
III. Base Waterproofing Treatment
Base waterproofing must consider both moisture prevention and drainage. Place the container on a flat, solid foundation that is elevated above the ground, with drainage ditches (slope ≥2%) around it to ensure rapid drainage of rainwater. Lay polyethylene moisture-proof film or asphalt felt as a moisture-proof layer, sealing the overlaps and turning them up 100-150 millimeters for fixation to prevent ground moisture from rising.
IV. Sealant Selection and Application
Select sealants based on the application scenario: butyl sealant has strong weather resistance (-40°C to 120°C) and is suitable for long-term outdoor bonding of metals, glass, and concrete; neoprene sealant cures quickly and is suitable for temporary leak repairs, with some models paintable for concealment; MS sealant has good elasticity (can stretch up to 4 times) and is suitable for dynamic gaps in container houses that experience movement. Allow all sealants to cure for 24 hours after application and avoid touching them during this time.
V. Dynamic Waterproofing and Maintenance
Regularly inspect the waterproof layer, drainage system, and sealant strips of folding container houses, adding sealant or strips at connection points. Equip open-top container houses with flanges, drainage channels, and waterproof baffles at the top, and tighten the installation of soft-top materials (such as coated fabric). Inspect all types of container houses every six months, focusing on identifying issues such as coating cracks, sealant aging, and drainage ditch blockages, and repair them promptly to extend service life.