
Installation Steps for Square Mobile Toilets
The installation steps for square mobile toilets can be divided into four stages: pre-installation site survey, basic installation specifications, specific installation operations, and installation acceptance points, as detailed below:
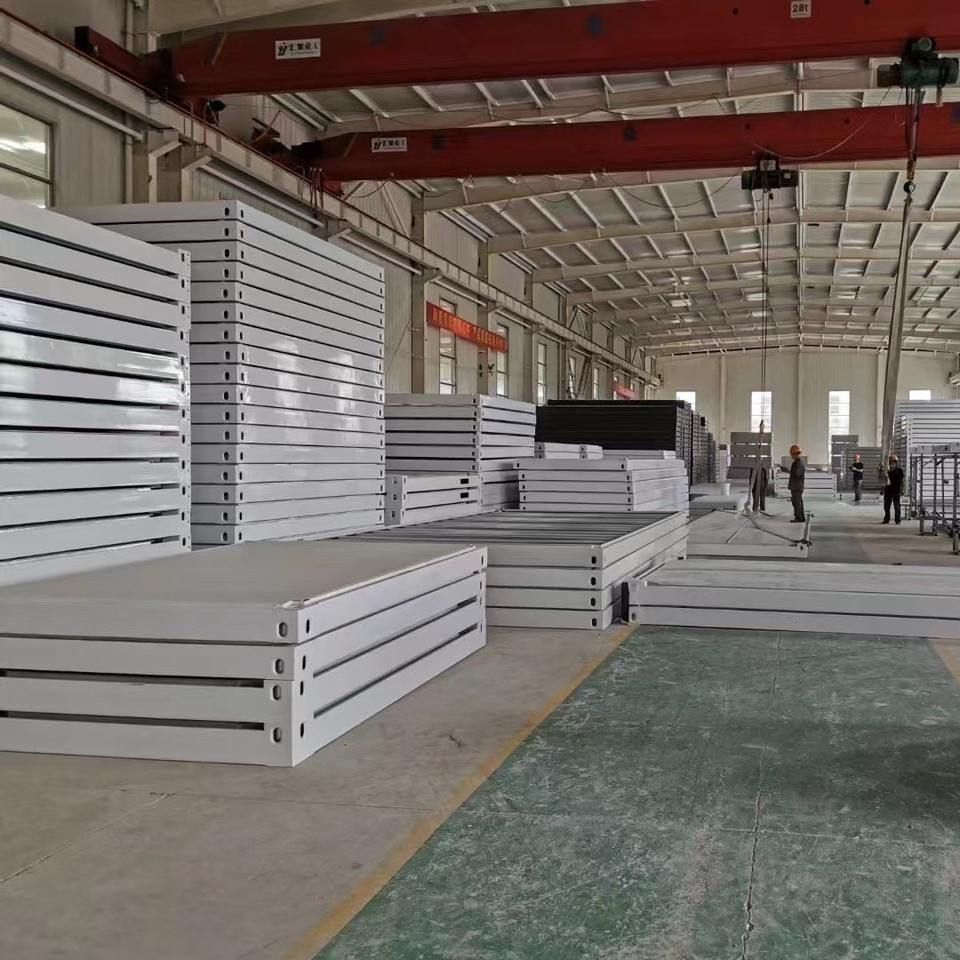
Pre-installation Site Survey: It is necessary to confirm the locations of key areas in the square in advance, with a focus on areas within 300 meters of concentrated personnel areas to ensure convenience of use. Avoid areas with dense drainage pipes to prevent damage to underground facilities during construction. Reserve a safety passage at least 1.5 meters wide to ensure personnel passage and emergency evacuation needs.
Basic Installation Specifications:
- Ground Preparation: The ground must be leveled to prevent the toilet from tilting or being damaged due to unevenness. Lay anti-slip mats to prevent safety hazards caused by water accumulation after rain or slippery ground.
- Fixing Method: Choose a fixing method based on site conditions. If the ground is hard (e.g., concrete), use expansion screws for fixation. If the ground cannot be drilled (e.g., asphalt or soft ground), use counterweights for fixation to ensure the toilet's wind resistance and prevent it from being blown over.
- Water and Electricity Connection: The sewage pipe must be precisely connected to the municipal sewage network to ensure smooth sewage discharge. The power supply area must be kept away from water sources to avoid the risk of electric shock and comply with electrical safety regulations.
Specific Installation Operations: After receiving the goods, prepare tools such as an electric drill, a 4.2mm drill bit, and a rivet gun. During installation, first install the inner corners sequentially to ensure the structural frame is stable. Second, insert the panels into the slots, aligning the upper and lower edges during splicing to ensure uniform gaps. Third, drill holes at the splicing points, insert rivets, and secure them with a rivet gun to ensure a firm connection. Pay attention to tool safety during operation to avoid damaging materials.
Installation Acceptance Points:
- Appearance Cleanliness: Check that the toilet shell has no damage or stains, and that markings (such as usage instructions and emergency contact information) are clearly visible to enhance the user experience.
- Function Testing: Test the flushing system (sufficient water volume, smooth drainage), lighting system (adequate brightness, no flickering), and ventilation system (high air exchange efficiency, no odors) sequentially to ensure all functions are operating normally.
- Emergency Preparedness: Equip with spare toilet paper, hand sanitizer, and other consumables. Set up a cleaning tool room and store brooms, mops, and other tools for daily maintenance and emergency handling.



