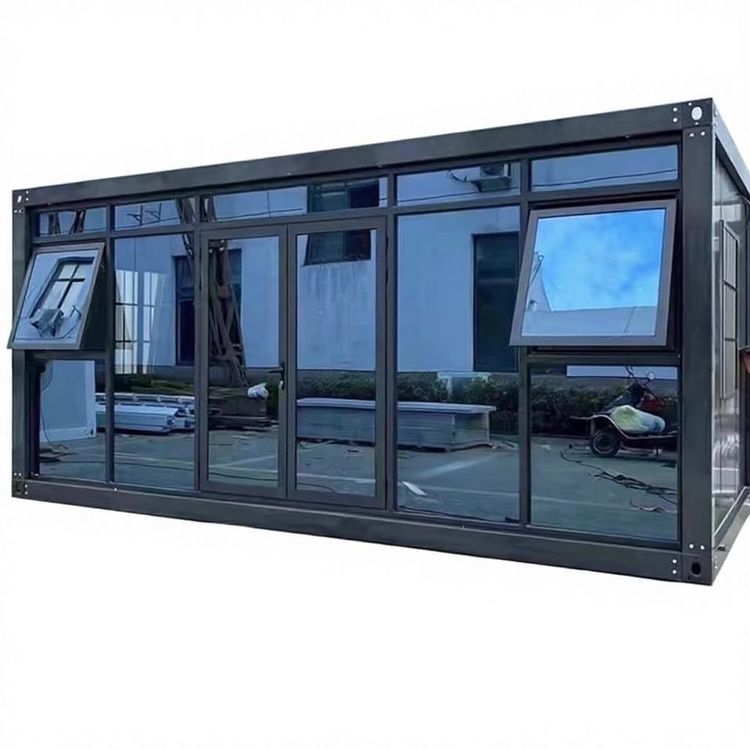
South Area Mobile Toilet Installation
The installation of mobile toilets in the South Area should follow the following procedures and key points to ensure safety, efficiency, and compliance:
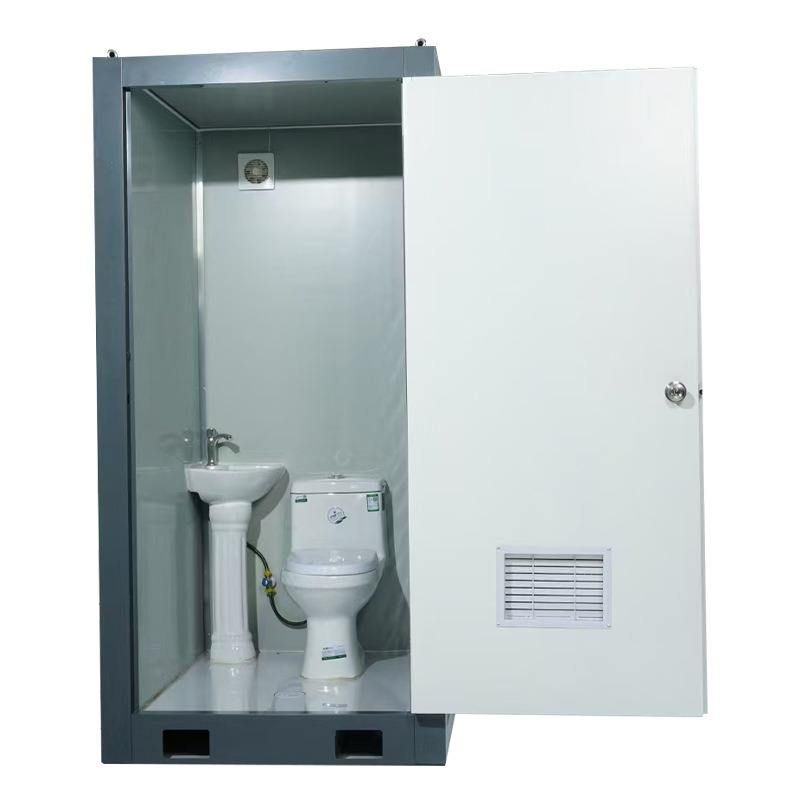
I. Pre-installation Preparation
- Site Survey: Select a flat and solid area, away from main construction roads, pollution sources, and low-lying areas prone to water accumulation. For example, when installing on a construction site, the distance from the edge of the foundation pit should be ≥1.5 meters, and for event sites, an access passage ≥1.2 meters wide should be reserved.
- Material Verification: Check whether the mobile toilet components, such as the toilet body, door locks, flush valves, sewage pipes, and washbasins, are complete and undamaged, and confirm that the equipment model matches the requirements.
- Foundation Treatment: Clear debris from the ground according to the toilet type (single or connected). Lay gravel or a concrete foundation to ensure that the load-bearing capacity meets the standard (the load-bearing capacity of a single toilet should be ≥200 kg/㎡). If the ground is uneven or the soil is soft, harden it in advance or lay steel plates.
II. On-site Installation Steps
- Positioning the Main Body: Use a forklift or crane to lift the toilet smoothly to the designated position. Adjust the levelness with a level gauge (the deviation should be ≤3 mm) and fix it with expansion bolts or counterweights to prevent tipping.
- Water and Sewage Connection:
- Sewage Connection: Connect the sewage pipe to the municipal sewer or a temporary sewage collection tank. Ensure that the pipe slope is ≥2%, and seal the joints with sealing tape or cement to prevent leakage.
- Water Supply Connection: Connect to tap water or a dedicated water tank (it is recommended that the water pipe diameter be ≥DN20). Test the flushing function and drainage tightness.
- Installation of Internal Facilities:
- For split-type toilets, insert the wall panels into the chassis slots and fix them with bolts. Seal the roof to prevent leakage.
- Install partitions, toilets, washbasins, lighting, and ventilation equipment. Connect modular water and electricity interfaces (such as quick connectors) to shorten the installation time.
- Detail Adjustment and Cleaning: Check the flexibility of the door locks and flush buttons, and install anti-slip mats, door curtains, and other accessories. Conduct a flushing test (press the button continuously 3 times), check the electrical circuit and tightness, clean the interior, and place consumables such as toilet paper and air fresheners.
III. Post-installation Acceptance
- Function Testing: Include testing the flushing smoothness and structural load-bearing stability (check by evenly stepping on the top).
- Document Delivery: Provide the customer with an Equipment Installation Acceptance Form, specifying the installation date, warranty period, and usage instructions.
IV. Key Influencing Factors The installation of integrated box-type toilets is the fastest (2-4 hours), while split-type toilets require 1-2 hours to assemble the main body. A professional construction team can significantly improve efficiency. If connection to the municipal sewage pipe network or a dedicated septic tank is required, the installation time will be extended.
V. Safety Regulations Installation is prohibited in windy weather (≥Level 5). Safety harnesses must be worn for high-altitude operations. Set up warning signs in the construction area, and equip night construction with lighting and reflective strips.
You can refer to the industry standard Mobile Toilet Hygiene Standard (GB/T 21239-2023) to optimize the process or contact a professional rental team for customized services.
You may also like
Portable Toilet Eco-Friendly: MOQ, Samples & Quotation Guide
Read More
Top Portable Toilet Color Steel Manufacturers: How to Choose a Factory Partner
Read MorePortable Toilet Picture: Types, Features & Buying Tips
Read More