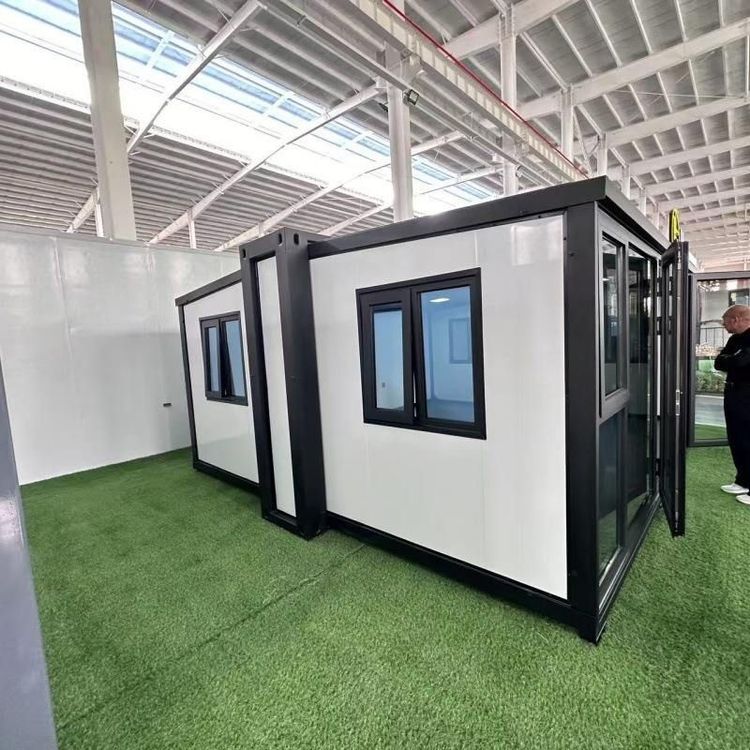
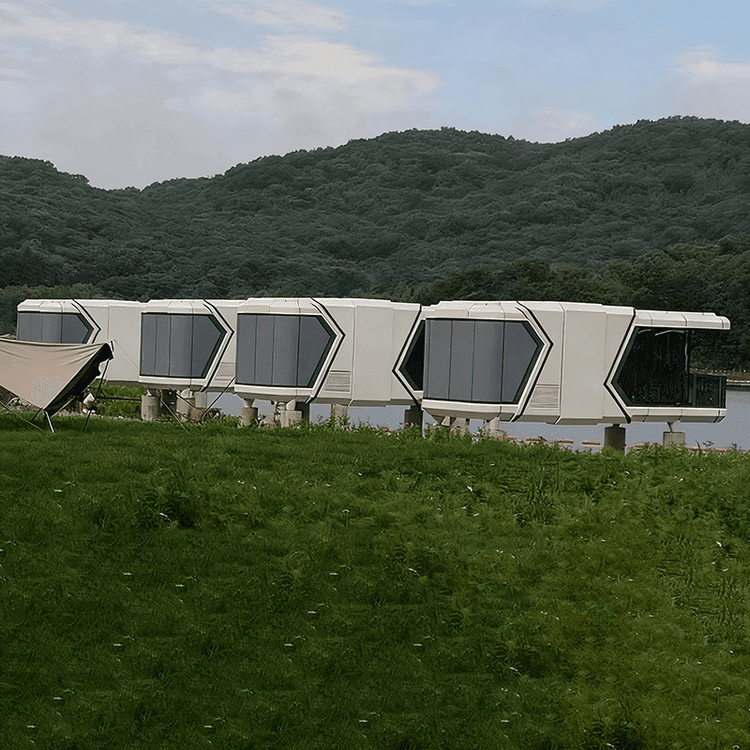
Shaoxing Outdoor Mobile Toilet Installation
The installation of outdoor mobile toilets in Shaoxing requires following a scientific process, covering facility preparation, site selection and treatment, hoisting and positioning, system connection, and functional verification. The specific steps are as follows:
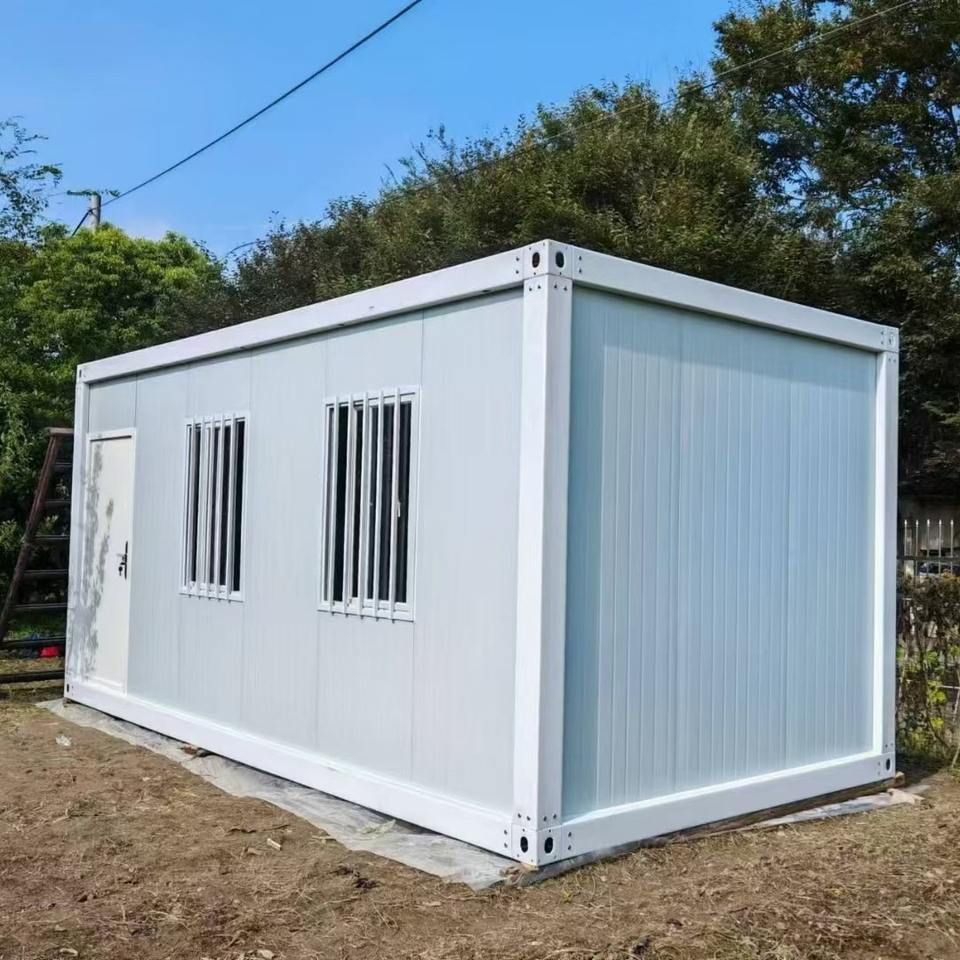
I. Facility Composition and Modular Preparation
Outdoor mobile toilets adopt a modular design. The basic modules include toilet spaces, ventilation systems, and lighting equipment, with the option to expand with modules for fecal treatment, fresh water supply, or solid waste collection based on needs. Before installation, confirm the types and quantities of modules, check the physical structural integrity of each module (e.g., no cracks in the box, no damage to pipes), and prepare supporting accessories such as flexible impermeable sleeves, waterproof cables, and anti-slip mats to ensure all components meet design specifications.
II. Site Selection Evaluation and Ground Pre-treatment
Site selection requires a comprehensive assessment of geological conditions, water source distance, and wind direction factors: avoid soft or waterlogged areas, ensure ventilation openings or fecal treatment modules are located downwind, and reserve at least a 1.5-meter-wide transportation and maintenance passage. Ground treatment should be selected based on the geological report:
- Soft soil foundation: Compact in layers and lay a 20cm thick gravel bedding layer;
- Hard ground: Pour a 10cm thick C20 concrete platform with a surface flatness error of ≤5mm;
- Temporary site: Use steel plates or wooden square bedding layers to enhance load-bearing capacity.
After pre-treatment, mark the positions of pipe interfaces to ensure alignment with the module bottom interfaces.
III. Hoisting and Positioning and Physical Connection
Use a crane or forklift to unload the modules from the transportation vehicle, controlling the falling speed to ≤0.5m/s and the angle deviation to ≤3° to avoid deformation of pipe interfaces due to force. After the modules are in place, perform three-dimensional calibration:
- Levelness: Adjust using a laser level with an error of ≤2mm/m;
- Perpendicularity: Verify with a plumb line with a deviation of ≤5mm;
- Interface alignment: The gap between the sewage pipe and the septic tank interface should be ≤1mm, and tighten with a rubber sealing ring.
IV. System Connection and Functional Integration
- Water supply and drainage system: Connect to a temporary water supply pipe (pressure ≥0.2MPa), connect the sewage outlet to the septic tank through a flexible sleeve, and secure both ends of the sleeve with stainless steel clamps;
- Electrical system: The cables led from the distribution box should be protected by PVC pipes, the lighting switch should be installed at a height of ≥1.8m, and the exhaust fan power cord should have waterproof joint treatment;
- Ancillary facilities: Install anti-slip mats (friction coefficient ≥0.6), fixed handrails (load-bearing capacity ≥500kg), and bilingual (Chinese-English) identification signs;
- Functional verification: Test water pressure stability by flushing continuously 3 times, the ventilation volume should reach 8m³/min, the illumination should be ≥100lx, and the pipe interface should withstand a pressure test of ≥0.3MPa without leakage.
V. Professional Services and Follow-up Support
Choosing a team that provides on-site installation services can ensure the adaptability of the plan, such as adjusting the module height according to the ground slope or configuring a solar power supply system for sites without power. After installation, training should be provided to operators, covering topics such as the septic tank cleaning cycle (recommended every 3-5 days), disinfectant ratio (1:50 sodium hypochlorite solution), and the use of emergency sewage discharge valves to ensure the long-term stable operation of the facilities.