How to Install Mobile Toilets in Scenic Areas
The installation of mobile toilets in scenic areas requires a combination of factory prefabrication characteristics and adaptation to the on-site environment. The specific steps are as follows:

1. Factory Prefabrication and Transportation Preparation
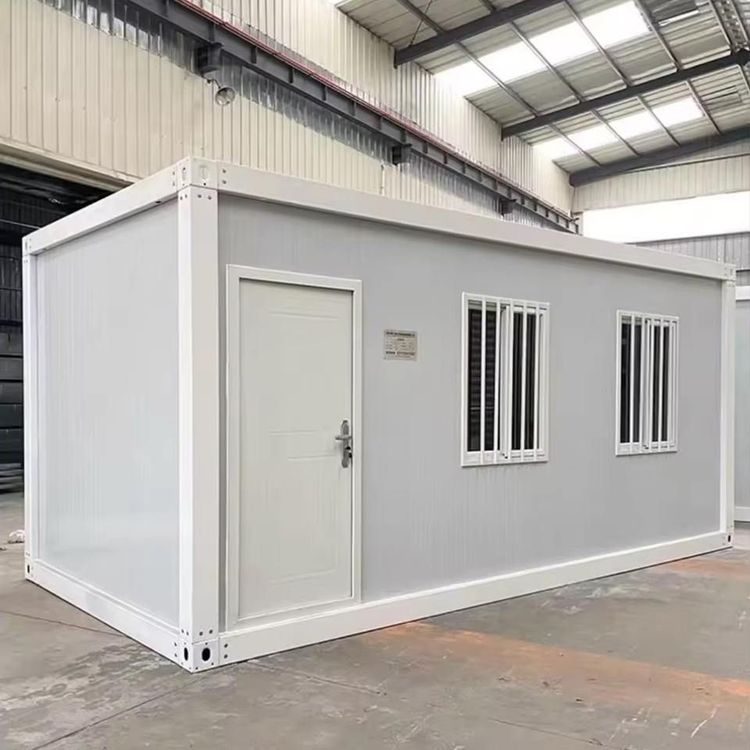
Mobile toilets are typically standardized prefabricated products from factories. The main structure (such as frames, panels, and toilets) is assembled in the factory, and only on-site assembly and fixation are required before use. Before transportation, it is necessary to confirm that the toilet size matches the road conditions in the scenic area to avoid transportation difficulties due to excessive size.
2. On-site Installation Tools and Material Preparation
After receiving the goods, the following tools and materials need to be prepared in advance:
- Tools: Electric drills (equipped with 4.2-millimeter drill bits), rivet guns, spirit levels, tape measures, wrenches, etc.;
- Materials: Rivets matching the toilet body, sealing strips, fixing bolts (if ground embedding is required), etc.
3. Basic Installation Steps
Inner Corner Fixation: Install the inner corner components of the toilet in sequence according to the design drawings, and use a spirit level to adjust the verticality to ensure structural stability. The inner corners are key to supporting the overall frame, and it is necessary to focus on checking whether the connections are tight.
Panel Assembly: Insert the prefabricated panels into the slots, align the upper and lower edges and side interfaces to ensure no misalignment or gaps at the joints. Two people are required for assembly, with one person fixing the panels and the other adjusting the alignment.
Rivet Fixation: Drill holes at the panel joints using a 4.2-millimeter drill bit, insert matching rivets, and tighten them with a rivet gun. It is recommended to control the rivet spacing between 15-20 centimeters to ensure connection strength.
Sealing Treatment: Apply sealing strips at the panel joints to prevent rainwater infiltration or odor diffusion, especially paying attention to the connection areas between the toilet and the ground, and between the walls and the roof.
4. Installation Points for Special Types
If stainless steel waterless packing squat toilets are used, the installation method needs to be selected according to the needs of the scenic area:
- Floor-mounted type: Directly placed on a flat ground, suitable for temporary use or scenarios requiring frequent movement;
- Ground-embedded type: Excavate a foundation pit matching the size of the toilet, fix it, and then backfill and compact it, suitable for long-term fixed areas requiring wind and tipping resistance (such as mountain scenic areas).
5. Environmental Adaptation and Acceptance
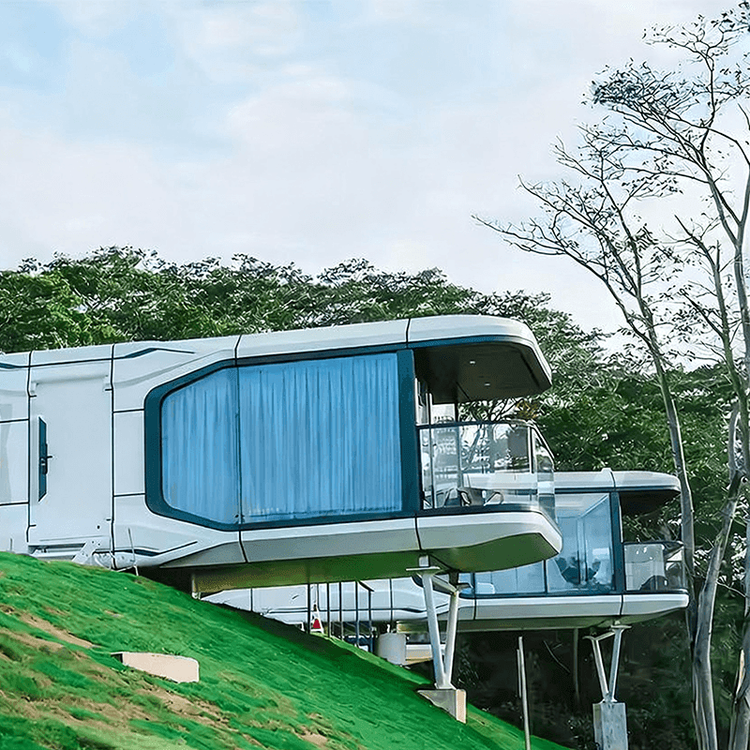
After installation, adjust the appearance of the toilet (such as paint color, decorative elements) according to the landscape style of the scenic area to ensure harmony with the surrounding environment. Finally, conduct functional tests, including flushing (if there is a water source), sewage discharge, door locks, etc., to confirm that there is no water leakage, odor, or structural looseness before putting it into use.