
Back to blog
Article
Rooftop Mobile Toilet Installation Guide
Admin October 08, 2026
The installation of a rooftop mobile toilet requires adjustments based on general procedures and the specific rooftop environment. The detailed steps are as follows:
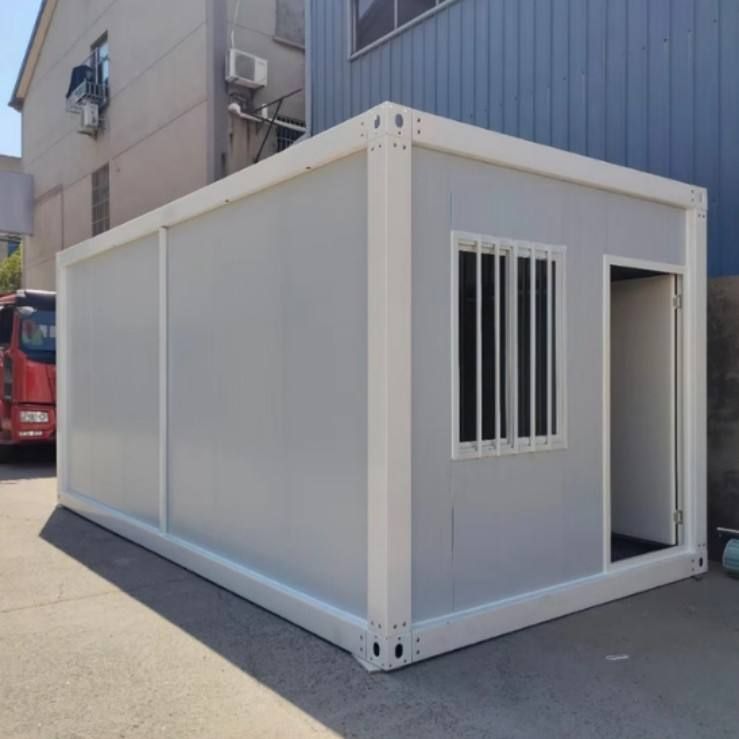
I. Preparation Phase
- Confirm Installation Location
Select a solid and flat area on the rooftop, avoiding low-lying areas prone to water accumulation. If the surface is a hardened concrete floor, installation can proceed directly. For other materials (such as color-coated steel sheets or wooden structures), assess the load-bearing capacity and, if necessary, lay a concrete foundation or reinforce the floor to ensure the load-bearing capacity meets the requirements of the toilet's self-weight and usage load. - Inspect Sewage Pipes
Confirm the presence of accessible municipal sewage networks or pre-set septic tank interfaces on or near the rooftop. Measure the distance between the interface and the planned toilet location to ensure the sewage hose is long enough and can be connected without sharp bends (the bend angle should be > 90°) to prevent blockages or backflow of sewage. - Reserve Water and Electricity Interfaces (if applicable)
If the toilet requires lighting, exhaust fans, or automatic flushing devices, reserve waterproof power outlets on the rooftop (it is recommended to use waterproof socket boxes) and ensure proper grounding of the wiring. If water supply is needed, reserve a water supply pipe interface and install a check valve to prevent backflow. - Prepare Fixing Devices
Based on the wind conditions on the rooftop, prepare ground fixing rings, expansion bolts (diameter ≥ 10mm), or windproof cables (it is recommended to use steel cables) to ensure the toilet's wind resistance meets local meteorological conditions (reinforcement may be required in coastal areas).
II. Main Body Transportation and Positioning
- Select Load-Bearing Points
Mobile toilets with flat-top designs usually have lifting hooks reserved at the top as the main load-bearing points. Use steel cables (diameter ≥ 8mm) to connect to a crane for transportation. For small toilets (with fewer than 4 toilet compartments), install wheels at the bottom and manually push them to the installation location. - Lifting and Positioning
Use a forklift or crane to slowly lift the toilet to the rooftop. The commander and operator should closely cooperate to avoid colliding with rooftop facilities (such as parapet walls and ventilation ducts). When positioning, align the bottom sewage outlet with the pre-set sewage pipe interface on the ground, with an error of less than 5cm.
III. Assembly and Leveling
- Fix the Frame
Sequentially fix the base to the rooftop floor, connect the left, right, and front wall panels, and tighten the screws (the torque should meet the manufacturer's requirements). Install the upper card slots, ventilation louvers, and cover the roof, paying special attention to checking the sealing at the joints of various components (such as using silicone sealing strips). - Level Adjustment
Use a level to check if the toilet is level (the error should be less than 2mm/m). If necessary, adjust the base support feet or add shims for calibration to prevent the toilet from tilting or sewage from flowing不畅 due to an uneven floor.
IV. Detail Handling and Finalization
- Check Equipment Functionality
Confirm that the doors and windows open and close smoothly, internal accessories (such as toilet bowls, handrails, and paper holders) are complete and secure, and the sewage valve opens and closes flexibly with intact sealing rubber rings (no aging or cracks). - Cleaning and Tightening
Clean the interior and exterior of the toilet and check if all bolts and nuts are tightened, paying special attention to the connections of sewage pipes and fixing devices. - Daily Maintenance Tips
After installation, regularly check the smoothness of sewage pipes (at least once every quarter) and the stability of fixing devices (check once every six months), and promptly clean the septic tank (if applicable) to extend the service life.
Precautions:
- Before installation on the rooftop, assess the load-bearing capacity in advance to avoid overloading (the sum of the toilet's self-weight and usage load should be less than the floor's design load).
- Ensure the sealing of sewage pipe connections by applying waterproof glue or using special sealing rings at the connections.
- For high-altitude work, take proper safety precautions, such as wearing safety harnesses and setting up warning signs. Work is strictly prohibited in adverse weather conditions (such as strong winds or heavy rain).



