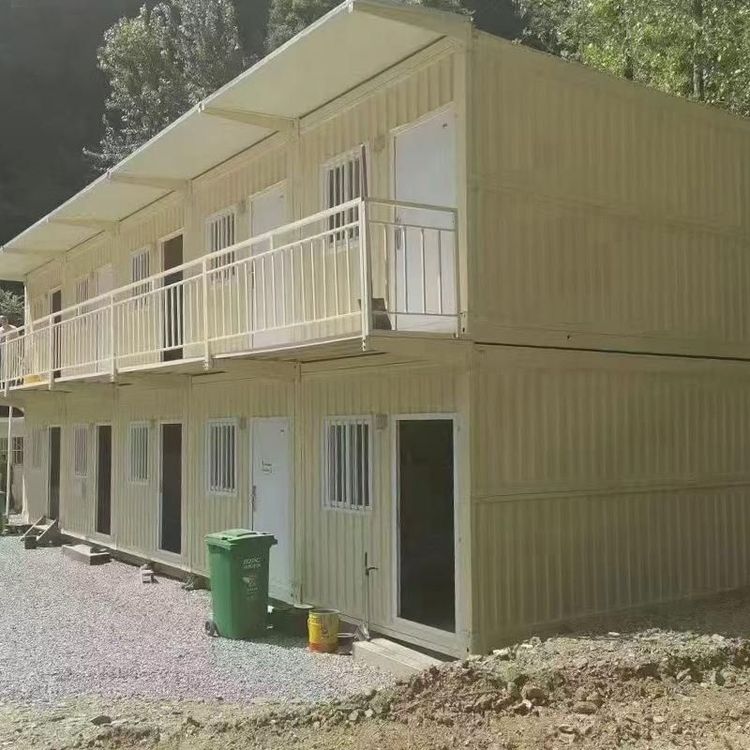
Lighting Circuit Diagram for Prefabricated Slab Houses
There is no direct standard diagram for the lighting circuit of prefabricated slab houses, but it can be planned according to the following design principles and construction points, and confirmed by consulting a professional electrician:

1. Embedding Principles and Structural Safety The embedding of roof conduits and junction boxes should follow the principle of "less is more", minimizing the number of openings in the cast-in-place concrete roof. The load-bearing structure of prefabricated slab houses relies on the integrity of steel bars and concrete. Excessive openings may disrupt the distribution of steel bar tension, increasing the risk of roof cracks. It is recommended to prioritize laying conduits along corners or non-load-bearing areas, avoiding direct crossing of prefabricated slab joints.
2. Conduit Materials and Construction Convenience For rural self-built houses, there is no need to use costly iron pipes; PVC pipes are a better choice. Their advantages include:
- Corrosion resistance and light weight, facilitating easy bending and installation;
- Ability to achieve 90° bends using bending springs, reducing the number of joints;
- Good insulation properties, reducing the risk of electric leakage. During construction, ensure that the wall thickness of PVC pipes is ≥1.6mm and the bending radius is no less than six times the pipe diameter to prevent pipe wall cracking.
3. Circuit Loop Planning The lighting circuit should be designed in advance as a ring loop, ensuring that the lamps in each room are connected in series to form a closed loop. For example:
- The main circuit is drawn from the distribution box and laid along corners to each room;
- Each room is equipped with an independent branch circuit, with the end of the branch connected via a junction box for easy future maintenance;
- Avoid a "tree-like" branching design to prevent large-scale power outages caused by a single point of failure.
4. Switch and Lamp Positioning Standards
- Switch Position: 15cm from the edge of the door frame and 1.3 meters from the ground (ergonomic design);
- Lamp Height: Ordinary ceiling lamps should be 2.2-2.5 meters from the ground;
- Special Scenarios: For example, stairwells should be equipped with dual-control switches (one each at the top and bottom floors), and local lighting switches can be added at the bedside in bedrooms. Note: Lamp height should be adjusted according to room function; for example, lamps above kitchen countertops can be lowered to 1.8 meters.
5. Mandatory Requirements for Emergency Lighting Emergency double-headed lights or safety exit signs must be installed at stair entrances and evacuation routes, meeting the following requirements:
- Powered by a separate circuit, isolated from ordinary lighting circuits;
- Equipped with batteries that automatically illuminate and provide continuous power for ≥90 minutes in the event of a power outage;
- Controlled by a fire linkage system to force activation in case of fire.
6. Key Considerations for Prefabricated Slab Construction
- Precise Positioning: Mark the positions of junction boxes according to design drawings and use a water drill for opening (diameter ≤6cm), avoiding violent hammering;
- Avoiding Steel Bars: Before conduit installation, confirm the positions of steel bars using a metal detector and maintain a distance of ≥3cm between the conduit and steel bars;
- Fixing and Reinforcing: Fix conduits with pipe clamps every 1 meter and add fixing points at bends to prevent displacement during concrete pouring.
Implementation Recommendations:
- Draw a house floor plan, marking the positions of lamps, switches, and distribution boxes;
- Draw a sketch of the circuit route based on the loop plan;
- Consult a certified electrician to review the drawings and confirm compliance with the "Residential Building Electrical Design Code" (JGJ 242-2016);
- Have an electrician provide on-site guidance during construction to ensure that embedding, wiring, and connection processes meet standards.