Back to blog
Article
How to Construct Prefabricated Panel Houses
Admin September 18, 2026
The construction of prefabricated panel houses mainly falls into two categories: modular prefabricated houses and prefabricated detachable container houses. The specific construction processes are as follows:
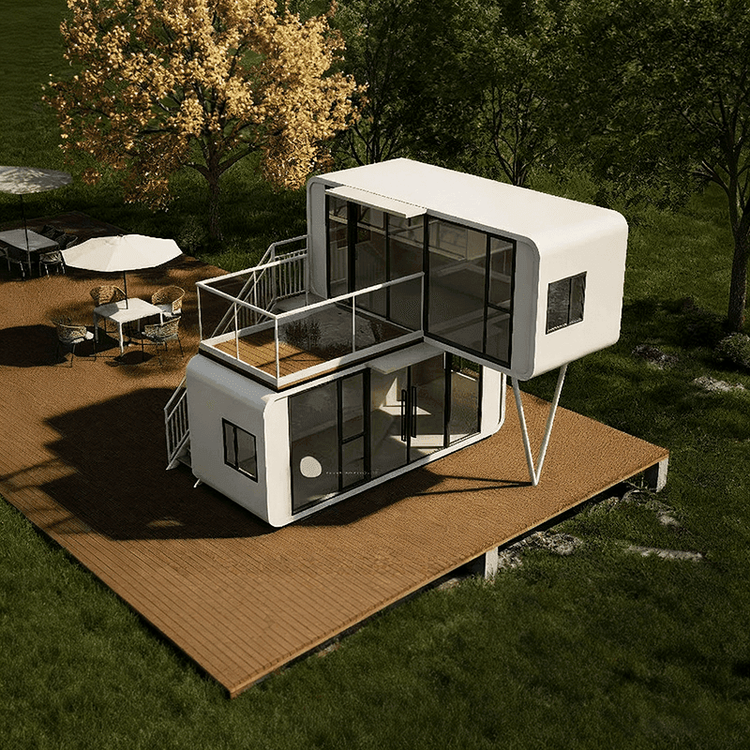
Modular Prefabricated House Construction Method
- Factory Prefabrication: The building is disassembled into independent modules, and components such as ceilings, walls, floors, and water and electricity pipelines are manufactured in the factory. For example, China Construction HaiLong Intelligent Construction Industrial Park completes module assembly through automated production lines, delivering 20,000 to 30,000 modules annually. This factory-based production method ensures the quality and precision of each component and improves production efficiency.
- On-site Assembly: The prefabricated modules are transported to the construction site and quickly assembled using equipment such as tower cranes. Each module is labeled with detailed information, such as project name, product model, and production date, which helps construction personnel accurately align the modules and ensure smooth assembly work.
- Precision Control: Millimeter-level error control technology is adopted, and connections between modules are completed using welding manipulators and highly automated equipment. This high-precision connection method ensures the stability of the house structure, making the house safer and more reliable during subsequent use.
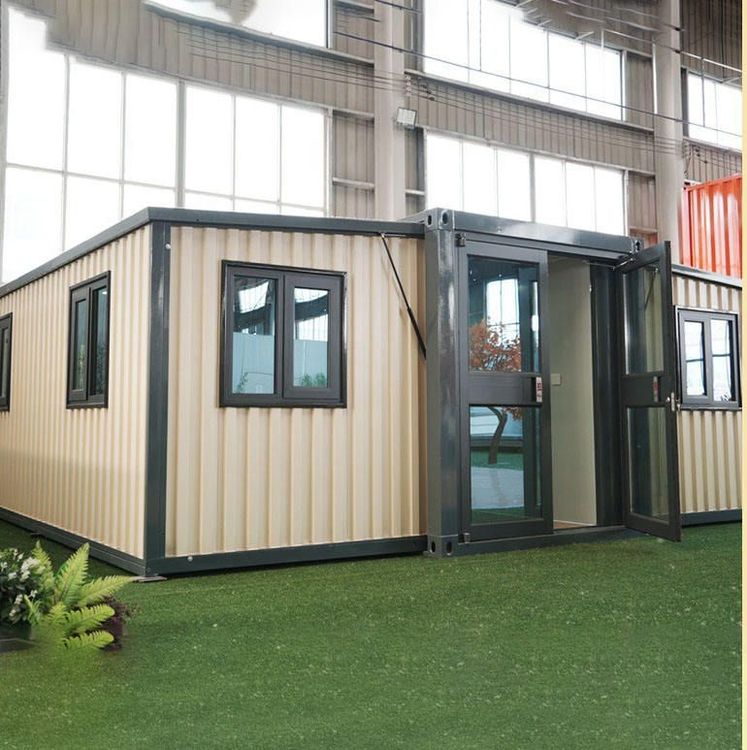
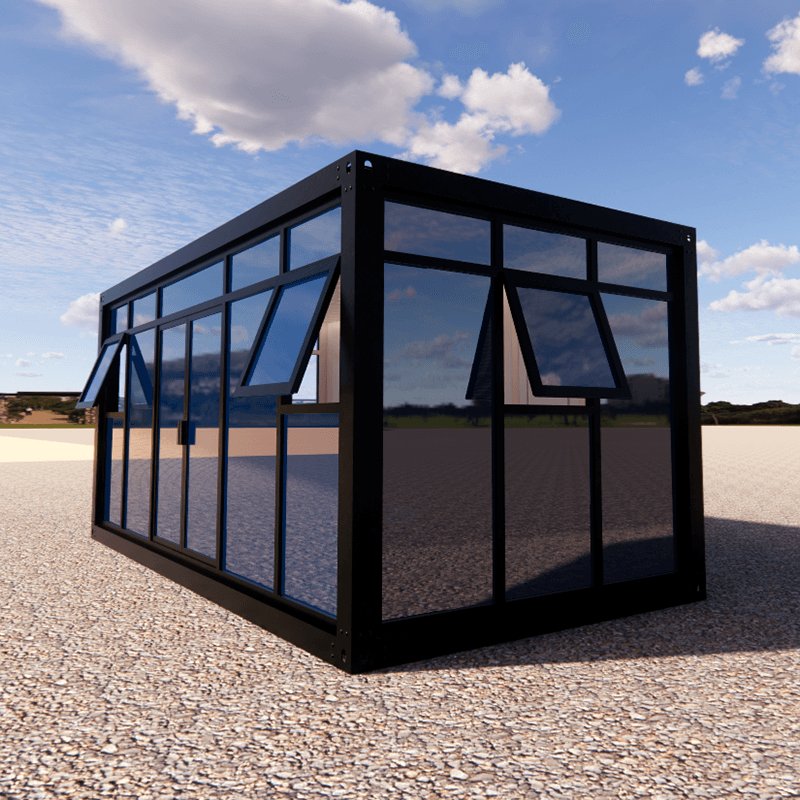
Prefabricated Detachable Container House Construction Method
- Bottom Frame Installation: First, connect the lower corner fittings and bottom beams and fix them with bolts; then, lay the purlins and connect them to the bottom beams with bolts; finally, measure the diagonal lines to ensure the frame is vertical, and reserve some movement space when connecting the columns.
- Floor Leveling and Laying: Lay MGO boards and reserve gaps for wall panel installation; use professional instruments to measure the floor levelness and adjust it with shims to ensure a flat floor, providing a good foundation for subsequent construction.
- Top Frame Installation: Connect the upper corner fittings and top longitudinal beams, tighten the bolts, and then install the top transverse beams; use a level to measure the verticality of the columns and make temporary supports and adjustments with top purlins to ensure accurate installation of the top frame.
- Drainage System Installation: Embed the drainage troughs into the top frame, fix the drainage pipes, and use self-drilling screws to fix them at intervals of at least 25 cm; seal the connections with glue and install the downspouts to ensure the smoothness and tightness of the drainage system.
- Sealing and Wall Panel Installation: Attach sealing strips to the inner sides of the columns, bottom beams, and top beams; install the wall panels one by one, ensuring that the positions of doors and windows are flexible and adjustable, and the height of the wall panels below the windows is 940 mm.
- Ceiling and Roof Installation: If there are wall panels on both sides, install 30x50 mm square tubes at the ceiling fixing points; lay glass wool on the roof and fix the roof tiles to the inner side of the drainage troughs.