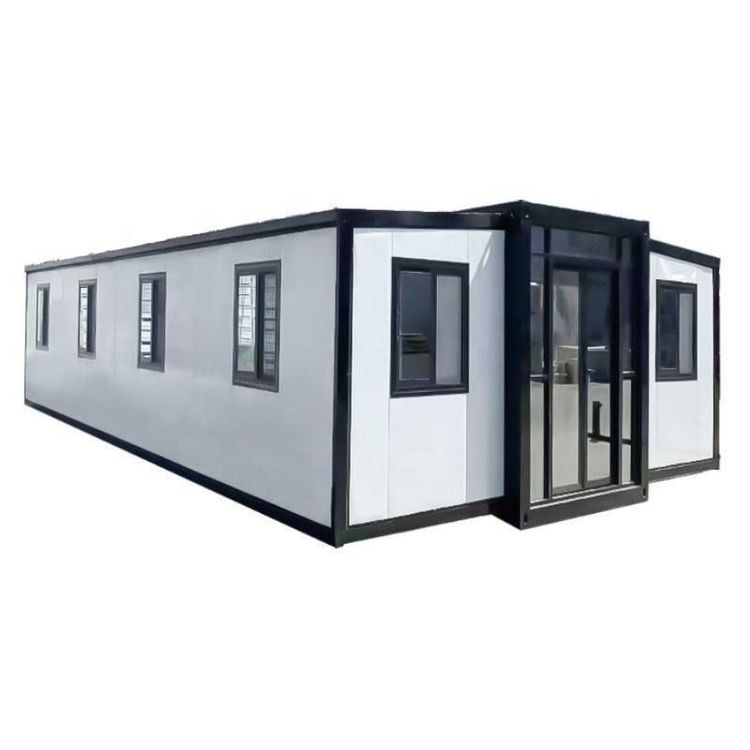
Prefabricated House Wiring Installation Process
The installation process of wiring in prefabricated houses is divided into two methods: surface-mounted and concealed installation. The specific steps are as follows:

Surface-Mounted Wiring Installation Process
Confirm Electrical Points Based on design requirements, identify the specific locations of indoor electrical devices (such as lights, switches, and sockets) and mark them precisely on walls or ceilings. For example, the height and horizontal position of living room sockets should be determined to ensure subsequent installation aligns with usage habits.
Install Conduits and Junction Boxes Draw individual circuit conduits from the distribution box (e.g., for living room socket circuits) and select conduit diameters that match wire specifications (e.g., PVC pipes). Conduits should be arranged vertically or horizontally along walls or ceilings, with dedicated elbows used at corners. Simultaneously, install junction boxes at electrical points to serve as interfaces for wire branching or device connections.
Secure Conduits and Junction Boxes Use specialized clips to secure conduits: PVC conduits use PVC clips, while metal conduits use metal clamps to ensure stability. Junction boxes are fixed to walls using expansion screws or self-tapping screws, with checks for levelness and perpendicularity after installation.
Thread Wires Thread wires by circuit to avoid mixing wires from different circuits. For example, bathroom circuits typically require three wires (live, neutral, and ground) to be threaded to a distribution box and then branched to sockets or switches. A certain length (about 15-20 cm) should be reserved during threading for easy subsequent wiring.
Install Switch and Socket Panels Connect wires according to device requirements: socket panels must distinguish between live (L), neutral (N), and ground (PE) wires, while light switches should be connected based on control method (single-pole/double-pole). After wiring, secure the panels to junction boxes, ensuring a firm and gap-free installation.
Concealed Wiring Installation Process
Pre-Construction Preparation Plan the construction route based on design drawings, determine the positions of light steel studs, and use a level to mark wall heights. Drill holes in prefabricated panel walls to clarify the quantity and direction of water and electrical pipes, avoiding conflicts with structural studs.
Lay Pipes Place water and electrical pipes (such as PPR pipes, JDG pipes) into pre-embedded conduits, connecting and positioning them with sleeves. Arrange the direction according to design requirements, secure pipes with pipe clamps, and cut off excess parts to ensure pipes are flat and non-intersecting.
Secure Hollow Bricks Use cement mortar to secure hollow bricks at pipe locations, controlling cement viscosity (avoiding excessive dilution that may cause settling) and curing time (usually over 24 hours) to ensure a firm bond between pipes and walls, preventing later cracking.
Fabricate and Install Sleeves Cut sleeve openings at wire routing locations, fabricate dedicated sleeves (such as metal corrugated pipes), and install them. Thread water and electrical cables through sleeves to protect wires from mechanical damage and facilitate later maintenance.
Natural Organization and Filling Organize the direction of concealed water and electrical wires, fill gaps between pipes and walls with hollow bricks to ensure the safety of concealed work. Fill in layers while compacting to avoid hollow spaces and reserve inspection ports (such as at socket bottom boxes).
Water and Electrical Inspection After construction, conduct continuity tests, insulation resistance tests, and water pressure tests to ensure no short circuits, leakage, or seepage issues. Only after passing inspections can the next decoration phase proceed.