
Prefabricated House Foundation Construction Tutorial
The prefabricated house foundation construction tutorial mainly includes three stages: pre-construction preparation, prefabricated component installation, and post-processing and acceptance. The specific steps are as follows:
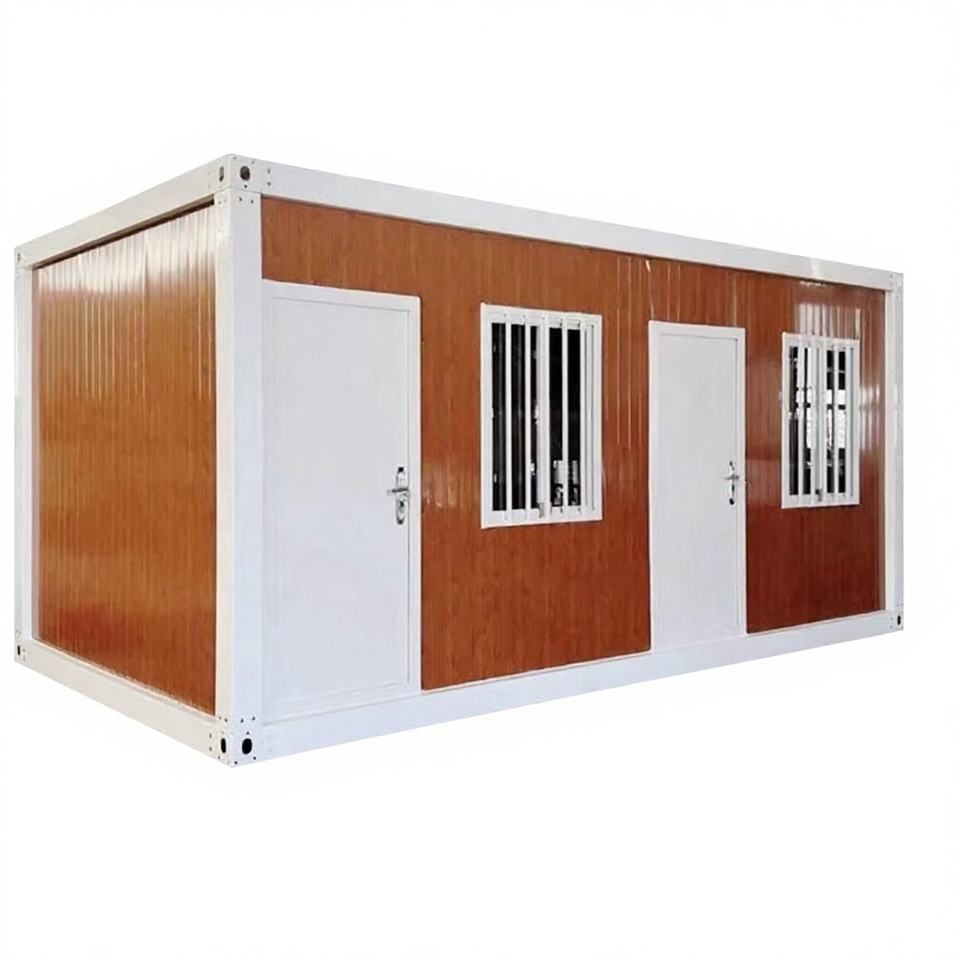
I. Pre-construction Preparation
Site Investigation
Conduct geological exploration of the construction site to confirm that the foundation bearing capacity meets the design requirements. Focus on identifying adverse geological conditions such as soft soil and backfill soil to avoid structural damage caused by foundation settlement. For example, if the foundation bearing capacity is insufficient, it needs to be treated through methods such as replacement, compaction, or pile foundation reinforcement.Design Briefing
Clarify the parameters of the prefabricated foundation according to the construction drawings:- Dimensions: Such as the length, width, and height of rectangular or strip foundations;
- Load-bearing Capacity: For example, the foundation is required to bear a load of 30 tons;
- Concrete Grade: For example, use C30 concrete to ensure the strength meets the standard.
Material Inspection
Check whether the appearance of the prefabricated components is flat and free of defects such as cracks and honeycombs. Verify key parameters:- Strength Grade: For example, Grade 6 prefabricated components must meet the compressive strength requirements;
- Thermal Conductivity: For example, a thermal conductivity of 1.28W/(m·K) must meet the insulation design requirements.
II. Prefabricated Component Installation
Lifting and Positioning
Use cranes and other equipment to lift the prefabricated foundation to the designed position. Control the installation error through laser positioning or the string-line method to ensure that the horizontal and vertical deviations are within ±5mm.Connection and Fixing
For components that need to be spliced (such as the connection between prefabricated columns and foundations), pre-embed connecting elements such as steel plates and bolts, and ensure the structural integrity through welding or bolt tightening. Apply anti-corrosion coatings at the connections to extend the service life.Leveling and Calibration
Use a level to calibrate the top surface of the foundation, with a levelness deviation of ≤3mm. If there is a deviation, it can be corrected by adding thin steel plates or adjusting the support points to avoid tilting during subsequent construction.
III. Post-processing and Acceptance
Gap Filling
Use high-strength grout to fill the joints between prefabricated components to ensure they are dense and free of voids. The grout needs to have slight expansibility to compensate for concrete shrinkage and prevent water seepage or loosening.Curing
After pouring, cover with plastic film or geotextile to keep it moist for at least 7 days. Avoid the effects of sun exposure, strong winds, or low temperatures during the curing period to prevent concrete cracking or insufficient strength.Load-bearing Test
Verify the load-bearing capacity of the foundation through a static load test. For example, stack sandbags or weight blocks on the top surface of the foundation to simulate a load of 30 tons and observe continuously for 24 hours. If there is no settlement or cracking, it is considered qualified.
Summary of Construction Points: The construction of prefabricated house foundations requires strict control of geological conditions, material quality, and installation accuracy. Ensure structural safety through scientific curing and load-bearing tests to lay a reliable foundation for subsequent main construction.



