
Practice of Exterior Wall Tiles for Prefabricated Houses
The following steps can be referred to for the practice of exterior wall tiles for prefabricated houses:
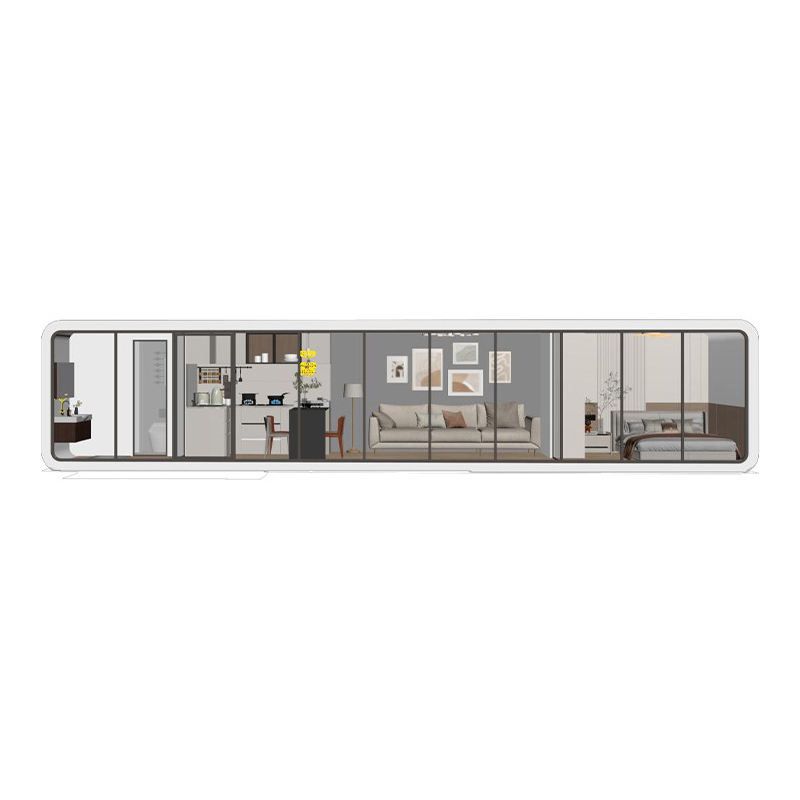
1. Base Treatment
Thoroughly clean the dust, residual mortar, and oil stains on the walls and columns to ensure a clean base. Fully moisten the wall surface with clean water to prevent the dry base from absorbing moisture from the adhesive, which would reduce the bonding strength. Apply a bonding layer according to the design requirements, such as polymer cement mortar or other interface treatment agents, to enhance the bonding strength between the base and the facing material.
2. Plastering the Base Mortar
Apply the base mortar in two layers, with each layer's thickness controlled between 5 and 9 mm, and the total thickness generally being 10 to 15 mm. After the first layer of plastering, perform a roughening treatment to increase the surface roughness. When the first layer is about 60-70% dry, apply the second layer, scrape it flat with a wooden bar, and then roughen it with a wooden trowel. After final setting, water it for curing to prevent cracking. This step provides a flat and stable base for subsequent tiling.
3. Snapping Lines for Division and Tile Arrangement
Determine the joint width and division plan according to the design requirements, snap control lines, and mark key positions. When arranging tiles, follow these principles: the horizontal joints should be flush with the door and window openings, and the vertical joints should make the external corners and door and window openings whole tiles to ensure aesthetics. The tile joint width should not be less than 5 mm to prevent tile cracking due to thermal expansion and contraction.
4. Soaking Tiles
Fully immerse the tiles in water for at least two hours to allow them to absorb water sufficiently until no bubbles emerge. After taking them out, dry or wipe off the surface moisture to prevent the moisture from affecting the adhesive performance during tiling. This step can prevent hollowing or detachment of the tiles after tiling due to water absorption.
5. Preparing the Adhesive
Add clean water to the adhesive paste according to the product instructions, mix it evenly, and let it stand for 5 to 10 minutes to allow the material to fully mature. Stir it again for 1 to 2 minutes until it is uniform and free of particles to ensure stable adhesive performance. The prepared adhesive should be used within the specified time to prevent hardening and failure.
6. Tiling the Wall
Apply the adhesive paste evenly on the back of the tiles and tile them onto the wall according to the pre-laid plan. Press the tile surface with your hands to make it bond tightly with the wall, and then gently tap it flat with a rubber mallet. During the process, slightly rotate the tiles to ensure full contact between the back and the paste, expel air, and prevent hollowing.
7. Jointing and Wiping Joints
Use fine sand screened through window screen to prepare cement mortar for jointing. Joint the horizontal joints first and then the vertical joints, with the jointing depth recessed 2 to 3 mm below the outer surface of the tiles. After the mortar hardens, wipe off the residual paste with cotton yarn soaked in gasoline to keep the tile joints clear. This step can enhance waterproof performance and improve overall aesthetics.
8. Cleaning and Maintenance
About 30 hours after jointing is completed (adjusted according to the weather), when the tile joints have solidified to a certain strength, rinse the tile surface from top to bottom with clean water. If there are residual stains, clean them with a 2% to 3% hydrochloric acid solution (the tile surface should be moistened with water first), and then rinse them thoroughly with a large amount of clean water in a timely manner to prevent the acid solution from corroding the tile surface.



