
Back to blog
Article
How to Build a Prefabricated House (Video Translation)
Admin September 18, 2026
Currently, there is no direct video information on the construction of prefabricated houses, but a written description of the construction process can be provided:

Construction Process of a Prefabricated House in Rural South Korea
- Foundation Leveling and Cushion Pouring: First, clear away weeds and level the foundation. Dig foundation pits to a depth of about 60 centimeters. Lay white plastic sheeting to prevent moisture loss from the concrete, promote hydration reactions, and enhance strength and durability. Then, use a concrete pump truck to pour a non-reinforced foundation, ensuring that the excavation depth and ground height meet design requirements.
- Foundation Pile Installation and Beam Splicing: After the concrete sets, install the foundation plates. Drill holes with a drilling machine and secure them with expansion screws to fix the foundation piles to the cushion. Use a crane to lift each prefabricated foundation pile, which weighs about 5 tons. After splicing the beams, perform horizontal measurement and adjustment, secure them with nuts, fill the gaps with expanding foam, and seal the nuts with cement.
- Backfilling and Second-Floor Construction: After completing the foundation frame, backfill with soil. The load-bearing columns and beams for the second floor are prefabricated in the factory and then assembled on-site, connected by protrusions and recesses and tightened with nuts. After laying a 5-centimeter floor slab, seal the gaps. Perform secondary grouting at the connections and lay a steel reinforcement mesh. Finally, pour concrete to form an integrated structure. The foundation part is also laid with 10-centimeter-thick foam boards for insulation and moisture prevention and covered with a threaded steel reinforcement mesh to enhance stability.
Construction Process of a Prefabricated Detachable Container House
- Bottom Frame Assembly: Connect the lower corner fittings and bottom beams, secure the different-sized purlins, measure the diagonals to ensure verticality, install the bottom strips, and reserve gaps for the wall panels. When connecting the columns to the bottom frame, do not tighten the bolts temporarily. After laying the MGO board, level the ground.
- Top Structure Installation: Connect the upper corner fittings and the top long beams, gradually install the top short beams, long beams, and drainage channels, and adjust the verticality of the columns with a level. The drainage pipes should be fixed at intervals of no less than 25 centimeters, and the connections should be sealed with glue.
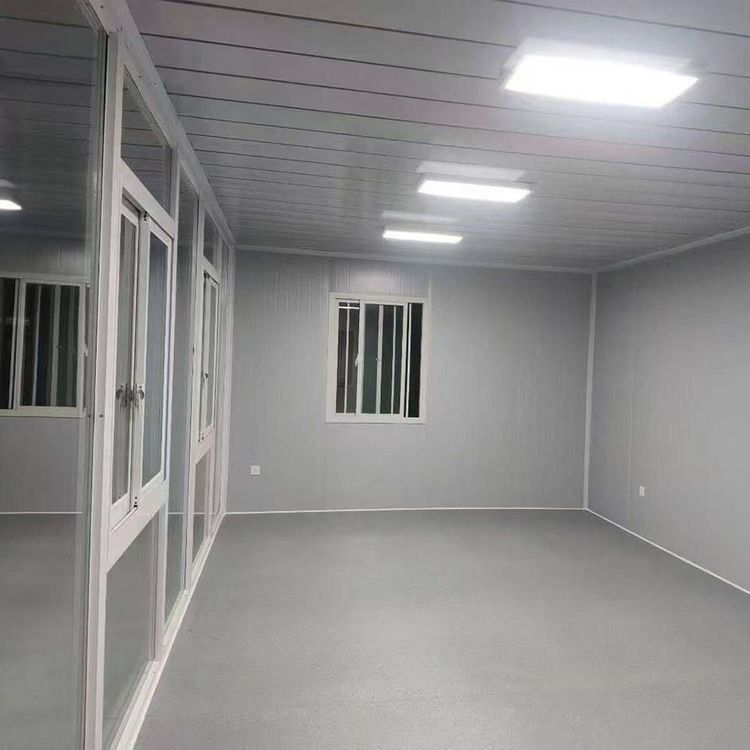
- Wall Panel and Ceiling Installation: After attaching the sealing strips, install the wall panels in sequence. Note that the door and window positions need to be supported by wall panels, and the height of the wall panel below the window should be 940 millimeters. The ceiling is fixed in different ways according to the situation of the wall panels on both sides. Run wires inside the walls and lay glass wool insulation.
- Roof Treatment: After applying glue inside the drainage channels, lay the roof tiles and fix them to the inside of the drainage channels. Finally, reinforce the four corners of the container.
Related
You may also like
30Oct
Portable Toilet Rental for Construction Sites: What to Consider
Read More
30Oct
Portable Toilet Rental Price Guide: Budget, Mid-Range & Premium
Read More
30Oct
Portable Toilet Color Steel: A Practical Buyer's Guide
Read More
30Oct