
Back to blog
Article
Portable Toilet Installation Process
Admin October 09, 2026
The installation process of portable toilets is divided into three stages: pre-installation preparation, on-site installation implementation, and post-installation inspection. The specific steps are as follows:
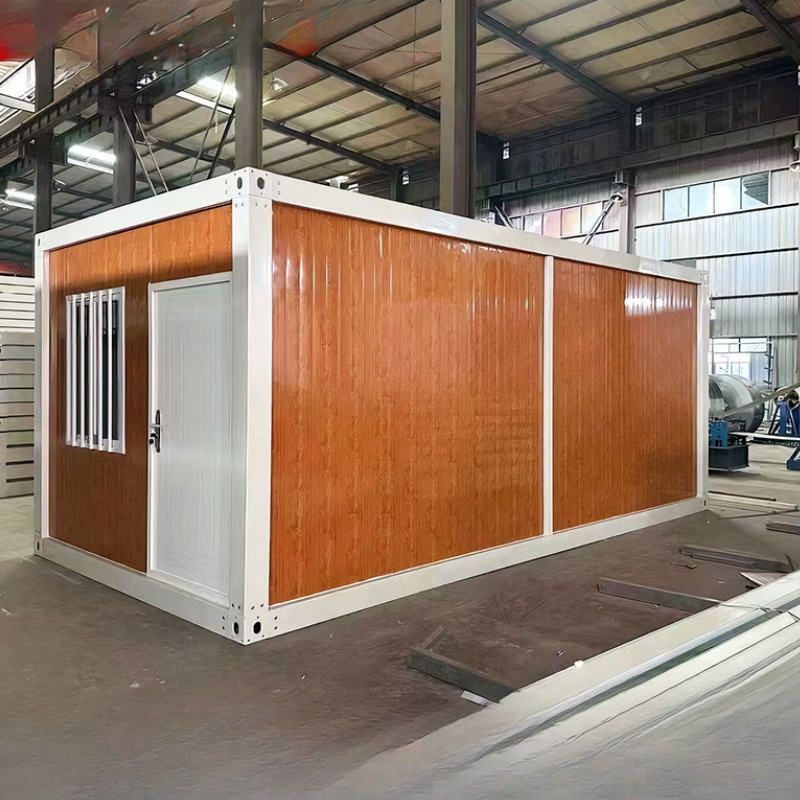
I. Pre-installation Preparation
- Site Planning
Confirm that the installation location avoids low-lying areas prone to water accumulation, high-voltage power lines, and obstacles. Ensure that the width of the access passage is ≥1.2 meters to prevent obstruction during subsequent use or maintenance. - Material Inspection
Check whether the main body of the toilet and its accessories (such as sinks, flushing devices, sewage pipes, etc.) are complete. Inspect the appearance for any damage or deformation to avoid installation interruptions due to missing or damaged materials. - Tool Preparation
Prepare tools according to the toilet model: for small toilets, an electric drill (with a 4.2-millimeter drill bit), rivet gun, wrench, screwdriver, and level are required; for large toilets (such as those used in scenic spots or construction sites), additional coordination of a crane for lifting assistance is necessary.
II. On-site Installation Implementation Steps
- Main Body Fixation
- Use a crane to lift the toilet main body to the designated location and adjust it to a stable state using a level (with a horizontal deviation ≤3mm).
- Secure the equipment with expansion bolts or counterweights. In areas with strong winds, increase the number of fixing points or use windproof brackets to prevent tipping.
- Structural Assembly (applicable to some models)
- Install the inner corner panels sequentially. Insert the panels into the slots, align them, drill holes at the designated positions, and insert rivets to secure them, ensuring no gaps at the joints.
- Water and Electricity Connection
- Sewage pipe connection: Connect the pipe to the sewer or sewage collection tank, maintaining a pipe slope ≥2% to prevent sewage backflow or blockage.
- Water supply connection: Use a water pipe with a diameter ≥DN20 to connect to the water source. Test the flushing function and drainage seal to ensure no leakage.
- Detail Refinement
- Install accessories such as door curtains and anti-slip mats. Check the flexibility of the door lock and flushing button to ensure safe use.
- Clean and disinfect the interior of the toilet, place consumables such as toilet paper and air fresheners to enhance the user experience.
III. Post-installation Inspection
- Function Testing
- Press the flushing button three times consecutively to observe whether the drainage is smooth, with no blockage or odor.
- Step on the top of the equipment to test its structural stability, confirming no shaking or abnormal noise.
- Document Delivery
Provide an Equipment Installation Inspection Form, specifying the installation date, warranty period, and usage precautions (such as regular cleaning of the sewage collection tank and avoiding scratching the surface with sharp objects).
Precautions:
- Wear a safety harness for high-altitude work. Installation is prohibited in windy weather (≥5 levels) to prevent personnel or equipment from falling.
- Set up warning signs in the construction area and provide lighting for nighttime construction to avoid accidents.



