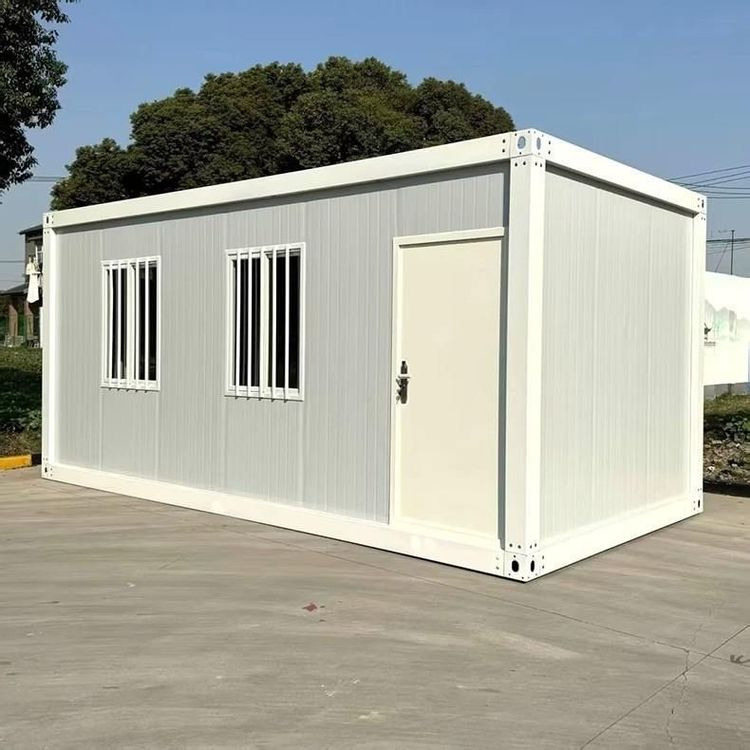
Portable Toilet Installation
The installation methods for portable toilets vary depending on the type, mainly divided into two types: portable toilets and portable toilets with a sentry-box-like structure. Here are the specific installation methods:

Portable Toilet Installation
- Simple Six-Step Installation Method: After receiving the package for the portable toilet, the first step is to open it and carefully check if all the accessories are complete. This is a fundamental step in the installation process, as missing accessories may affect subsequent installation. Once confirmed that all accessories are present, follow the instructions provided with the product. The instructions usually detail the key points and precautions for each step of the installation. Follow the guidance to complete the installation step by step. This method is relatively simple and suitable for most ordinary users.
- Detailed Process Installation Method: First, install the toilet flange. Align the center of the flange precisely with the center of the sewer pipe, and then place the toilet steadily to ensure accurate installation position and avoid water leakage issues later. Next, install the angle valve and connect the three-way joint for the water inlet and spray head. Then, screw on the water inlet hose for the toilet, making sure to tighten it to prevent water leakage. After that, assemble the toilet spray head, tighten the sealing rubber rings at both ends, and connect it to the other end of the three-way joint after assembly. Then, firmly clamp the spray head bracket onto the top of the three-way joint to ensure stability. Finally, conduct a toilet water test to check for water leakage at each connection point. If the water test is successful, apply adhesive at the bottom of the toilet for fixation and sealing.
Installation of Portable Toilets with a Sentry-Box-Like Structure
After receiving the goods, prepare tools such as an electric drill, a 4.2mm drill bit, and a rivet gun in advance. The first step is to install the inner corners sequentially. The inner corners are important support parts for the entire structure of the portable toilet, so ensure accurate and firm installation. The second step is to insert the panels into the slots and align them for tight and flat splicing between the panels. After aligning the top with the panels, drill holes, insert rivets, and secure them with a rivet gun. This step requires certain skills and experience from the operator to ensure the firmness of the rivet fixation and the stability of the entire portable toilet structure.