
Portable Mobile Toilet Installation
The installation of portable mobile toilets requires selecting appropriate steps based on the specific type. Common types include household portable toilets (basic models) and outdoor portable toilets, with specific installation methods as follows:
The installation steps for household portable toilets (basic models) are relatively simple and mainly rely on physical assembly. The first step is to install silicone anti-slip pads in the four corners at the bottom. Their function is to enhance the friction between the device and the ground, preventing sliding or tipping during use due to a shift in the center of gravity or external forces, especially on smooth surfaces (such as tiles and wooden floors). The second step is to align the upper and lower toilet bodies and press down on the buckles. This step requires ensuring that the interfaces of the upper and lower toilet bodies are fully fitted to avoid a decrease in sealing performance or structural looseness due to misalignment. When pressing the buckles, apply even force. A clicking sound indicates that the buckles are firmly locked, and at this point, you can gently shake the device to confirm its stability.
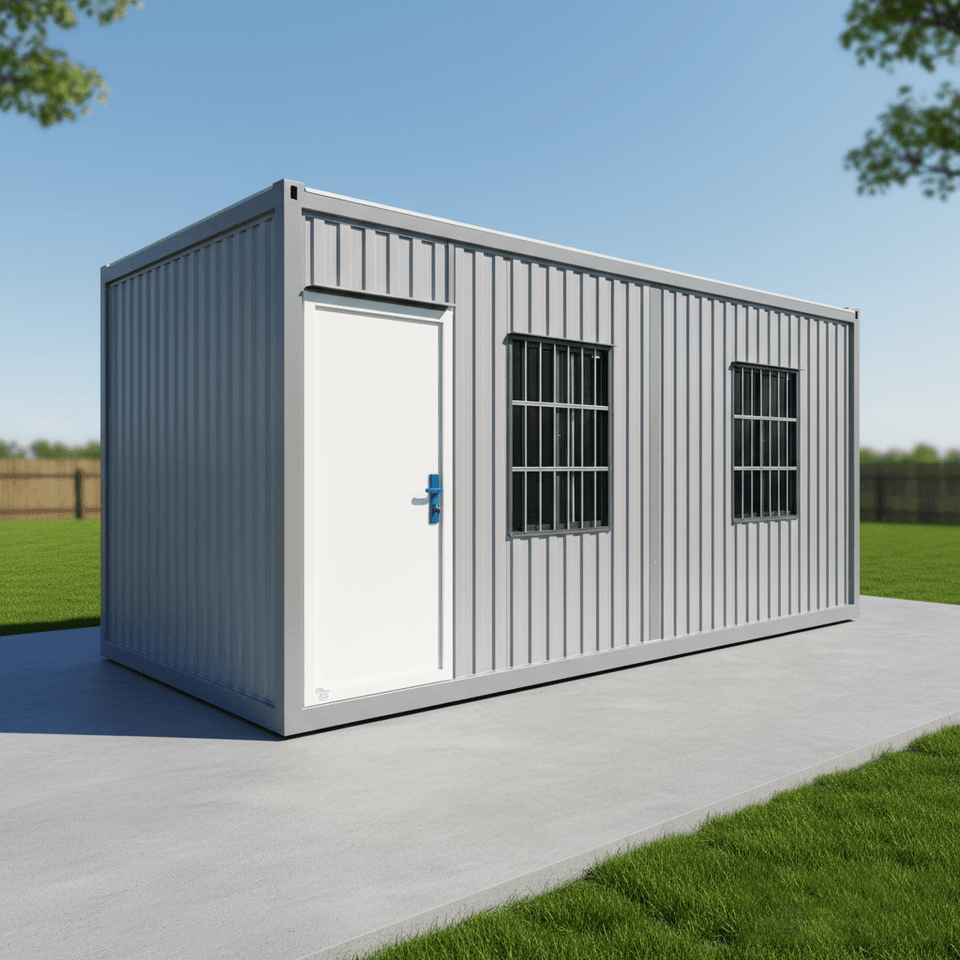
The installation of outdoor portable toilets requires the use of tools and involves more complex steps. The first step is to prepare an electric drill, a 4.2-millimeter drill bit, and a rivet gun. The electric drill is used to drill holes in the assembled panels. The 4.2-millimeter drill bit should match the rivet specifications, and the rivet gun is used to fix the rivets to ensure structural stability. The second step is to install the inner corners. Inner corners are usually made of metal or high-strength plastic. According to the device design, the inner corners should be fixed at the corners of the panels to provide a supporting framework for subsequent assembly. The third step is to assemble the panels. When inserting the panels into the slots, align the edges to ensure that the upper and lower panel surfaces are flat and seamless. During the assembly process, pay attention to the direction of the panels to avoid deviations in the positions of doors, windows, and other openings due to incorrect installation. The fourth step is to fix the structure. First, drill holes at the assembly points using the drill bit (the depth should penetrate two layers of panels). Insert the rivets and then apply pressure with the rivet gun to make the rivet heads expand and clamp the panels, forming an irremovable fixed structure. This step requires checking all assembly points to ensure there are no missed fastenings or looseness.
After installation, a functional test is required: For household portable toilets, check whether the anti-slip pads are flat and whether the buckles are loose. For outdoor portable toilets, test whether the doors and windows open and close smoothly and whether the structure is stable (you can gently push the walls to observe if there is any shaking). If any abnormalities are found, readjust or reinforce them to ensure the device is safe and usable.



