Back to blog
Article
Outdoor Shower Mobile Toilet Installation
Admin September 20, 2026
The installation of outdoor shower mobile toilets must follow standardized procedures to ensure safety and functionality. The specific steps are as follows:
I. Pre-installation Preparations
- Site Selection: Choose a flat site with no risk of water accumulation, away from fire sources and accessible for waste removal vehicles. Avoid low-lying areas, windy spots, and areas directly facing main pedestrian paths.
- Foundation Preparation: For soil surfaces, compact the ground and lay a 10cm layer of gravel or plain concrete. For concrete floors, place directly, using rubber pads or thin steel plates to level uneven areas.
- Tools and Materials Preparation: Equip with cranes/forklifts, expansion screws, spirit levels, wrenches, sealants, electrical wires, and other tools. Set up safety signs such as warning cones and reflective tapes.
- Equipment Inspection: Verify that the main structure is not deformed and that components (such as door hinges, drainage valves, lighting systems) and shower components (such as waterproof seals, showerheads) are intact to avoid rework after installation.
II. On-site Installation Steps
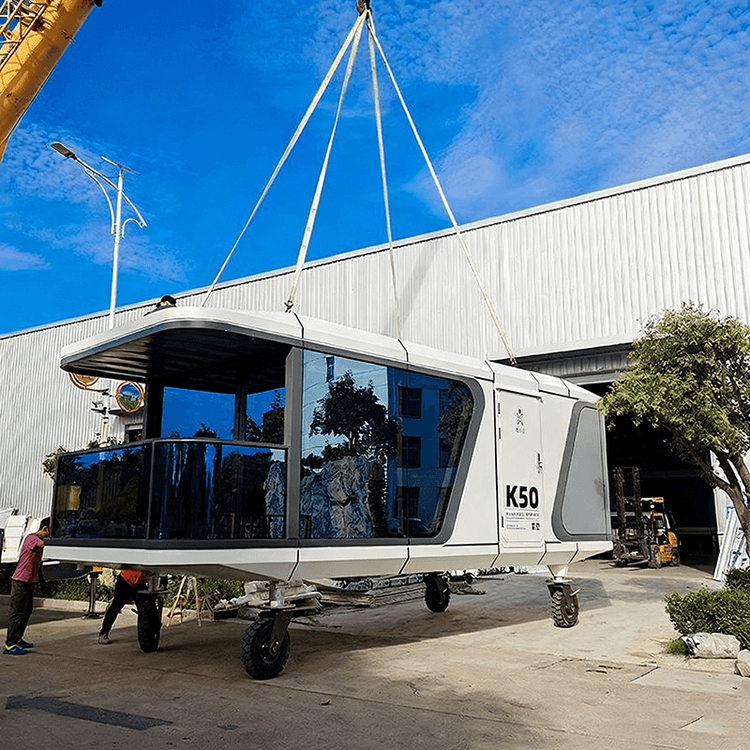
- Main Body Positioning: Use a crane/forklift to lift the unit steadily into the designated position. Align horizontally using a spirit level, place rubber shock-absorbing pads at the bottom, and reserve a 0.5-meter space around for maintenance.
- Fixing and Wind Protection: For concrete floors, secure the four corners with expansion bolts; for soil/sand floors, install ground anchors and add diagonal braces. When multiple units are placed side by side, connect them with bolts to enhance stability.
- Water and Electricity Connection:
- Water Supply: Connect to the mains water supply, install angle valves, and seal with Teflon tape. Test for leaks.
- Drainage: When connecting to municipal drainage, install a trap to prevent odors; if no municipal drainage is available, use a built-in fecal tank and reserve a suction port.
- Electricity: Connect to a 220V power supply and install a residual current circuit breaker (RCCB). Connect lights, exhaust fans, sensors, and other equipment.
- Shower Function Installation: Ensure that showerheads, water pipes, and seals are properly installed. Test water pressure and sealing to prevent water leakage.
- Internal Installation: Install toilets, water tanks, sinks, and other components. Seal corners, floors, and around water pipes with sealant. Install door locks, handrails, hooks, and other accessories to ensure dry-wet separation.
III. Commissioning and Acceptance
- Function Testing: Check if the flushing, drainage, and exhaust systems are functioning properly. Verify the working status of door locks, lights, sensors, and other equipment, as well as the water pressure and sealing of the shower.
- Cleaning and Acceptance: Clean up internal waste and check for water leaks, electrical leaks, and odors before handing over for use.
IV. Post-installation Precautions
- Safety Signs: Set up signs within 5 meters of the toilet and install warning lights at night.
- Daily Maintenance: Regularly clean up waste, replenish consumables, and inspect shower equipment and drainage systems.
- Long-term Disuse: After disassembly, store in a dry and ventilated place to prevent structural damage.