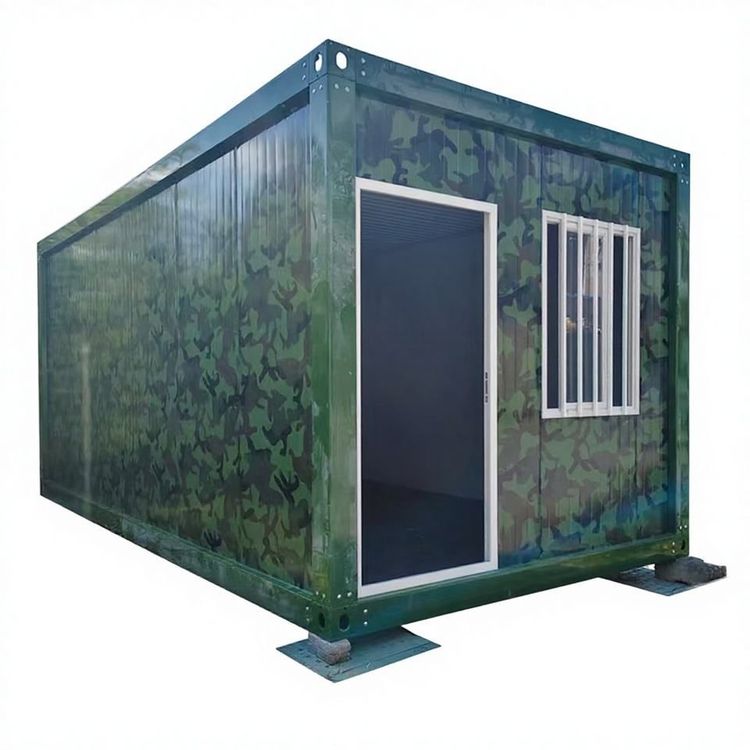
Outdoor Portable Toilet Installation Steps
The installation steps for outdoor portable toilets are as follows:

Portable toilets are usually factory-prefabricated products that can be used immediately after on-site installation. After receiving the goods, it is necessary to prepare the installation tools in advance, including an electric drill, a 4.2-millimeter drill bit, and a rivet gun. These tools are crucial for completing the installation. The electric drill is used for drilling holes, the 4.2-millimeter drill bit ensures that the hole diameter matches the rivets, and the rivet gun is used to secure the components.
Step 1: Install the Inner Corners
Install the inner corners one by one. The inner corners are an important supporting part of the portable toilet's frame structure. Proper installation of the inner corners ensures the stability and structural integrity of the entire toilet. During installation, ensure that the positions of the inner corners are accurate and fix them according to the design requirements to avoid looseness or misalignment, laying a good foundation for subsequent installation work.
Step 2: Assemble the Panels
Insert the panels into the slots, ensuring that they are aligned during insertion. Not only should the sides of the panels fit tightly against the slots, but the tops of the panels should also be aligned with other relevant panels. This step requires careful operation because the quality of panel assembly directly affects the appearance and functionality of the portable toilet. If the panels are not assembled neatly, gaps may appear in the toilet, affecting its sealing and aesthetics.
Step 3: Drill Holes and Secure
After the panels are aligned, use the prepared 4.2-millimeter drill bit to drill holes at the corresponding positions. The drilling positions should be determined according to the design requirements to ensure that the rivets can be accurately inserted and serve their fixing purpose. After drilling the holes, insert the rivets and then use the rivet gun to secure them firmly. During the fixing process, pay attention to the insertion depth and fixing force of the rivets to avoid situations where the rivets are loose or not fully fixed, ensuring the connection strength between the panels.
After completing the above steps, the installation of the outdoor portable toilet is basically complete, and subsequent inspection and debugging work can be carried out to ensure that the toilet can be used normally.