Back to blog
Article
How to Install an Outdoor Portable Toilet
Admin October 09, 2026
The installation of an outdoor portable toilet requires step-by-step standardized operations. The specific process is as follows:

I. Pre-installation Preparations
- Site Survey and Confirmation
- Communicate with the site management in advance to determine the installation location. Avoid low-lying areas prone to waterlogging (to prevent rainwater backflow), areas beneath high-voltage power lines (to avoid electric shock risks), and busy pedestrian pathways (to minimize usage interference). Ensure the installation area has a flat surface for vehicle parking and operations.
- Basic Material Inspection
- After receiving the equipment, inspect the main structure of the portable toilet (such as walls, roof, and floor) for any damage. Check that all accessories (door hinges, drainage valves, lighting systems, ventilation equipment) are complete and undamaged, and verify that the quantities and models match the inventory list.
- Tool and Safety Preparations
- Prepare tools such as wrenches, screwdrivers, spirit levels, electric drills (required for some models), 4.2mm drill bits, and rivet guns. Set up safety signs like warning cones and reflective tapes, and delineate the work area to prevent unauthorized access.
II. On-site Installation Steps
- Positioning the Main Unit
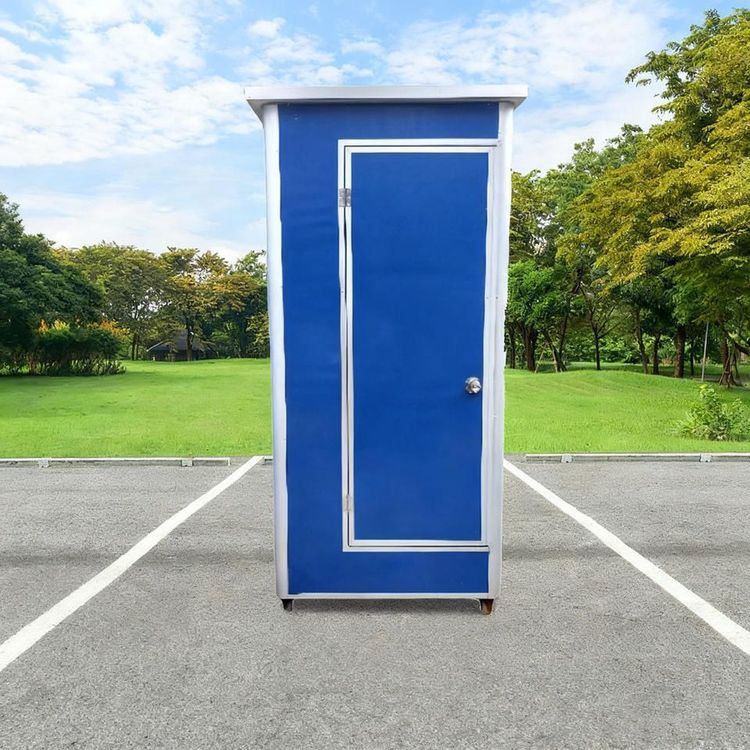
- Use a forklift or crane to lift the portable toilet smoothly to the designated location. Use a spirit level to calibrate the unit, ensuring the levelness error does not exceed ±5 millimeters. Reserve at least 0.5 meters of surrounding space for maintenance and ventilation.
- Connecting the Drainage System
- Connect the toilet's built-in drainage pipe to the municipal drainage outlet or a temporary collection bucket (used when municipal drainage is unavailable). Ensure the connection is sealed and leak-free to prevent sewage overflow and environmental pollution.
- Water and Electricity Connections (as needed)
- Power Supply: If an external power supply is required, have a professional electrician install a waterproof socket and ensure proper grounding to prevent electric shock.
- Lighting System: Check the battery level (for independent power supply models) or the external wiring (for municipal power supply models) to ensure normal operation and safety during nighttime use.
- Detail Inspection and Fixing
- Test the flushing function, door lock operation, and ventilation system for normal operation. Clean the interior and place usage instruction signs. For some models, use an electric drill to create holes at the joints, insert rivets, and secure them with a rivet gun to ensure structural stability.
III. Post-installation Precautions
- Signage and Warnings
- Set up a "Portable Toilet" sign within a 5-meter radius of the toilet. Install warning lights at night to prevent pedestrian collisions.
- Daily Maintenance
- During the rental period, check the equipment status daily, promptly clean up garbage, and replenish toilet paper and hand soap to maintain interior cleanliness.
- Removal and Transportation
- After the event, plan the removal route in advance. Use the equipment's built-in fixing devices or counterweights to ensure safe transportation and avoid damage to road facilities.
Related