
Back to blog
Article
Outdoor Mobile Toilet Installation Method
Admin September 27, 2026
The installation method for outdoor mobile toilets needs to be adjusted according to the manufacturer's design and structure. The common basic steps are as follows:
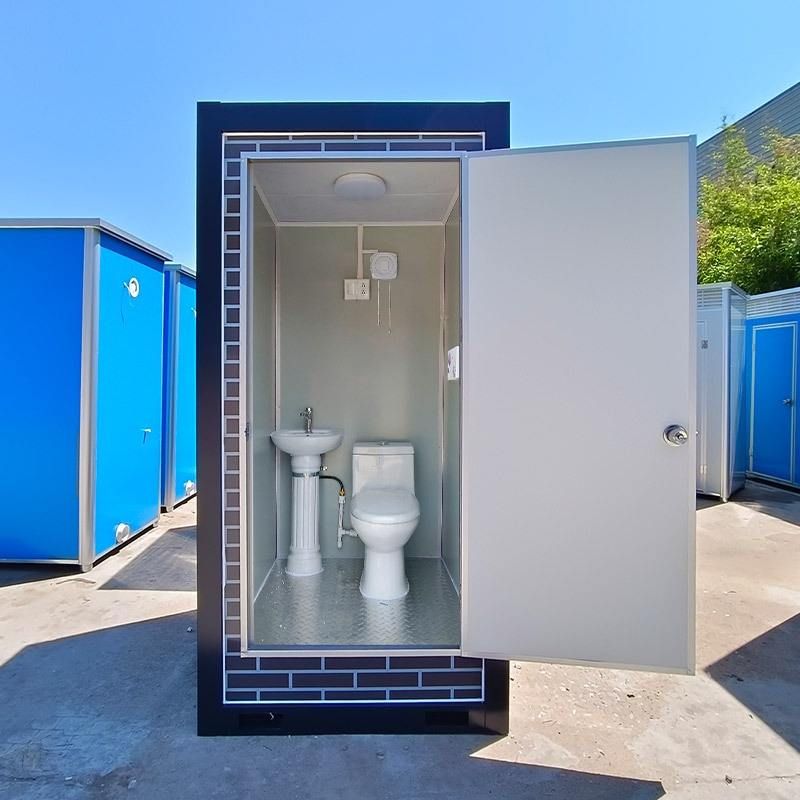
I. Pre-installation Preparation
- Tool Preparation: After receiving the goods, prepare tools such as an electric drill, a 4.2-millimeter drill bit, a rivet gun, a wrench, and a level in advance. If the toilet includes an electrical system (such as lighting and ventilation), prepare insulating tape and wire connectors as well.
- Site Inspection: Ensure that the installation ground is flat, hard, and free of accumulated water or soft soil layers. If the ground is uneven, level it with cement or a pad to prevent the toilet from tilting or being damaged.
- Component Verification: Check all components against the instruction manual, including the frame, wall panels, roof panel, door, rivets, screws, etc., to confirm that there are no missing or damaged parts. Some manufacturers may provide pre-assembled components (such as a base or sewage pipe), which need to be identified in advance.
II. Basic Frame Installation
- Assemble Inner Corners: Fix the inner corners (frame connectors) according to the positions specified in the instruction manual, usually located at the four corners or support points of the toilet. Use an electric drill and a 4.2-millimeter drill bit to drill holes at the connection points, insert rivets, and then secure them with a rivet gun to ensure the frame is stable.
- Secure the Base: If the toilet is equipped with an independent base, place it in the predetermined position, adjust it to a level state with a level, and then fix it to the ground with expansion screws or ground anchors to prevent movement or shaking.
III. Wall Panel and Roof Panel Assembly
- Insert Wall Panels: Insert the wall panels into the frame slots in order, align the edges, and press gently to secure them. If the wall panels are long, two people should collaborate to complete the task to avoid deformation or jamming.
- Drill and Secure: After the wall panels are assembled, drill holes at the connection points (such as vertical and horizontal seams), insert rivets, and rivet them tightly. Some toilets require the installation of sealing strips between the wall panels and the frame to prevent water leakage or odor leakage.
- Install the Roof Panel: Place the roof panel on top of the wall panels, align the edges, and secure them with screws or rivets. If the roof panel is designed to be detachable, reserve a maintenance port position for easy future maintenance.
IV. Detail Adjustment and Acceptance
- Door and Lock Installation: Fix the door frame in the reserved position, install the door hinges and locks, and test whether the door opens and closes smoothly and whether the locks are secure.
- Sewage System Connection: If the toilet is equipped with a septic tank or sewage pipe, connect the pipes according to the instruction manual to ensure a tight seal without leakage. Some mobile toilets require pre-filling with clean water to test the drainage function.
- Overall Inspection: Check that all rivets and screws are tightened, the wall panels and roof panel are flat and seamless, and the doors and windows open and close flexibly. Test whether the electrical systems such as lighting and ventilation work normally by connecting to the power supply.
Notes: Due to differences in manufacturer designs (such as foldable or container-style mobile toilets), the installation process may be simplified or include additional steps. It is recommended to carefully read the instruction manual before installation or contact the manufacturer for video guidance to avoid damage caused by improper operation.



