Back to blog
Article
Installation of Outdoor Equipment Mobile Toilets
Admin October 19, 2026
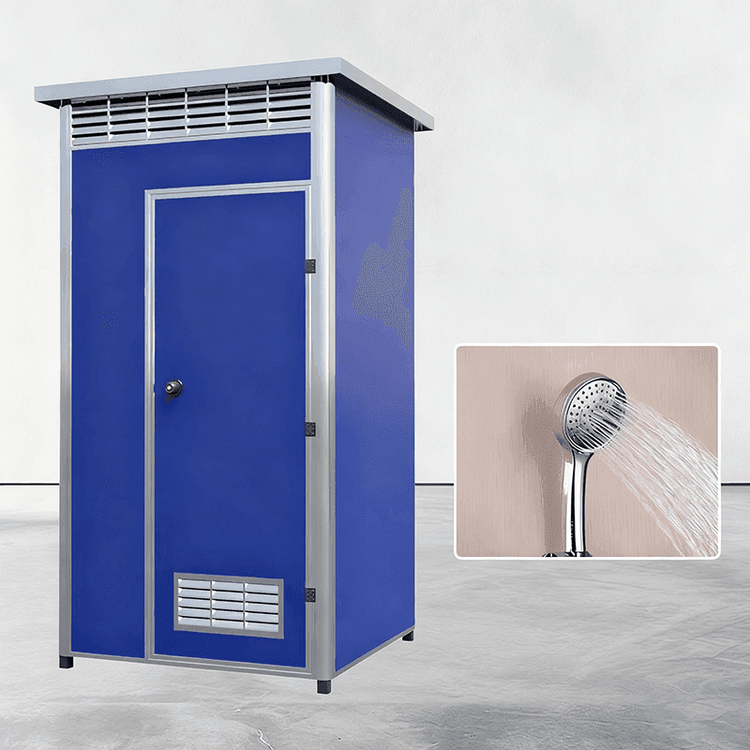
The installation of outdoor equipment mobile toilets must follow standardized procedures to ensure safety and proper functionality. The specific steps are as follows:
I. Pre-installation Preparations
- Site Confirmation: The installation location must be flat and solid, avoiding low-lying areas prone to water accumulation. At least 0.5 meters of operating space should be reserved around the site for easy maintenance and inspection.
- Tool Preparation: Check that the tools provided by the rental company (such as wrenches and screwdrivers) are complete. Prepare auxiliary tools such as an electric drill, 4.2mm drill bit, rivet gun, anti-slip gloves, and measuring tape. If water and electricity connections are involved, additional items like insulating tape and water pipe connectors are required.
- Personnel Coordination: Assign dedicated personnel to assist on-site, delineate the work area, and set up warning signs to prevent unauthorized access and avoid collisions or misoperations during installation.
II. Installation of the Mobile Toilet Main Body
- Positioning the Main Body: Move the mobile toilet to the designated location using lifting or towing methods. Adjust the bottom legs (if any) to ensure the toilet body is level and stable. If the ground is uneven, use anti-slip pads or adjust the leg height.
- Structural Assembly: After receiving the goods, use an electric drill and a 4.2mm drill bit to create holes at the assembly points. Insert rivets and secure them with a rivet gun. Install the inner corners sequentially, align the panels after inserting them into the slots, and ensure tight assembly without gaps.
III. Drainage and Water/Electricity Connections
- Drainage Connection: Open the drainage outlet at the bottom of the toilet, connect the drainage pipe to the nearest drainage point (such as a municipal sewer or collection tank), seal the interface with waterproof tape, and test for smooth drainage to prevent leaks.
- Water/Electricity Connections:
- Power: External power connections must be performed by a professional electrician using standard cables. Unauthorized connections are prohibited. The circuit must be equipped with a leakage protection device to ensure electrical safety.
- Water Supply: If water supply is required, connect to a clean water source and install a water pressure regulator to prevent damage to the flushing system due to excessive water pressure.
IV. Post-installation Inspection and Maintenance
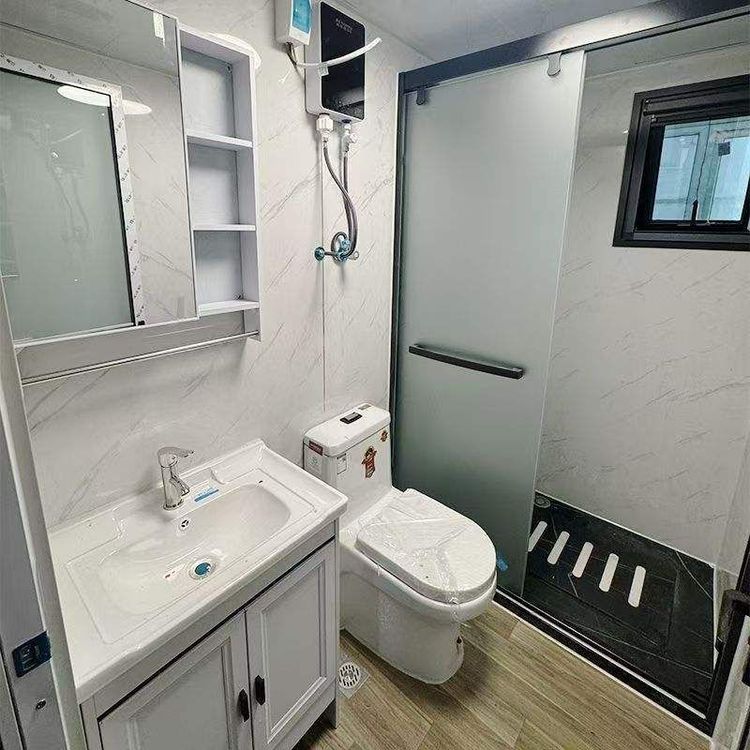
- Internal Inspection: Test the functionality of the door, lock, and flushing system. Check that internal facilities (such as handrails and tissue boxes) are intact and remove any sharp objects or debris.
- Cleaning and Signage: Clean up garbage and standing water inside and outside the toilet, and place a 'Cleaned' sign to enhance user experience.
- Usage Training: Request the rental company to explain operation points such as flushing methods and the location of emergency buttons to prevent misoperations that could damage the equipment.
- Regular Inspections: During the event, inspect the toilet daily for blockages, leaks, or structural looseness. Immediately contact the rental company for repairs if any issues are found.
Strictly following the above procedures ensures standardized installation, safe use, and extended equipment lifespan of mobile toilets.