Back to blog
Article
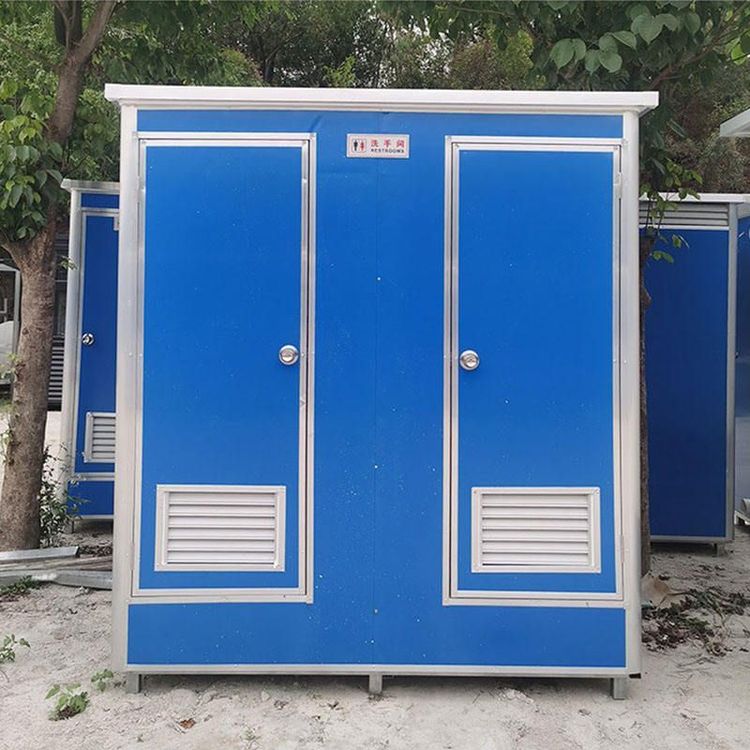
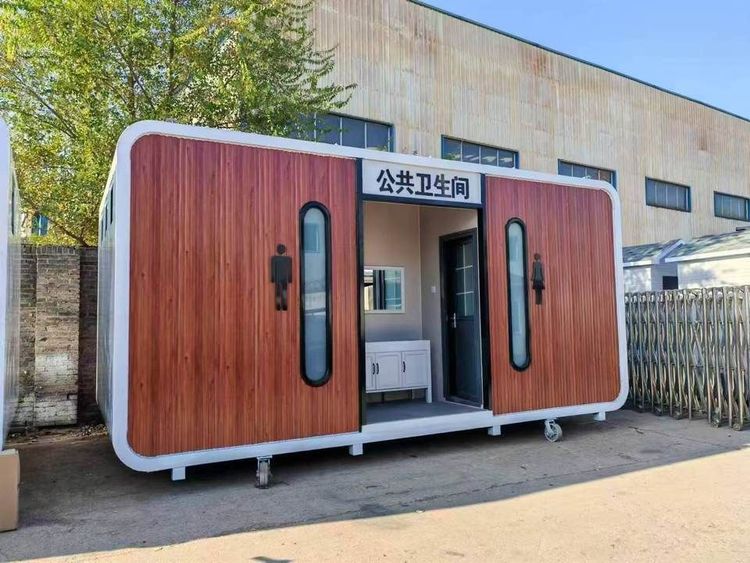
Nanyang Intelligent Mobile Toilet Installation
Admin September 28, 2026
The installation of intelligent mobile toilets in Nanyang should follow the installation guidelines for eco-friendly mobile toilets and smart toilets, including steps such as site selection, foundation installation, pipeline and power connection, and specialized installation of smart toilets.

Installation Guidelines for Eco-Friendly Mobile Toilets
- Site Selection: Choose an area with higher elevation, convenient drainage, and no obstruction to activity routes. It should not be too far from main pathways and should avoid low-lying, damp areas and flammable or explosive zones.
- Foundation Installation: After the mobile toilet arrives on site, it should be placed horizontally and secured with anti-slip devices on a flat and sturdy foundation.
- Pipeline and Power Connection: The connection of water supply and drainage pipelines should comply with sanitary standards to ensure no leakage. External power connections should be properly waterproofed.
- Acceptance Testing: Customers can conduct their own tests on site for aspects such as waterproofing, power supply, and material thickness. Before leaving the factory, multi-functional acceptance tests including power supply and waterproofing should be conducted.
Installation Guidelines for Smart Toilets (if included in the mobile toilet)
- Pre-Installation Checks:
- Pit Distance: Measure the distance from the center of the drainage outlet to the wall (finished tile surface), with an error margin of ±10mm. Standard pit distances are 305mm/400mm.
- Water and Electricity Reservations: Both cold water (and hot water if applicable) and power supply should be connected. Outlets must be fixed inside the wall and not exposed. Switches should be installed simultaneously with wall switches. Ideally, an 86-type concealed box should be pre-embedded before tiling, within 30cm to the left or right of the center of the toilet's drainage outlet and about 30cm above the ground.
- Base Leveling and Sealing Materials: Non-dry, hard materials (such as silicone sealant or flange rings) must be used for sealing. The use of cement mortar for fixation is strictly prohibited. Check if the original pit is level using a leveling instrument, and use shims for adjustment if necessary.
- Full Installation Process:
- Removal of Old Toilet and Pipeline Cleaning: Close the water inlet angle valve and remove the old toilet. Seal the drainage outlet with a protective cover to prevent debris from entering, then open the angle valve and let water flow for 3-5 minutes to empty the pipeline of sediment-laden wastewater.
- Positioning with Installation Template: Align the installation template provided with the smart toilet (or use the toilet base directly) with the centerline of the drainage outlet. Draw the outline according to the template to determine the positions of the flange ring and fixing bolts, leaving a 2-5mm gap between the back of the toilet and the wall.
- Installation of Flange Ring and Fixation: Press the flange ring firmly into place over the drainage outlet. Slowly lower the toilet onto the outline, ensuring it is level, and then push it in by hand. Tighten the fixing bolts at the bottom with a screwdriver (be careful not to overtighten, as this may cause the ceramic to crack).
- Connection of Water Supply, Drainage, and Power: Connect the water inlet pipe of the smart toilet to the angle valve and open the valve to check for leaks.
Related