Back to blog
Article
How to Install a Mobile Toilet Water Tank
Admin September 27, 2026
The installation of a mobile toilet water tank should be carried out step by step according to the type of tank (ordinary or concealed wall-mounted), with a particular focus on the installation of accessories and the inspection of sealing performance. The specific steps are as follows:
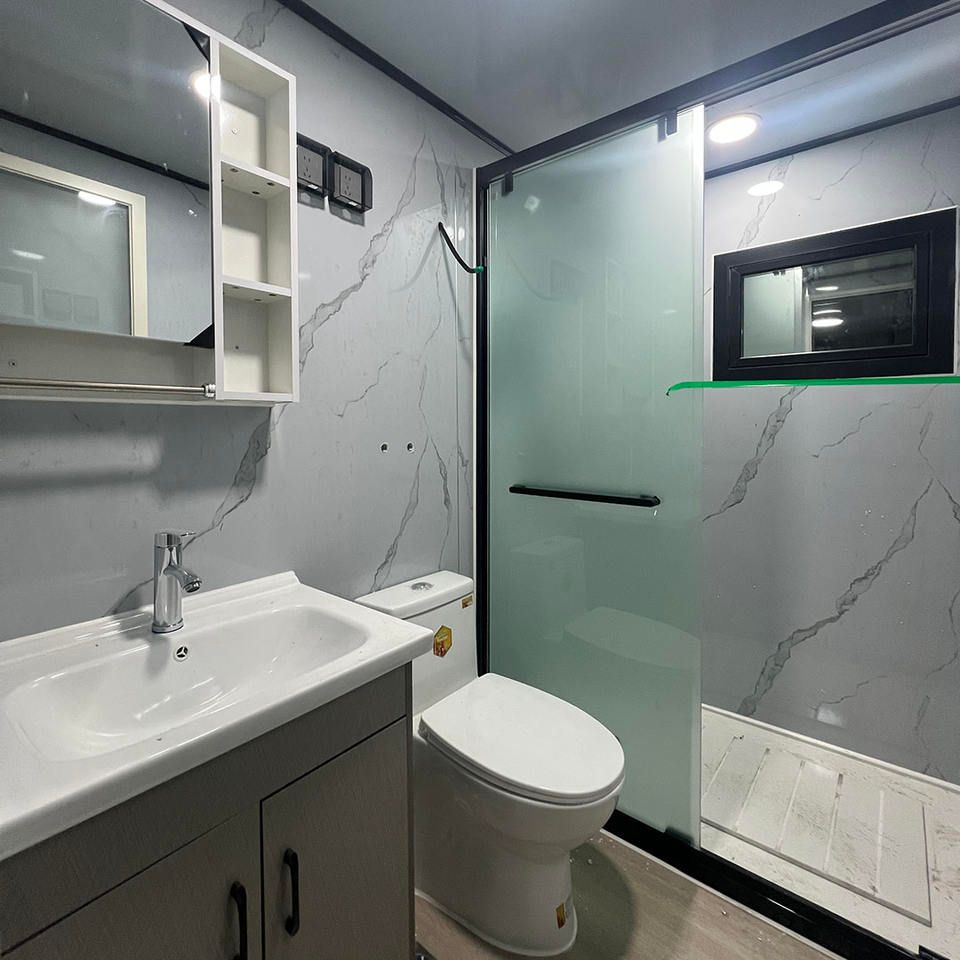
I. Installation Steps for Ordinary Mobile Toilet Water Tanks
Install the Drainage Components
- Place the conical rubber ring into the groove of the connecting cup, ensuring that the rubber ring fits snugly against the edge of the connecting cup to prevent subsequent leaks.
- Slide the connecting cup over the drain pipe (usually the drainage outlet reserved at the bottom of the tank), rotate the connecting cup until it fits tightly against the drain pipe, and then use a tool (such as a wrench) to tighten the connecting cup, ensuring that the drain pipe is firmly fixed to the bottom of the tank.
Connect the Inlet Hose
- Locate the water inlet on the side of the tank (usually with a threaded connection), align one end of the inlet hose with the water inlet, and rotate the hose connector until it is fully tightened, ensuring that there is no looseness at the connection between the hose and the tank.
- The other end of the hose should be connected to the water supply pipe (such as a tap water valve), and the connector should also be tightened to prevent leaks during water intake.
Test the Flush and Check for Leaks
- After installation is complete, open the water supply valve and fill the tank with water to the designated water level line (usually marked inside the tank).
- Press the flush button and observe whether the water in the tank drains smoothly. At the same time, check for leaks at the connection between the drain pipe, the inlet hose connector, and the bottom of the tank. If leaks are found, recheck whether the rubber ring is properly installed or whether the connectors are tightened.
II. Precautions for Installing Concealed Wall-Mounted Water Tanks
- Measure the Installation Spacing: Concealed water tanks need to be fixed inside the wall. Before installation, ensure that the middle distance between the tank bracket and the reserved hole in the wall is 135MM (with an error not exceeding ±2MM), otherwise, the tank may not align with the toilet.
- Fix the Tank Bracket: Use expansion bolts to fix the tank bracket to the wall, ensuring that the bracket is level and secure to prevent the tank from tilting after installation.
- Connect the Drain and Inlet Pipes: The connection methods for the drain pipe and inlet hose of concealed water tanks are similar to those of ordinary tanks, but note that the pipes should be hidden inside the wall. After installation, use sealant to seal the holes in the wall to prevent water seepage.
III. General Installation Principles
- Strictly Follow the Instructions: Different models of tanks may come with additional accessories (such as fixing screws, sealing gaskets, etc.). Install them according to the steps in the instructions to avoid omissions.
- Focus on Checking Sealing Performance: Areas such as rubber rings and connectors are prone to leaks. Ensure that they are not deformed or damaged during installation. After tightening, use a tissue to wipe and check for water seepage.
- Avoid Forced Installation: If the accessories do not match the connectors (such as incompatible thread specifications), replace them with the corresponding accessories. Forced installation may cause damage or leaks.