
Back to blog
Article
How to Install Water Pipes for Mobile Toilets
Admin September 27, 2026
The installation of water pipes for mobile toilets involves three stages: preliminary preparation, foundation construction and pipeline embedding, and pipeline system connection. The specific steps are as follows:
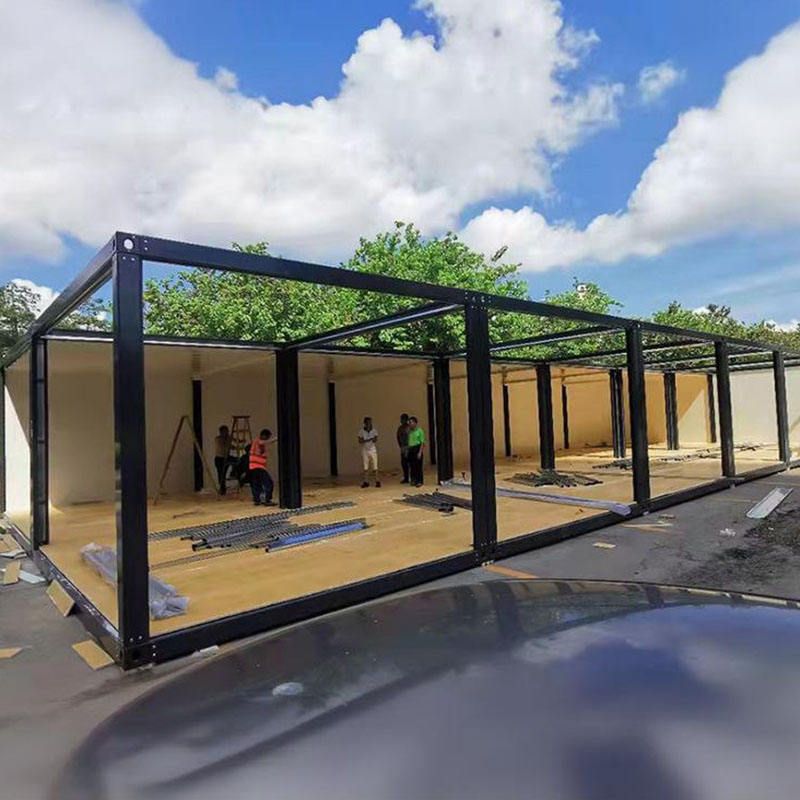
Preliminary Preparation
- Site Survey: Evaluate the terrain flatness, soil bearing capacity, and surrounding environment. Reinforce the foundation in low-lying or soft areas to prevent equipment settlement. Confirm the shortest distances from the site to the water source, power supply, and drainage network. Ensure a reasonable distance between the water supply point and the toilet, and maintain a continuous slope for the drainage pipe to prevent stagnation.
- Determine Equipment Quantity and Layout: Plan the number of equipment based on the estimated foot traffic, using clustered layouts in dense areas. Adjust the ratio of male and female toilet stalls according to the characteristics of the user group, and configure barrier-free units for special occasions. Reserve maintenance aisles between equipment and position entrances away from prevailing winds.
- Prepare Materials and Tools: If using PVC drainage pipes, prepare PVC pipes, elbows, tees, and other fittings with matching diameters, as well as PVC-specific glue, tape measures, hand saws or pipe cutters, pencils, sandpaper or scrapers, and other tools.
Foundation Construction and Pipeline Embedding
- Foundation Construction: Level the site according to the design drawings and compact the soil in layers. The thickness of the concrete foundation must meet the load-bearing requirements, and the positioning error of embedded parts should be controlled within the allowable range. Maintain moisture and temperature during curing, and add antifreeze agents for winter construction.
- Pipeline Embedding: Conduct simultaneously with foundation construction. Select pressure-resistant materials for the water supply pipe, bury it below the frost line, and wrap it with insulation materials. The diameter of the drainage pipe should be larger than the outlet size of the equipment, and cleanout openings should be provided at regular intervals. The cable conduit must be corrosion-resistant, with strong and weak electrical lines laid separately. Temporarily seal all pipe openings before equipment installation to prevent debris from entering.
Pipeline System Connection
- Water Supply System: Flush the main pipeline before connection, confirm that the water quality meets standards, and then connect it to the equipment's water inlet. Install a filter and pressure relief valve at the water inlet end, use anti-detachment design for water pipe joints, and wrap them with insulation layers. After connection, conduct continuous water flow tests and check each joint for leaks.
- Drainage System:
- PVC Drainage Pipe Installation: Measure and cut the pipe length, ensuring a flat cut and then sanding the burrs. Apply glue to the pipe spigot and fitting socket, insert and rotate 90 degrees while maintaining pressure to secure. Install pipe clamps along the planned path, fix the main pipeline, and adjust the slope to 2%-5%. Connect branch pipelines according to the positions of sanitary fixtures, applying glue to all joints and tightening them. Connect the toilet to the drainage outlet via a flange ring, and use hoses or PVC pipes to connect the sink and floor drain to the branch pipelines, using rubber gaskets and pipe clamps at the joints to prevent leaks.
- General Drainage Pipe Installation: Select an adapter to connect the drain pipe, ensuring the size and type match. Extend the other end of the drain pipe to the ground, keeping it vertical or horizontal to avoid backflow. Apply sealant at the joint and press to fit, ensuring a tight seal.



