Back to blog
Article
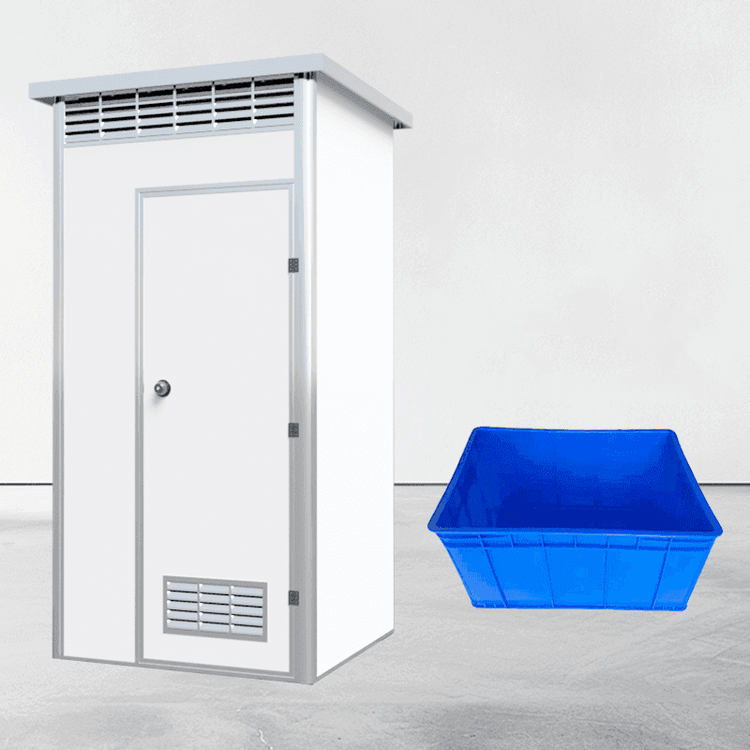
Mobile Toilet Water Heater Installation
Admin October 11, 2026
The installation of a water heater in a mobile toilet should follow the following steps, location selection, and key points to ensure safety and practicality:
Installation Steps
- Prepare Tools and Cut Off Power
Prepare tools such as wrenches and ladders. Since the water heater uses 16A 220V AC power, the power must be cut off before installation to avoid the risk of electric shock. - Cut Off Water Supply and Drain
Close the inlet valve and use a wrench to loosen the outlet to drain the water until there is no residual water inside, preventing water leakage during disassembly. - Remove the Old Equipment
Use a ladder to remove the water heater from the bracket and check if the bracket can be removed (usually fixed with expansion bolts; forced removal may damage the wall). - Install the New Equipment
- Fix the Bracket: Install the bracket on a high load-bearing wall or solid wall. If the wall's load-bearing capacity is insufficient, add an auxiliary bracket at the bottom of the water heater.
- Connect Pipes: Install the inlet and outlet pipes, ensuring a tight connection without leaks, and then fill the water heater with water.
- Power-On Test: After filling with water, turn on the power and check if the water heater is working properly, confirming there are no water leaks or abnormal noises.
Installation Location Selection
- Space-Saving Solutions
- It can be installed above the toilet, but the width should be controlled to no more than 40 centimeters from the toilet to avoid affecting use.
- Adopt a semi-recessed ceiling method, where half is embedded in the ceiling and half is exposed, saving vertical space.
- If the toilet space is limited, it can be installed in an external area (such as the kitchen), but ensure convenient pipe connections.
- Safety Requirements
- Wall Selection: Prioritize fixing it on a load-bearing wall or solid wall. Non-load-bearing walls require additional brackets.
- Socket Location: The socket should be installed on the side of the water heater, at a height of no less than 2 meters from the ground, and equipped with a waterproof box to prevent moisture-induced short circuits.
- Convenience of Use
- If hot water is needed quickly, it can be installed above the showerhead, but keep it at least half a meter away from the shower area to avoid water vapor erosion.
- Characteristics of different locations: For bathroom installation, choose a waterproof model; for balcony installation, ensure good ventilation but protect against freezing; for hallway installation, the temperature is moderate, but hot water comes out more slowly.
Installation Key Points
- Equipment Type Adaptation
- Gas water heaters require clips to fix the pipes to prevent loosening and leakage; electric water heaters require the installation of a pressure relief pipe to ensure the drainage pipe is unobstructed.
- Detail Specifications
- The power cord should avoid facing the door directly. The height of the angle valves should be distinguished: 1.65 meters for cylindrical types and 1 meter for flat types, with a spacing of 10 centimeters between the two valves.
- A heat dissipation gap of 5-8 centimeters should be reserved at the top, and the overall installation height is recommended to be 2.2-2.4 meters.
- Electrical Safety
- The socket must be waterproof, and the ground wire must be connected to the equipotential bonding box. The wire specification for the drainage pipe should be no less than 4 square millimeters.
- Press the leakage protection switch monthly to test and ensure the leakage protection function is normal.
Related