How to Install Water and Electricity for Mobile Toilets
The installation of water and electricity for mobile toilets should be carried out step by step, with the core being advance planning and standardized operations. The specific process is as follows:

I. Pre-installation Preparation: Site Assessment and Plan Formulation
- Ground Condition Inspection
Ensure that the installation site has a flat and solid ground, free from standing water or soft soil. If the ground has slopes or soft areas, reinforcement should be carried out through compaction or laying a concrete bedding layer to prevent equipment tilting or pipe breakage due to ground settlement. - Drainage System Planning
- Scenarios with sewers: Communicate in advance with municipal or site management to confirm the location of sewer connections, pipe diameters, and drainage slope requirements, and reserve space for connections.
- Scenarios without sewers: Choose mobile toilets with water storage functions (such as models with built-in septic tanks or water storage tanks), or lay temporary drainage pipes in advance to designated discharge points (such as sewage wells or collection containers). Note that the pipe slope should be ≥1% to prevent sewage backflow.
- Power Requirement Confirmation
Determine power requirements based on the toilet's functional configuration: Basic models only require lighting power (220V single-phase electricity), while models equipped with deodorization systems, warm air devices, or intelligent control systems require higher-power circuits (recommended ≥3kW) and ensure independent grounding of the circuit to avoid electric shock risks.
II. Equipment Arrival and Water-Electricity Connection: Standardized Operations and Safety Protection
- Power Connection
- Use cables that comply with national standards (recommended copper core wires with a cross-sectional area ≥2.5mm²) and independently draw wires from the distribution box to the toilet's power interface to avoid sharing lines with other high-power equipment.
- Install a leakage protection switch, distinguish between the neutral wire (N), live wire (L), and ground wire (PE) during wiring, and ensure that the wiring is firm and the insulation layer is intact.
- Safety Tips: Do not privately pull wires or use non-waterproof sockets. When installing outdoors, a waterproof box should be added.
- Drainage Pipe Connection
- Scenarios with sewers: Use PVC or HDPE pipes to connect the toilet's drainage outlet to the sewer. Apply waterproof glue and wrap raw material tape at the interface to ensure tightness. After connection, conduct a water flow test and observe for 5 minutes for any leakage.
- Scenarios without sewers: Connect the toilet's drainage pipe to a water storage device (such as a septic tank) or lead it to a discharge point through a temporary pipe. The water storage device should be cleaned regularly to avoid overflow.
- Key Details: The drainage pipe should maintain a slope of 1%-2% to prevent sewage stagnation; if a flexible hose is used for connection, it should be fixed with pipe clamps to prevent detachment.
III. Simplified Solutions for Special Scenarios
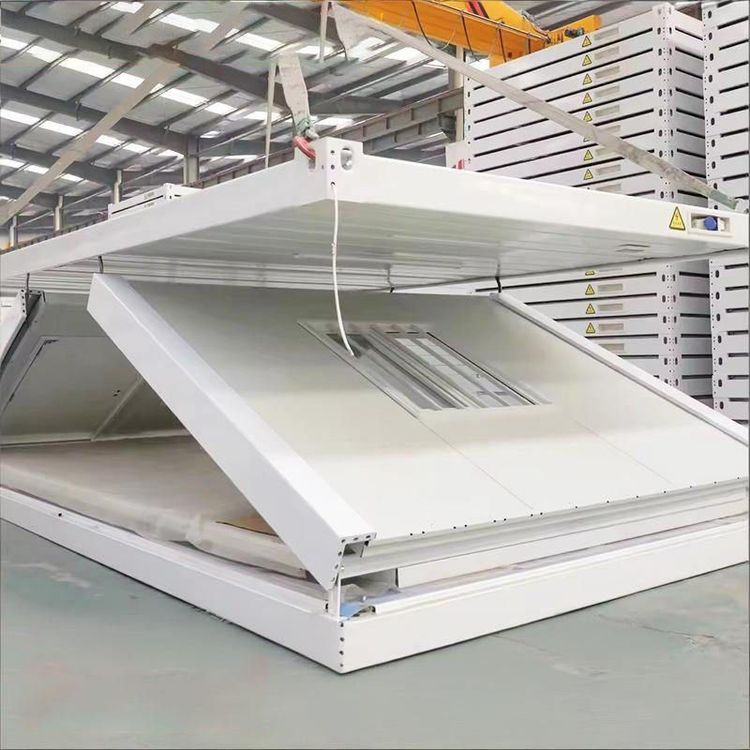
Some standardized mobile toilets (such as single-unit or container-type models) adopt a "plug-and-play" design, with pre-installed quick connectors for water and electricity interfaces. Simply connect the water inlet pipe (usually DN25) to the municipal water supply, the drainage pipe to the sewer, and plug the power into a waterproof socket to complete the installation without complex construction. For such equipment, it is necessary to confirm that the site's water and electricity pressures meet the requirements (water inlet pressure 0.2-0.4MPa, voltage fluctuation ≤±10%).