Mobile Toilet Tile Repair on Walls
Repairing tiles on the walls of mobile toilets requires selecting appropriate methods based on different types of damage, as detailed below:
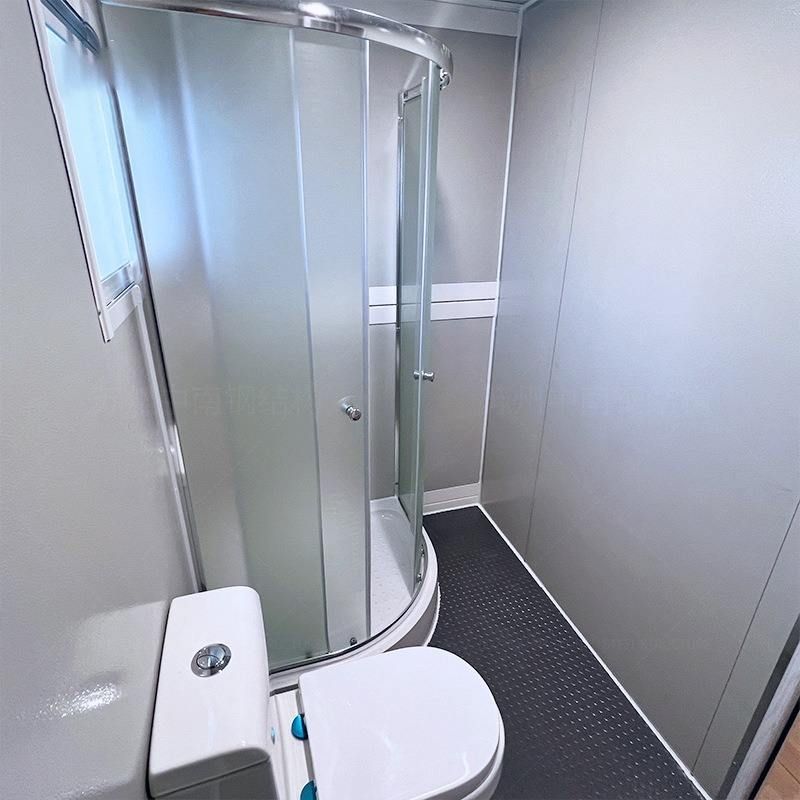
Small-area tile detachment: If only a few tiles have detached, tile adhesive can be used for repair. First, clean the dust from the base layer to ensure the wall is clean, dry, and free of oil stains. Then, evenly apply the tile adhesive to the wall and the back of the tile, and press the tile firmly into its original position. Tile adhesive has strong bonding strength and is easy to apply, making it particularly suitable for the humid environment of mobile toilets. After curing, wait 24 hours for it to dry completely and bond firmly before exposing it to water.
Large-area tile detachment: First, remove the original tiles and adhesive layer, and carefully check the flatness of the wall. If the wall is uneven, level it to ensure the flatness error is within the specified range. Then, apply tile adhesive or cement mortar for re-tiling. If using cement mortar, mix cement and fine sand in a 1:3 ratio. Thoroughly wet the base layer and roughen it to enhance bonding strength, then apply the mortar in layers until it is flush with the original wall. After repair, it is recommended to apply a waterproof layer to prevent moisture penetration and further tile detachment.
Tile hollowing:
- Corner hollowing: Use the grout injection method. First, pry open the tile gaps with a tool, mix cement into a thin slurry, and slowly pour it into the gaps while gently tapping the tiles with a small rubber mallet to allow the cement slurry to gradually fill the hollow areas and ensure full bonding between the tiles and the base layer.
- Middle hollowing: The tiles need to be removed and re-laid. Use a suction cup to lift out the hollow tiles straight. If the suction cup cannot be used, break the tiles from the middle, then carefully pry them out towards the sides with a crowbar until the tiles are loose. Remove them and re-lay them according to specifications.
- Large-area hollowing: The base layer needs to be redone. Remove all tiles, chisel open the cement layer on the wall and floor, and redo the base layer before re-tiling to ensure the base layer is firm and flat.
Tile corner hollowing or damage: Use a hollow-filling agent with a needle tube to inject it into the hollow areas. After it cures, repair it with tile repair paste. It will achieve a firm and aesthetically pleasing effect after 24 hours.
Local tile defects: Use a tile repair agent for quick repair. It is mostly a two-component epoxy material. Mix it and fill it into the defective areas, then scrape it flat. After initial curing for 2 hours, it can be sanded and trimmed. The color of the repair agent should match the original tiles to ensure aesthetic appeal after repair.
After repair, keep the area well-ventilated and dry, and avoid contact with water sources within 24 hours to prevent affecting the repair effect.
You may also like
Portable Toilet Rental for Construction Sites: What to Consider
Read More
Portable Toilet Rental Price Guide: Budget, Mid-Range & Premium
Read More
Portable Toilet Color Steel: A Practical Buyer's Guide
Read More