
Mobile Toilet Tent Setup Method
The setup of a mobile toilet tent should follow the principles of structural stability and functional suitability. The specific steps and precautions are as follows:
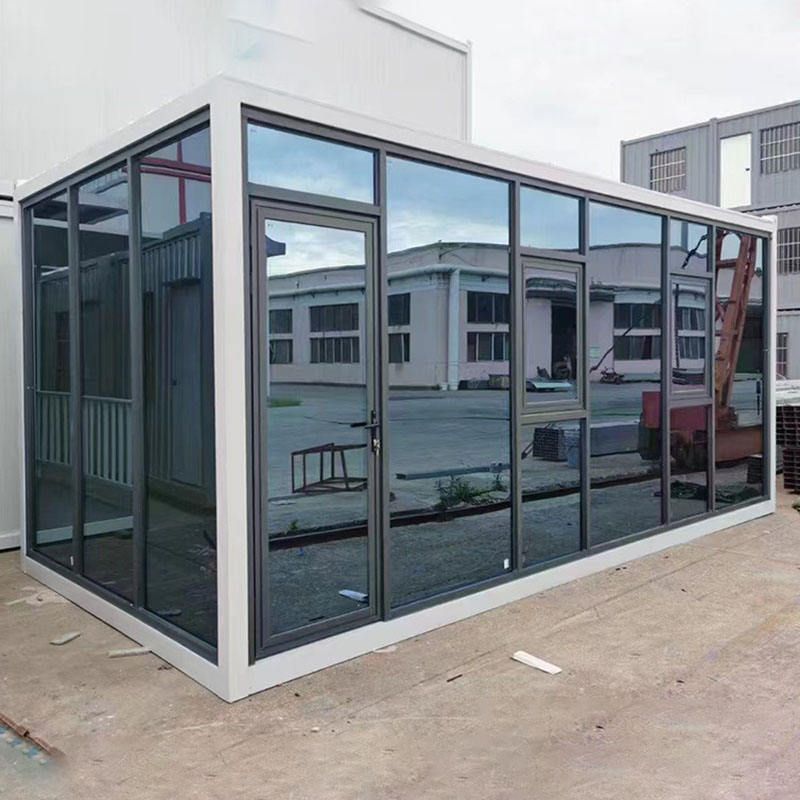
1. Tent Selection
Prioritize selecting a pole-insertion tent with buckles and avoid using instant tents. Pole-insertion tents form a stable frame through the mechanical connection of poles and buckles, offering better wind resistance and durability compared to the elastic structure of instant tents. The buckle design simplifies the assembly process and reduces operational difficulty. If the tent is to be used for an extended period, check the strength of the pole material (such as fiberglass or aluminum alloy) to prevent structural deformation due to pole bending.
2. Setup Steps
Pole Insertion and Fixation
Insert four poles into the reserved pole sleeves from the four directions of the tent, ensuring the poles are vertically inserted into the ground or fixed bases. Use buckles to lock the pole connections tightly to prevent loosening. If the tent design includes cross-bracing poles, fix the main poles first and then install the auxiliary poles to form a triangular stable structure.Erecting the Main Body
First, erect three sides of the tent fabric, connecting the fabric attachment points (such as top fixing rings or side hooks) to the poles to form a semi-enclosed space. Finally, insert the remaining poles to complete the main frame setup. Pay attention to maintaining even fabric tension during this step to avoid local over-tightening that could cause tearing.Height Adjustment
It is recommended to control the tent height between 2 meters and 2.4 meters. A height that is too low will limit operational space (such as dressing and undressing, cleaning), while a height that is too high may lead to structural instability due to an upward shift in the center of gravity. Before adjusting the height, ensure all buckles are fastened tightly to prevent safety hazards caused by component loosening during the setup process.
3. Functional Optimization and Detail Handling
Ground Cloth Usage
If the tent is primarily used as a toilet, ground peg fixation can be omitted (on flat, windless sites). The ground cloth is mainly used for moisture prevention or in shower scenarios. If tent fixation is required, insert ground pegs at a 45-degree angle into the ground during strong winds to enhance wind resistance.Privacy and Ventilation
Choose dark-colored or tent fabric with a light-blocking coating to reduce external visibility penetration. Ventilation can be achieved through top air vents or side-reserved gaps to prevent odor accumulation. If the tent does not have built-in ventilation openings, use scissors to cut small holes (diameter ≤ 5 cm) in non-load-bearing areas and cover them with mesh to prevent insect entry.Cleaning and Maintenance
After use, promptly clean any stains inside the tent to prevent fabric corrosion. Store the poles in a dry condition to prevent metal parts from rusting. If the tent is exposed to UV radiation for an extended period, use a sunscreen coating to protect the fabric and extend its service life.



