
Back to blog
Article
Mobile Toilet Shell Installation Guide
Admin October 05, 2026
The installation of the mobile toilet shell should be carried out in accordance with the following steps to ensure structural stability and safety in use:
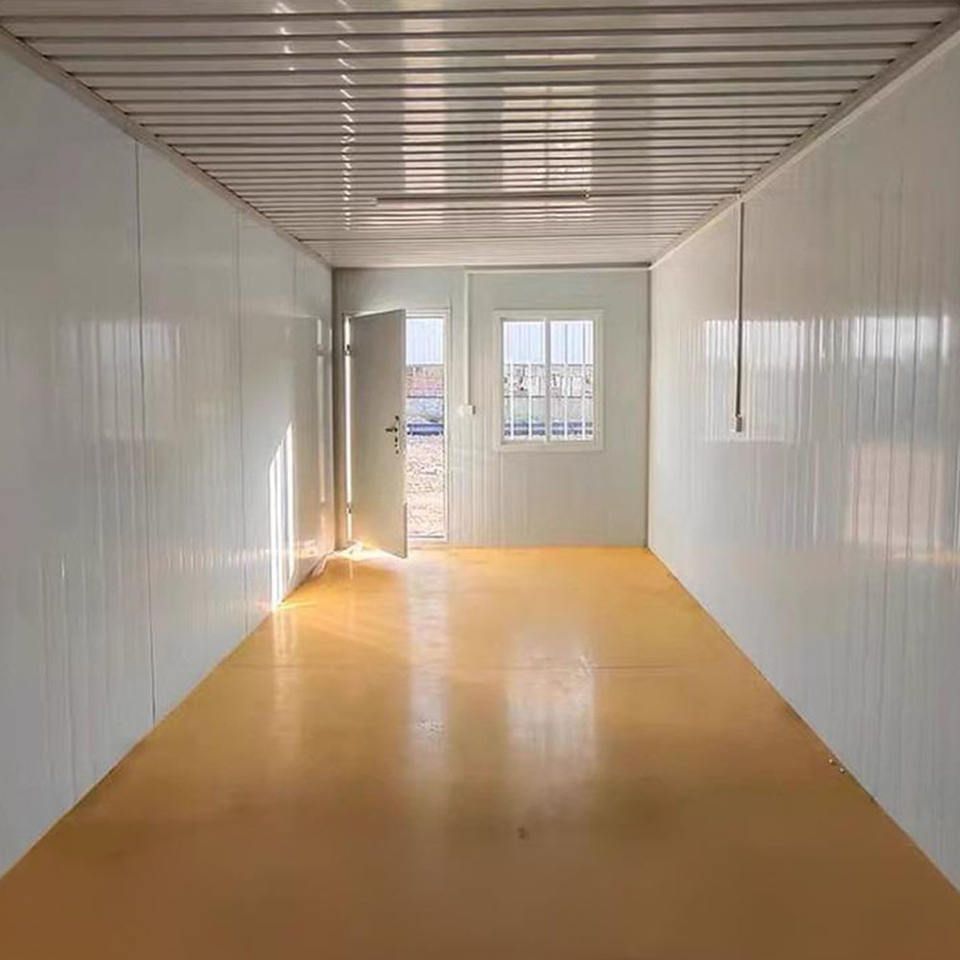
I. Assembly of the Frame and Shell Connection
- Pre-fixing of the Frame: After fixing the base, connect the wall panels (right, left, and front) in sequence. Tighten the screws at each connection point to ensure the overall stability of the frame without any wobbling.
- Simultaneous Installation of the Shell: Assemble the shell structure simultaneously with the frame, paying special attention to checking the tightness of the connections. For example, at the seams between the walls and the base, as well as the top components, use sealant or rubber strips to fill the gaps to prevent air leakage or water seepage.
- Installation of the Top Support: Install slots on the upper part of the frame to support the top components (such as the roof panel). Ensure a tight connection between the slots and the frame to avoid deformation due to weight bearing in the later stage.
II. Core Steps for Shell Installation
- Fixing the Base and the Shell: Align the bottom of the shell with the fixed base and secure it with screws or clips. If it is a metal shell, install anti-slip gaskets at the contact points to prevent the screws from loosening after long-term use.
- Door Installation: Install the door at the reserved position on the shell, paying special attention to checking the flexibility of the hinges and locks. The gap between the door and the shell should be controlled within 3mm and filled with a sealing strip to ensure smooth opening and closing and good sealing.
- Ventilation Treatment: If the shell is designed with ventilation louvers, install them simultaneously during the assembly stage. The louvers should face the leeward side to prevent rainwater from flowing backward and enhance air circulation.
III. Fixing and Reinforcement
- Overall Fixing: Use expansion bolts to fix the entire equipment to the ground, with a bolt spacing of no more than 50cm. If the ground is a soft soil layer, pour a concrete foundation to ensure that the shell can withstand strong winds and other external forces.
- Base Reinforcement: On hard ground (such as concrete), use heavy objects (such as sandbags) or special fixing frames to press down on the base to enhance the stability of the shell. If it is a mobile toilet, install anti-slip feet at the four corners of the base.
IV. Final Inspection
- Cleaning: Wipe the surface of the shell with a neutral detergent to remove stains or glue marks left during the installation process. Avoid using corrosive detergents to prevent damage to the shell's surface coating.
- Inspection of Connection Points: Check whether all screws and connection points are tightened, paying special attention to easily loosened parts such as the door and ventilation openings. Gently push the shell with your hand to confirm that there is no looseness or abnormal noise.
Precautions:
- Before installation, ensure that the ground is level and can bear the weight of the toilet to avoid deformation of the shell due to foundation problems.
- If installation is carried out in winter, wrap insulation cotton (with a thickness of ≥5cm) around the exposed pipes to prevent the pipes inside the shell from freezing and cracking.
- The specific operations may vary slightly depending on the toilet model (such as packing type, microbial degradation type) or configuration differences. It is recommended to refer to the product manual or contact the supplier for targeted guidance.


