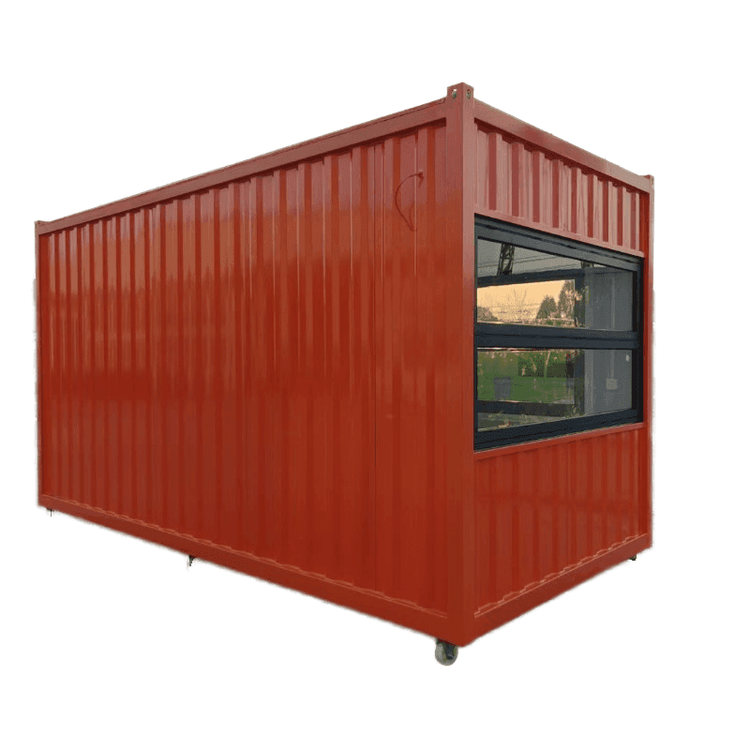
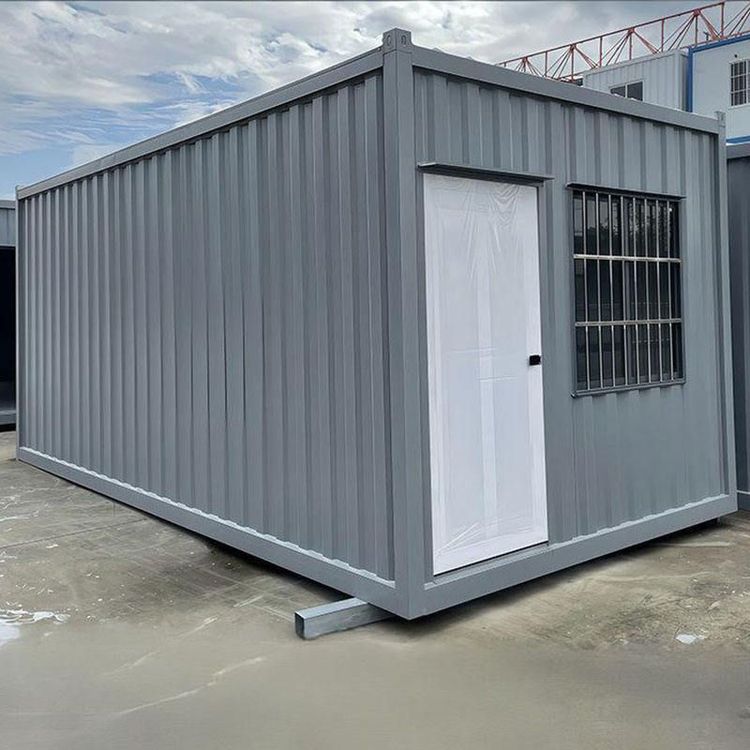
Mobile Toilet Renovation Steps
The renovation steps for mobile toilets mainly consist of four stages: foundation construction, main structure assembly, interior decoration, and commissioning and acceptance. Details are as follows:

Foundation Construction
The installation area needs to undergo concrete hardening treatment to ensure a flat surface and adequate load-bearing capacity. This step is fundamental to the stability of the mobile toilet; an uneven surface may lead to toilet tilting or structural damage. The thickness of the concrete hardening layer should be determined based on the toilet's weight and usage scenario, with a general recommendation of over 10-15 centimeters. After hardening, it should be cured until the strength meets the standard before proceeding with subsequent construction.
Main Structure Assembly
Using a modular assembly method, stainless steel or aluminum alloy frames are spliced on-site, typically completed within one day. The frame structure must be installed strictly according to the design drawings, ensuring that the vertical and horizontal deviations do not exceed 5 millimeters. The selection of panels should balance durability and aesthetics; color-coated steel sheets are suitable for temporary scenarios, while anti-corrosion wooden panels are more appropriate for long-term use or areas with high landscape requirements. The spliced joints should be treated with special sealant to prevent rainwater leakage.
Interior Decoration
- Water and Electricity System Installation
- Water supply and drainage pipes should be embedded and fixed. The inlet pipe of the toilet tank should be equipped with a one-way valve to prevent backflow, and the shower hose should be tested for water pressure stability after connection.
- The faucet installation requires embedding clips in the wall, and the water pipe connections should be wrapped with Teflon tape to ensure sealing. When using a stainless steel sink, glass glue should be applied at the opening of the pipe cap for fixation, and the outlet of the drainage pipe should have a reserved slope to prevent water accumulation.
- Sealing Test
After completing the water and electricity installation, an airtightness test should be conducted on the entire toilet. A pressure test method can be used, where 0.02 MPa of air pressure is charged into the toilet, and the pressure drop over 24 hours is observed to see if it exceeds 5%. If it does, the pipe connections or panel gaps should be checked and resealed.
Commissioning and Acceptance
After power and water supply are connected, test all functions, including toilet flushing, shower water output, lighting, and exhaust systems. Key checks should include:
- Whether the toilet flushing force meets the standard and the drainage pipe is unobstructed;
- Whether the shower water temperature adjustment is sensitive and the cold-hot water mixing ratio is normal;
- Whether the exhaust fan air volume meets the standard of more than six air changes per hour;
- Whether the grounding protection of all electrical components is reliable.
After passing the acceptance, a delivery document should be signed, and a regular maintenance plan should be established, recommending an inspection of seals and water and electricity lines every three months.