Back to blog
Article
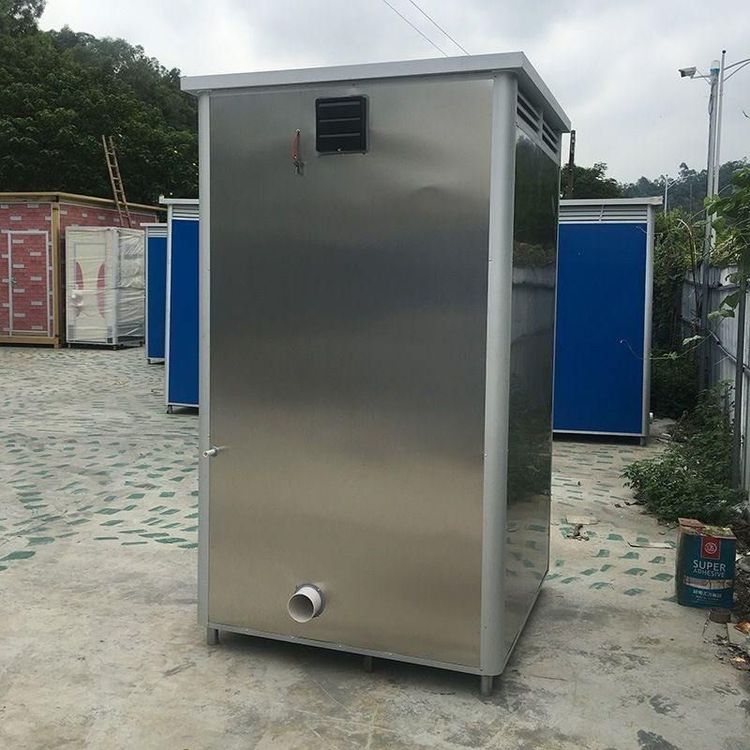
Mobile Toilet Plumbing Installation
Admin October 22, 2026
The installation of plumbing for mobile toilets requires targeted operations based on different types and scenarios, with core steps including pipe connection, water source connection, and stability testing, as detailed below:

I. Installation Points for Ordinary Portable Toilets
- Drainage System Connection
- Select a drainage method based on site conditions: If the site is near a municipal sewer, connect the drainage pipe directly to the designated interface, ensuring pipe tightness; if there is no sewer on site, connect to a sewage collection tank and reserve a regular cleaning passage.
- The slope of the drainage pipe should be ≥1% to prevent sewage backflow or deposition, and the connection should be reinforced with waterproof tape or sealing rings.
- Water Source Connection
- Use a water pipe with a diameter ≥DN20 to connect to the water source, ensuring stable water pressure (recommended ≥0.2MPa).
- After installation, test the flushing function, check if the water tank level is normal, if the flushing force meets the standard, and verify the drainage tightness to prevent odor leakage.
II. Installation Points for Single-Unit Mobile Toilets
- Sewage Pipe Connection
- The sewage pipe should be connected to the nearest sewer or sewage collection tank, with a pipe slope ≥2% to ensure natural sewage flow.
- If connected to a sewage collection tank, reserve an exhaust port above the tank to prevent air pressure from affecting drainage efficiency; if connected to a sewer, install an anti-odor trap.
- Water Source Testing
- After connecting the water source, first open the flushing valve to observe if the water flow is even, then close the valve to check if the water tank leaks.
- Flush continuously 3-5 times to verify that the drainage pipe is not blocked or has backflow, and check if the floor is dry to prevent leakage.
III. Installation Notes for Mobile Toilets (Basic Model)
- Basic mobile toilets usually do not require a complex plumbing system; some models only need a drainage container (such as a plastic bucket).
- Ensure the container is placed stably during installation to prevent tipping; if an external drainage pipe is needed, choose a flexible hose and regularly clean the waste in the container.
IV. General Installation Specifications
- Site Selection
- The ground should be solid and flat, avoiding low-lying and water-prone areas to prevent toilet tilting or settlement.
- Stability Testing
- After installation, test the overall stability of the water and electricity system, including the flushing function, drainage tightness, and the firmness of water pipe connections.
- It is recommended to simulate usage scenarios (such as continuous flushing 10 times) to observe if all components are functioning properly.
Tip: If the installation environment is complex (such as no sewer or insufficient water pressure), plan a sewage collection solution or add a booster device in advance, and consult professional installers if necessary.