
Mobile Toilet Partition Installation Process
The installation process of mobile toilet partitions mainly includes the following steps:
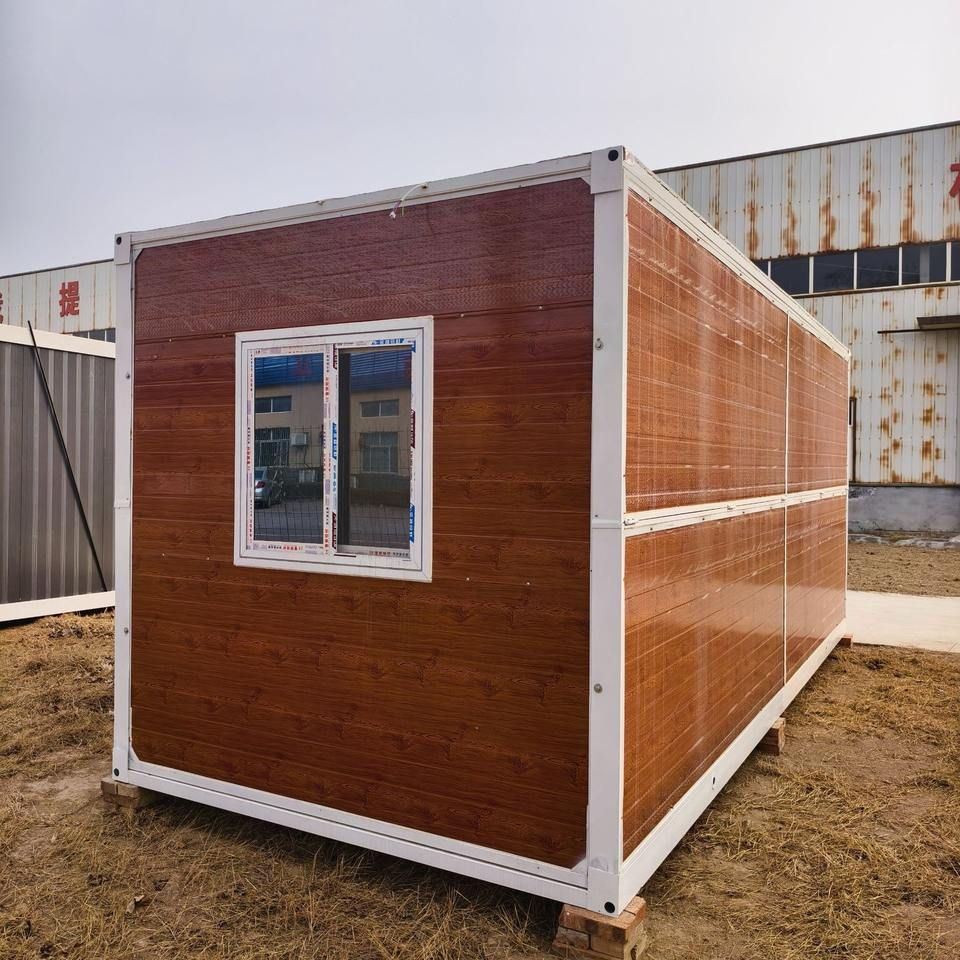
Preliminary Preparation: Before installation, conduct detailed measurements of the site, including key parameters such as clear dimensions, drain pipe positions, and keel heights. At the same time, confirm whether the wall perpendicularity and floor flatness meet the standards. For materials, verify specifications such as the thickness of compact laminate panels and the load-bearing capacity of aluminum alloy profiles to ensure they match the design plan. For example, insufficient thickness of the compact laminate panels may lead to a decrease in structural strength, while deviations in keel height may affect subsequent installation accuracy.
Line Snapping and Positioning: Use a laser line projector to determine the centerline position of the columns. Calculate the reference line based on the designed clear space and panel thickness, and mark it on the ceiling and floor. The width of the door opening must be strictly controlled between 700mm and 850mm. A too-narrow opening will affect user comfort, while a too-wide one may reduce structural stability. This step requires repeated calibration to ensure the reference line is both horizontal and vertical.
Framework Construction: Fix the columns on the concrete ceiling using chemical anchors, ensuring that the crossbeams are on the same horizontal plane and the perpendicularity error of the columns is controlled within 1mm. If the framework is tilted, it will make subsequent panel installation difficult and may even cause partition deformation. The anchoring depth and spacing of the chemical anchors must comply with regulations to avoid safety hazards due to inadequate fixation.
Installation of Middle Partitions: Place the middle partitions on the foot covers, adjust their positions using the foot covers, and then fix the partitions to the corner brackets with screws. After fixing both sides, remove the auxiliary foot covers to avoid affecting the overall flatness. Pay attention to the tightening force of the screws in this step. Loose screws may cause the partitions to shake, while overly tight screws may damage the panels.
Door Frame System Installation: The perpendicularity of the door frame columns must be carefully inspected, and the diagonal error of the door opening must not exceed 3mm. The installation of hardware must be precise. Hidden hinges should be installed in order, and the door gap should be controlled between 2mm and 4mm. If the door gap is too large, it will affect the sealing and aesthetics; if it is too small, it may cause difficulties in opening and closing the door leaf.
Panel Work: When cutting panels, use a diamond saw blade and support them with wooden blocks at the bottom to prevent edge chipping. Reserve 1mm to 2mm expansion joints to cope with temperature changes. The fixing method can be either slot-type or corner-bracket-type, depending on the panel material and design requirements.
Edge Sealing: Use edge strips in combination with neutral silicone glass glue for sealing, focusing on filling the top closure and floor gaps. The sealing should balance the needs of preventing light leakage and friction, avoiding water leakage or light penetration due to inadequate sealing, while also preventing panel expansion obstruction due to excessive sealing.



