Precautions for Mobile Toilet Installation
The following precautions should be taken when installing a mobile toilet (mobile commode):
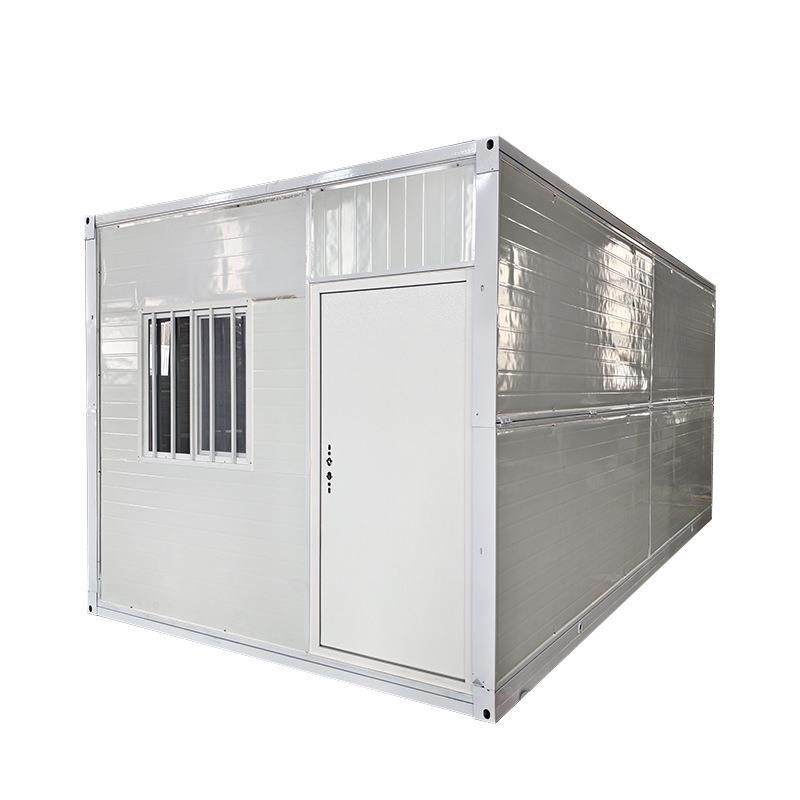
I. Unpack and Check Component Completeness
Upon receiving the mobile toilet package, immediately unpack it and check that all components are present, including the commode body, sealing ring, fixing bolts, and drainage pipe. If any components are missing or damaged, promptly contact the supplier for replacement or reshipment to avoid installation interruptions or post-installation malfunctions due to incomplete components.
II. Strictly Control Displacement Distance for Installation
If displacement installation of the commode is required, pay close attention to the impact of the displacement distance on the drainage system. It is recommended to keep the displacement range within 2 cm to 15 cm. Short-distance displacement reduces damage to the drainage slope and lowers the risk of pipe blockage. Some special models claim to support displacement of up to 3 meters, but long-distance displacement can lead to insufficient drainage slope, pipe complexity, and increased installation difficulty. Professionals generally recommend limiting displacement to within 15 cm. If exceeding this range is necessary, prioritize rearranging the sewage pipes or switching to a wall-mounted commode for a more stable solution. It is crucial to note that commode displacement should not exceed 50 cm, as this can easily cause blockage and requires raising the floor while ensuring sufficient slope within 50 cm to ensure smooth drainage.
III. Installation Timing and Floor Cleaning
The mobile commode should be installed after tiling is completed, when the floor has basically hardened, to avoid damage from subsequent construction. Before installation, thoroughly clean the floor and wipe away sand, dust, and other debris with a dry cloth to prevent foreign objects from entering the drainage system or affecting the sealing effect. If the floor is uneven, repair it in advance to ensure the commode is stable and does not wobble after installation.
IV. Standardized Sealing and Fixing Operations
Install a dedicated sealing ring at the connection between the commode's drainage outlet and the floor drainage pipe during installation, and apply waterproof glass glue or silicone sealant to prevent sewage leakage. When fixing the commode, use the provided bolts and tighten them evenly to avoid cracking the commode or compromising the seal due to uneven force. After installation, conduct a drainage test to check for smooth water flow and any leakage, and ensure everything is correct before putting the commode into use.