Back to blog
Article
How to Install a Mobile Toilet
Admin September 22, 2026
The installation of a mobile toilet requires selecting the appropriate method based on its type and the installation scenario. Common installation methods are as follows:

I. Installation of Finished Mobile Toilets
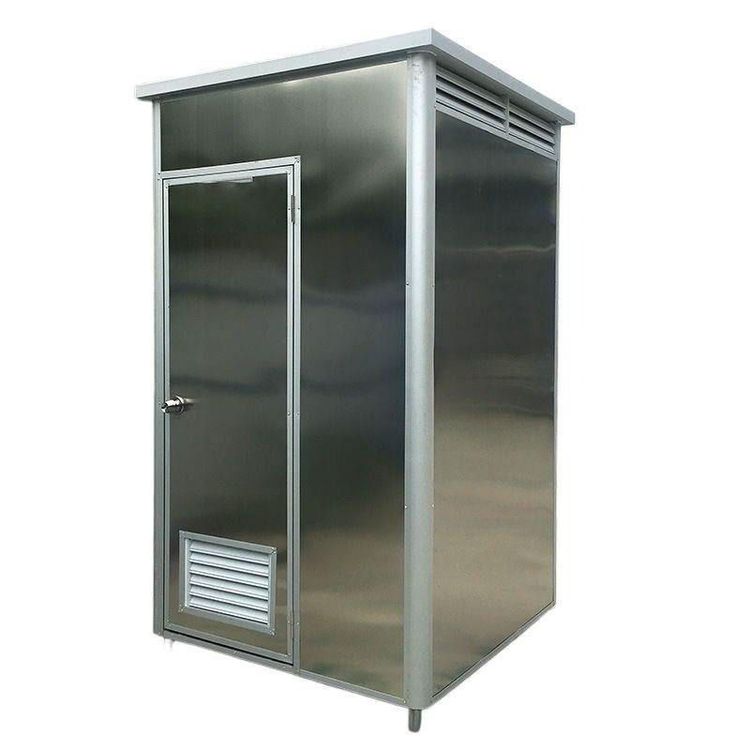
For finished mobile toilets customized by the manufacturer, the key advantage is that most assembly work has been completed in the factory, simplifying the on-site installation process. After being transported to the designated location, modular assembly is typically all that is required:
- Foundation Preparation: Ensure the installation surface is level and solid to prevent the toilet from tilting or being damaged due to an unstable foundation. If the ground is soft soil, pour a concrete foundation or lay a moisture-proof layer in advance.
- Module Alignment: Arrange the transported toilet modules (such as the main body, roof, and sewage system) according to the design drawings, checking that the interfaces of each module match to avoid affecting subsequent assembly due to dimensional discrepancies.
- Secure Connection: Use bolts, clips, or specialized connectors to firmly fix the modules, ensuring structural stability. Some finished toilets may come with pre-installed connectors, requiring only the tightening of screws or insertion of pins on-site to complete assembly.
- Function Testing: Connect water and electricity lines (if necessary), and test whether the lighting, ventilation, sewage, and other systems are functioning properly to ensure the toilet meets usage standards.
II. Installation of Mobile Toilets Requiring On-Site Assembly
For mobile toilets requiring on-site assembly (such as those with a metal frame and panel structure), tools such as an electric drill, 4.2mm drill bit, and rivet gun are needed. The specific steps are as follows:
- Frame Construction:
- Install inner corner pieces (such as L-shaped and T-shaped connectors) at the designated positions, and initially fix the frame structure with bolts or welding.
- Check the verticality and levelness of the frame to ensure overall structural stability and avoid misalignment during subsequent assembly.
- Panel Assembly:
- Insert the prefabricated panels (such as wall and roof panels) into the frame slots, align the edges, and gently press to ensure tight adhesion between the panels and the frame.
- If there are gaps between panels, fill them with sealant or rubber strips to prevent water or air leakage.
- Riveting and Fixing:
- Use an electric drill to make holes at the connection points between the panels and the frame (the hole diameter should match the rivet, typically 4.2mm).
- Insert the rivets and use a rivet gun to complete the riveting, ensuring the connection points are firm and without looseness. The riveting spacing should be controlled according to design requirements (such as one rivet every 30-50cm).
- System Integration:
- Install auxiliary systems such as sewage pipes, water tanks, and ventilation equipment, connect water and electricity lines, and test their functions.
- Apply waterproof treatment to the exterior of the toilet (such as painting with waterproof coating), and clean and disinfect the interior to ensure hygiene standards are met.
Precautions:
- For complex installations, it is recommended to contact the manufacturer for detailed instructions or have a professional team handle the operation to avoid structural damage or safety hazards due to improper handling.
- Before installation, confirm that the site meets requirements (such as drainage slope and power capacity). After installation, conduct regular inspections and maintenance to extend the service life.