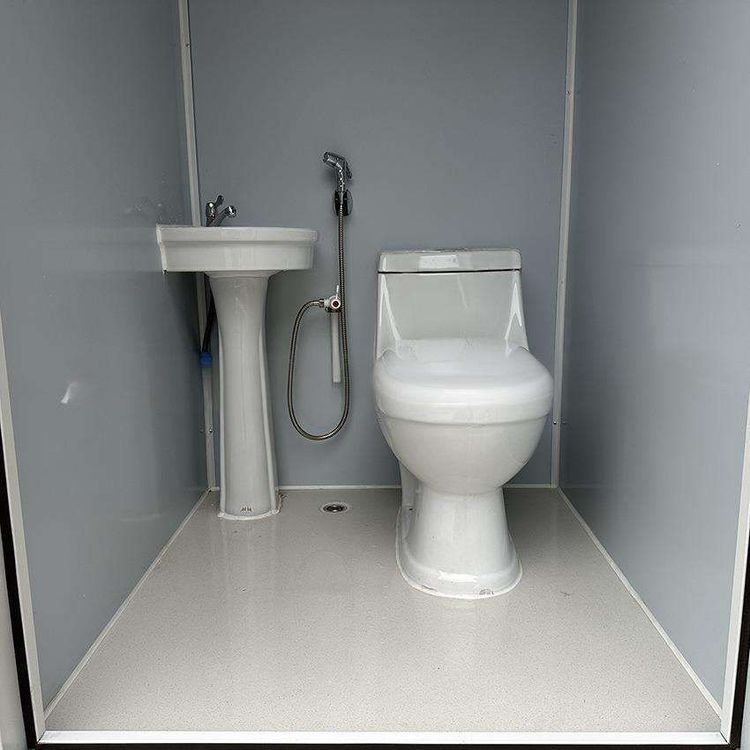
How to Install a Mobile Toilet
The installation process of a mobile toilet mainly consists of three stages: preparation, frame assembly, and detail handling and finishing. The specific steps are as follows:

1. Preparation Stage
First, confirm the installation location. The ground must be level and capable of bearing the overall weight of the toilet to prevent structural tilting or damage due to an unstable foundation. At the same time, check that the sewage pipe is unobstructed to ensure there is no risk of blockage or backflow, and confirm that the ground levelness meets the installation requirements. Select the appropriate model of mobile toilet based on usage needs, such as a packing-type toilet (which collects waste in plastic bags) or a microbial degradation-type toilet (which uses bacteria to decompose waste). Different models have different sewage disposal methods that will affect subsequent installation details. Additionally, prepare tools and materials in advance, including an electric drill, a 4.2-millimeter drill bit, a rivet gun, screwdrivers, as well as auxiliary materials such as sealant and waterproof pads to ensure a smooth installation process.
2. Frame Assembly
Two people should cooperate during installation to ensure safety. First, fix the base to the ground. Use an electric drill to drill holes at the preset positions and secure the base with expansion bolts or rivets to ensure it is stable and does not wobble. Then, install the right, left, and front wall panels in sequence, connecting the components with locking screws or clips. Pay attention to checking the tightness of the joints to prevent water or air leaks. Next, install the upper slots to support the top components, and install ventilation louvers to enhance air circulation and reduce odor buildup. Finally, cover the top to complete the overall structural assembly. Some mobile toilets adopt a modular design, with columns and panels connected by clips, similar to building with “building blocks” for quick assembly. However, ensure that each clip fits tightly to avoid looseness.
3. Detail Handling and Finishing Work
After installation, thoroughly clean the inside and outside of the toilet to remove any dust or debris left over from the installation process. Use tools to check that all bolts and nuts are tightened, focusing on key areas such as the connection between the base and the ground and the joints between wall panels to prevent structural deformation or water leaks due to looseness. If using a microbial degradation-type toilet, add bacteria according to the instructions and test the degradation function; for a packing-type toilet, check that the plastic bag replacement device is flexible. Finally, conduct a trial run to check that functions such as flushing, ventilation, and sewage disposal are working properly. Once confirmed, the toilet can be put into use. Regularly clean waste, replace consumables, and check the aging of seals in daily use to extend the service life.