Back to blog
Article
Mobile Toilet Installation
Admin October 13, 2026
The installation of mobile toilets and restrooms requires selecting the appropriate method based on the specific type. Common types and installation points are as follows:

I. Installation of Finished Mobile Restrooms
If it is a factory-prefabricated finished mobile restroom (such as a 1.2m x 1.5m integrated bathroom), its internal water supply and drainage systems have been pre-laid and external interfaces have been reserved. During installation, it is essential to check the compatibility of the interfaces:
- Interface Connection: Ensure that the positions of the reserved water supply and drainage pipes at home match the interface sizes of the mobile restroom. Use dedicated sealing gaskets or Teflon tape to wrap around the interfaces to prevent leaks.
- Fixing and Leveling: After placing the mobile restroom in the predetermined position, adjust the bottom feet or shims to ensure the equipment is level, preventing door frame deformation or poor drainage due to uneven ground.
- Power Testing: If the equipment includes electrical appliances such as lighting and ventilation, connect it to an independent power source and test its functionality to ensure electrical safety.
II. Installation of Mobile Toilets
Mobile toilets are usually designed as standalone units. The installation process can refer to the following six steps:
- Unpacking Inspection: Check the parts list to confirm that the toilet body, water tank, drainage pipe, sealing ring, fixing bolts, etc., are all present.
- Assembling the Water Tank: Fix the water tank to the toilet body using clips or bolts. Ensure that a sealing ring is placed at the connection between the water tank and the toilet to prevent leaks.
- Installing the Drainage Pipe: Connect one end of the drainage pipe to the bottom drainage outlet of the toilet and the other end to the reserved sewage pipe at home. Use pipe clamps or sealing glue to secure it.
- Fixing the Toilet: Secure the toilet base to the ground using expansion bolts to ensure stability and prevent wobbling during use.
- Connecting the Water Supply: Connect the water inlet hose of the water tank to the water valve at home. Open the water valve to check if the water supply is smooth and free of leaks.
- Function Testing: Flush the toilet to test the drainage speed and sealing performance of the water tank, confirming normal toilet use.
III. Installation of Frame-Type Mobile Toilets
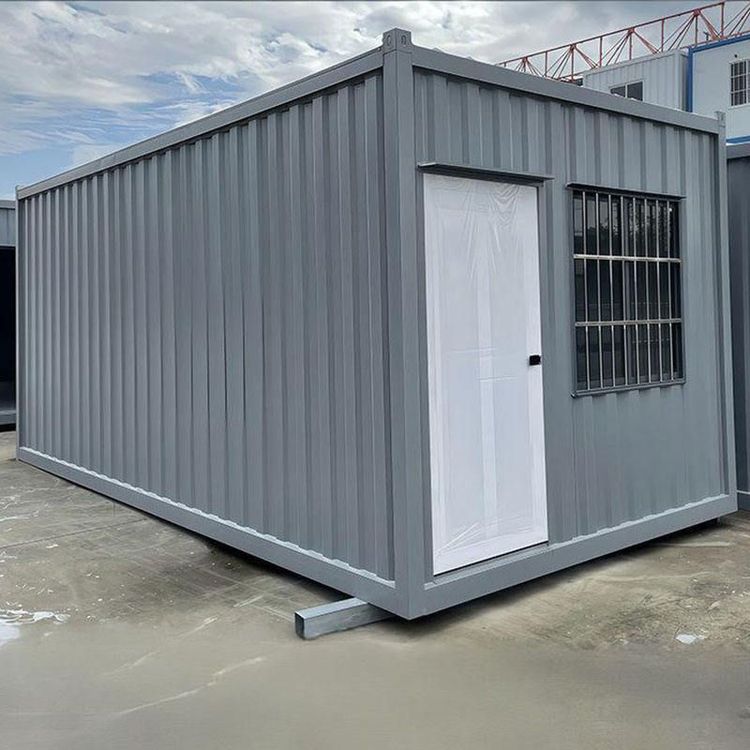
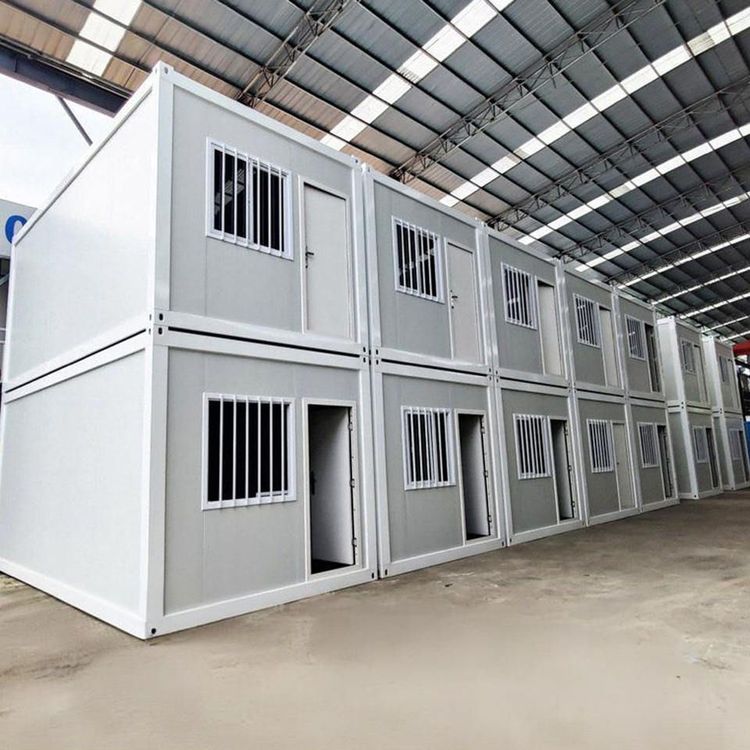
Frame-type mobile toilets are mostly used in public places. Their structure is welded from steel, and installation requires a professional team:
- Foundation Construction: Pour a concrete foundation according to the toilet size, embed anchor bolts or weld fixing plates to ensure a firm connection between the frame and the ground.
- Frame Assembly: Weld the main beams such as channel steel and I-beams into a frame according to the design drawings. Reinforce the columns with square steel to form a structure that can be hoisted.
- Wall Installation: Fix wall materials such as color-coated steel plates and fiberglass-reinforced plastics on the frame. Ensure that the joints between the plates are sealed to prevent rainwater leakage.
- Equipment Connection: Connect the water supply and drainage pipes, electrical circuits, and sewage systems. Test the drainage slope to ensure it meets the standard (usually not less than 2%) for smooth sewage discharge.
- Acceptance and Debugging: Check that all connection points are tight. Test the functions of doors and windows, lighting, ventilation, etc., to confirm there are no safety hazards before putting them into use.
Related