
Back to blog
Article
Mobile Toilet Door Installation
Admin September 21, 2026
The installation methods for mobile toilet doors vary depending on the type, mainly divided into two types: bathroom sliding doors and mobile toilet doors similar to those配套 (here it means 'matching' or 'associated with') toilet installations. Below are the specific installation procedures:
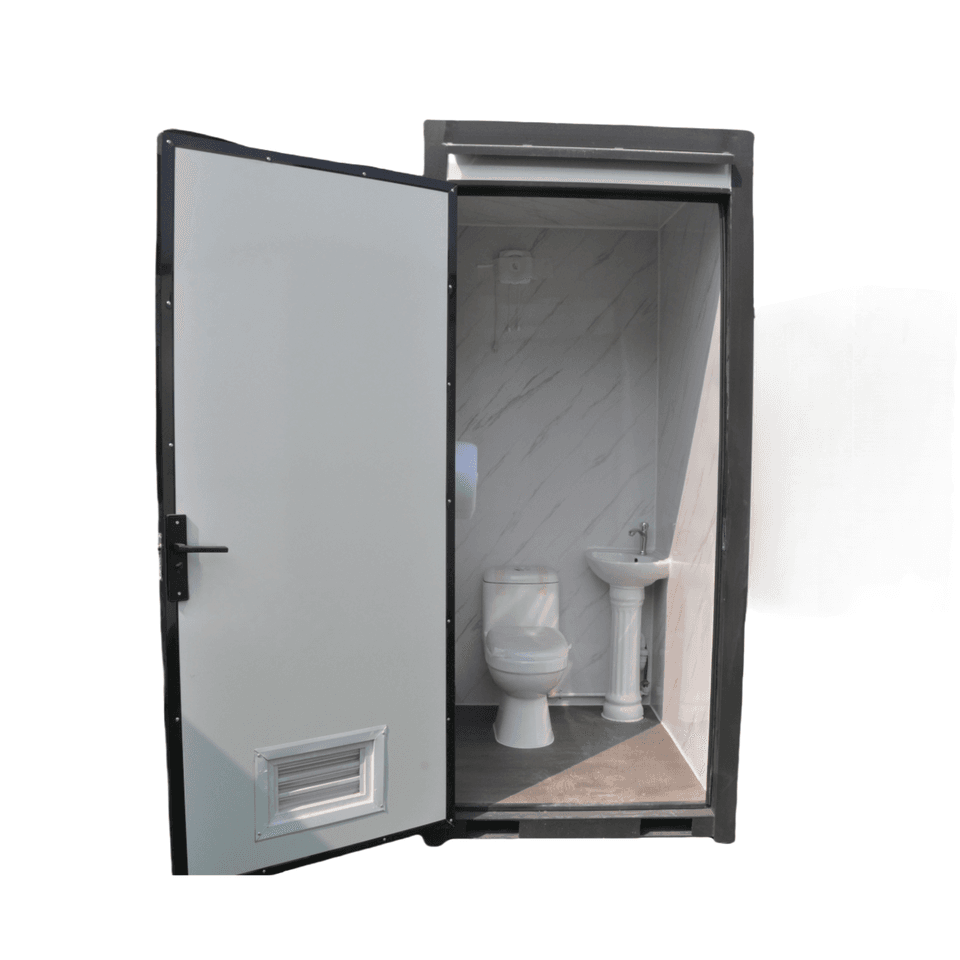
Bathroom Sliding Door Type
- Find the Vertical Point: Use a level to locate the vertical point at the installation location. This is a crucial step to ensure the door is installed vertically, as verticality directly affects the smoothness of door opening and closing and overall aesthetics.
- Fix the Frame: Apply structural adhesive at the determined vertical point and then firmly fix the frame to the wall. Structural adhesive has good bonding and sealing properties, ensuring a tight connection between the frame and the wall.
- Install the Tracks: Next, install the overhead track and floor track. The installation of the tracks must be level; otherwise, it will cause issues such as jamming or shaking during door sliding.
- Adjust the Pulleys: After installing the tracks, adjust the pulleys to ensure the door slides smoothly on the tracks without any obstructions or unusual noises.
- Install the Door and Related Accessories: Install the door onto the tracks, then install the dampers. Dampers can slow down the closing speed of the door, preventing noise and damage caused by the door colliding with the frame. Finally, tighten the door lock and apply glass adhesive at the edges of the door for sealing and waterproofing.
Mobile Toilet Door Similar to Toilet Installations
- Pre-installation Inspection: Before installation, thoroughly inspect the sewage pipe to ensure there are no obstructions such as mud, sand, or waste paper inside. Also, check whether the floor around the toilet installation area is level in all directions. An uneven floor will affect the stability and performance of the toilet.
- Determine the Center Position: Turn over the toilet and determine the center position of the toilet's drainage outlet. Draw a cross-center line and extend it to the feet around the bottom of the toilet. This helps in accurately installing the toilet.
- Drill Installation Holes: Determine the installation positions of the bottom screws of the toilet, use an impact drill to drill installation holes, and pre-embed plastic sleeves for expansion screws to provide support for subsequent toilet fixation.
- Bottom Sealing: Perform bottom sealing work. Install a special sealing ring on the toilet's drainage outlet or apply a circle of glass adhesive or cement mortar (with a cement-to-sand ratio of 1:3) around the drainage pipe to prevent sewage leakage and odor emission.



