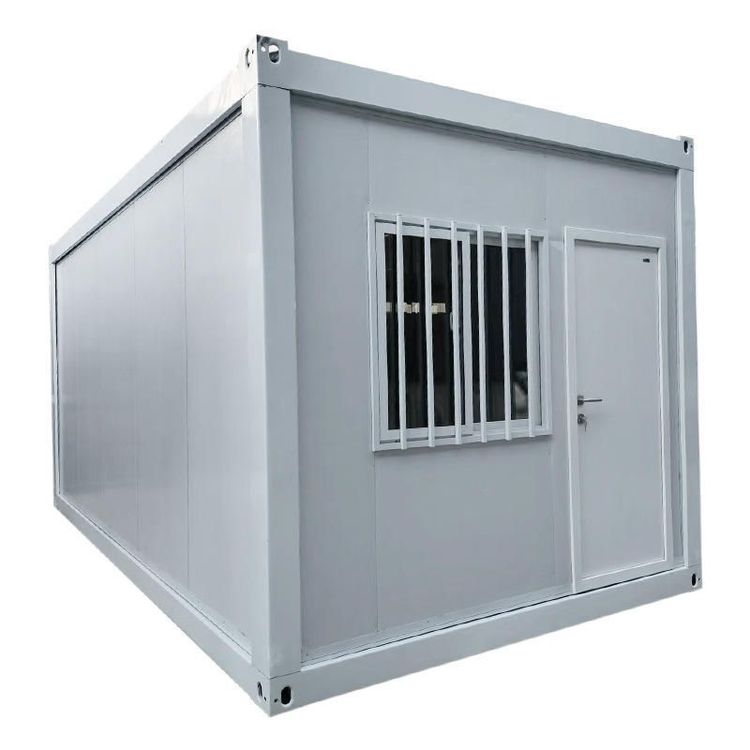
Mobile Toilet Disassembly Method and Steps
The disassembly of mobile toilets requires selecting the appropriate method based on the type. The specific steps are as follows:
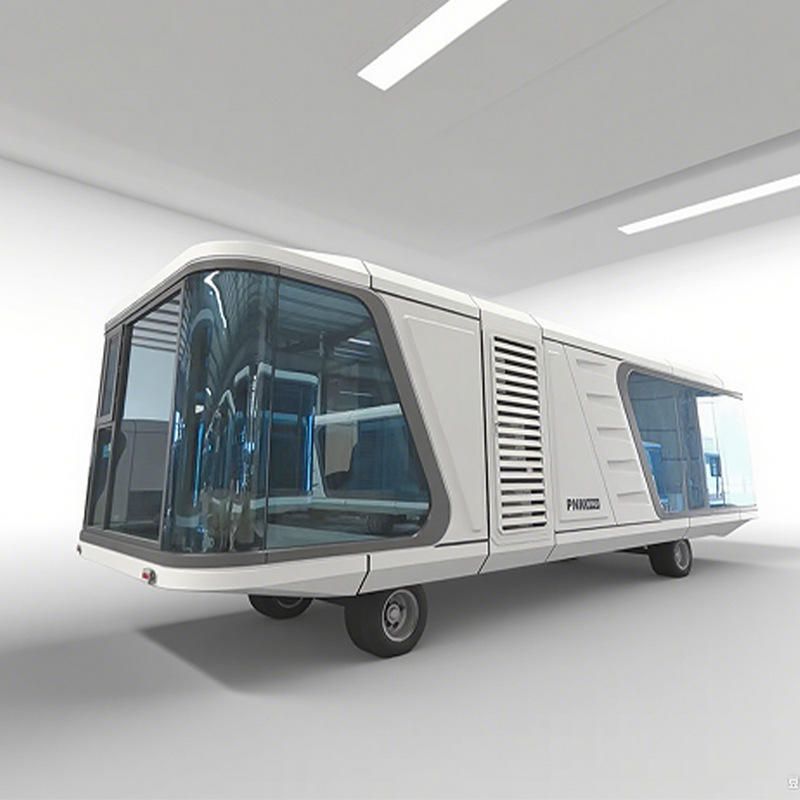
I. General-purpose Mobile Toilets (Public/Commercial Scenarios)
Prepare Tools and Protective Gear
Equip yourself with basic tools such as wrenches, screwdrivers, and hammers. Wear gloves, goggles, and non-slip shoes to avoid scratches or injuries during disassembly. If working at heights is involved, an additional safety rope is required.Turn Off Water and Power Supplies
Close the inlet valve and drain any remaining water from the tank. Disconnect the main power switch or unplug the power cord to prevent electric shock or water pipe burst risks. For electronic control panels, ensure they are powered off in advance for protection.Disassemble Connectors
- Water Pipe System: Use an adjustable wrench to loosen the threaded connection between the inlet hose and the tank, avoiding excessive force that could cause the interface to break.
- Drainage Pipe: Disassemble the flange connection between the sewage pipe and the septic tank. If there is sewage in the pipe, use a container to catch it in advance.
- Power Cables: Mark and disconnect the wires for the lighting and ventilation systems. Wrap the exposed wire ends with insulating tape.
Move and Secure
Use a forklift or hydraulic jack to lift the toilet body and place it on a transport pallet. Secure it with straps to prevent sliding. For integrated toilets, check if the bottom wheels or support feet are locked.Clean the Site
Remove any residual stains or debris from the ground. Spray the disassembly area with a disinfectant, paying special attention to bacterial growth around the drain outlet.Inspect and Store Equipment
Check the outer shell, door frame, tank, and other components for cracks and inspect the sealing strips for aging. Store screws, washers, and other small parts separately to avoid loss.
II. Household Portable Plastic Toilets (Suitable for the Elderly)
Pre-disassembly Preparation
Empty the sewage tank of any waste. If deodorizers or coagulants have been added, handle the residues according to the instructions. Spray the toilet surface with a chlorine-based disinfectant, let it sit for 5 minutes, and then wipe it down to reduce the risk of cross-infection.Component Separation Steps
- Release the Fixing Device: Locate the rotating snap button (usually marked 'PUSH') at the connection between the bracket and the tank body. Press the button and rotate it counterclockwise by half a turn to separate the upper and lower parts.
- Disassemble the Hose: Use a flat-head screwdriver to gently pry open the plastic retaining ring at the exhaust pipe interface. Pull the hose straight up to avoid bending and internal blockage.
- Separate the Seat Assembly: Flip up the toilet seat. Use needle-nose pliers to grip both ends of the metal shaft of the hinge and slowly pull it out. Keep the rubber shock absorber to prevent loss. If the hinge is rusty, apply lubricating oil to assist in disassembly.
Precautions: Handle plastic components gently during disassembly to avoid breakage. Store them away from high-temperature environments to prevent material deformation.